How to love your lighting - and perhaps design your very own shade…
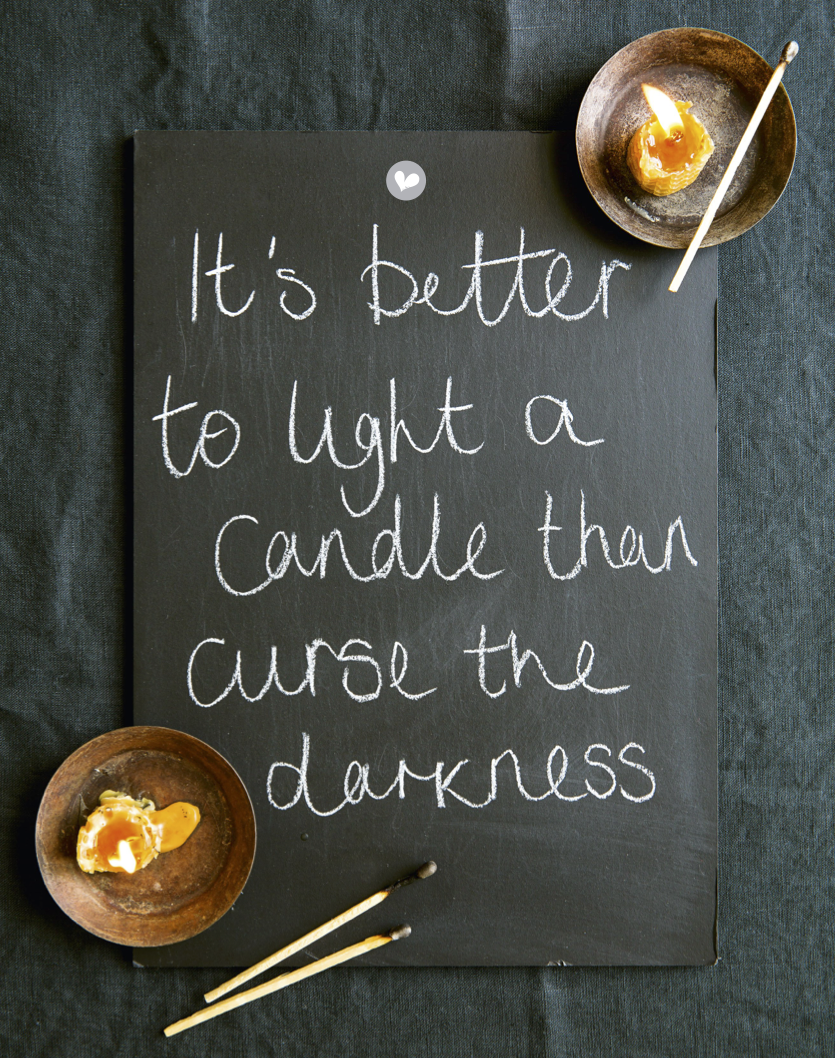
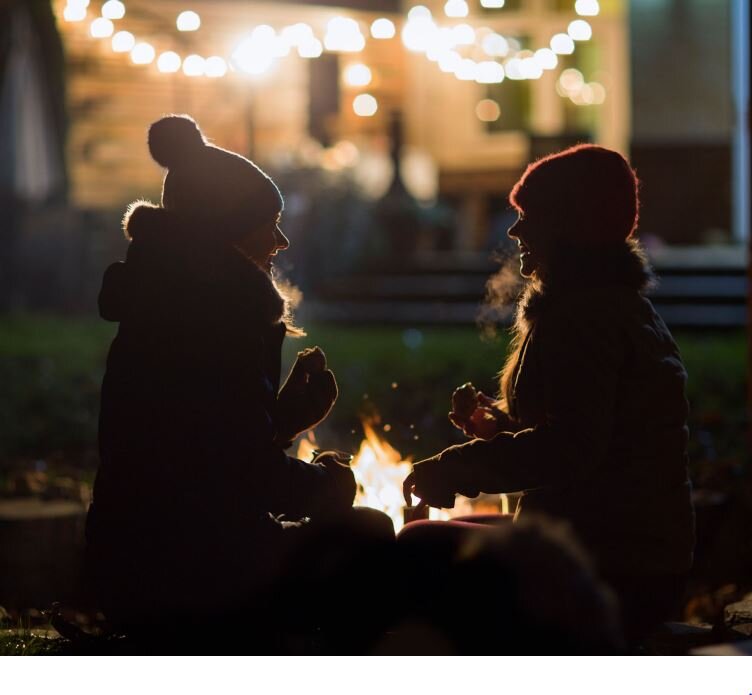
Long, january evenings provide us with good reason to celebrate lighting up the dark. Whether it’s spending a quiet hour with a scented candle, or rethinking your entire lighting scheme in your home.
In our January issue’s The Comfort of Things feature, Clare Gogerty waxes lyrical on the positive vibes good lighting can bring to your home: “Coming home and switching on the lights banishes the darkness, replacing it not just with visibility but with emotional reassurance.”
There’s more on why lighting is so important to our homes in the January issue. However, if you’re inspired to really throw yourself at a lighting project you will also not want to miss The Simple Things’ Lampshade Making Workshop on Saturday 23 February in Hove, East Sussex.
The course is run with Lume Lighting’s Joanna Corney, a maker and designer who has run her homeware business for several years and will take place at her lovely working studio by the sea, in Hove.
The workshop is exclusively for The Simple Things readers and is ideal for beginners who want to learn the craft of contemporary lampshade making. You’ll be given all the skills you need to make your very own custom shade, meeting like-minded people and eating some delicious food along the way. You’ll make either a 20cm or 30cm diameter fabric drum lampshade, which can be used on a lamp base or ceiling pendant. At the end of the workshop you will go home with your very own bespoke lampshade – perhaps just the first of many more beautiful customised designs.
COURSE DETAILS
The Simple Things’ Lampshade Making Workshop, which has seven places available, will be held at Joanna’s studio in Hove, East Sussex, on Saturday 23 Feburary 2019. Time: 10.30am–3.30pm. Ticket price: £60, including all tools and materials for the class, plus tea, coffee, cake and lunch. You’ll need to make your own way there and home. The only thing you need to bring is the fabric of your choice to cover your lampshade.
HOW TO BOOK
Email hello@lumelighting.co.uk. Joanna’s website is lumelighting.co.uk.
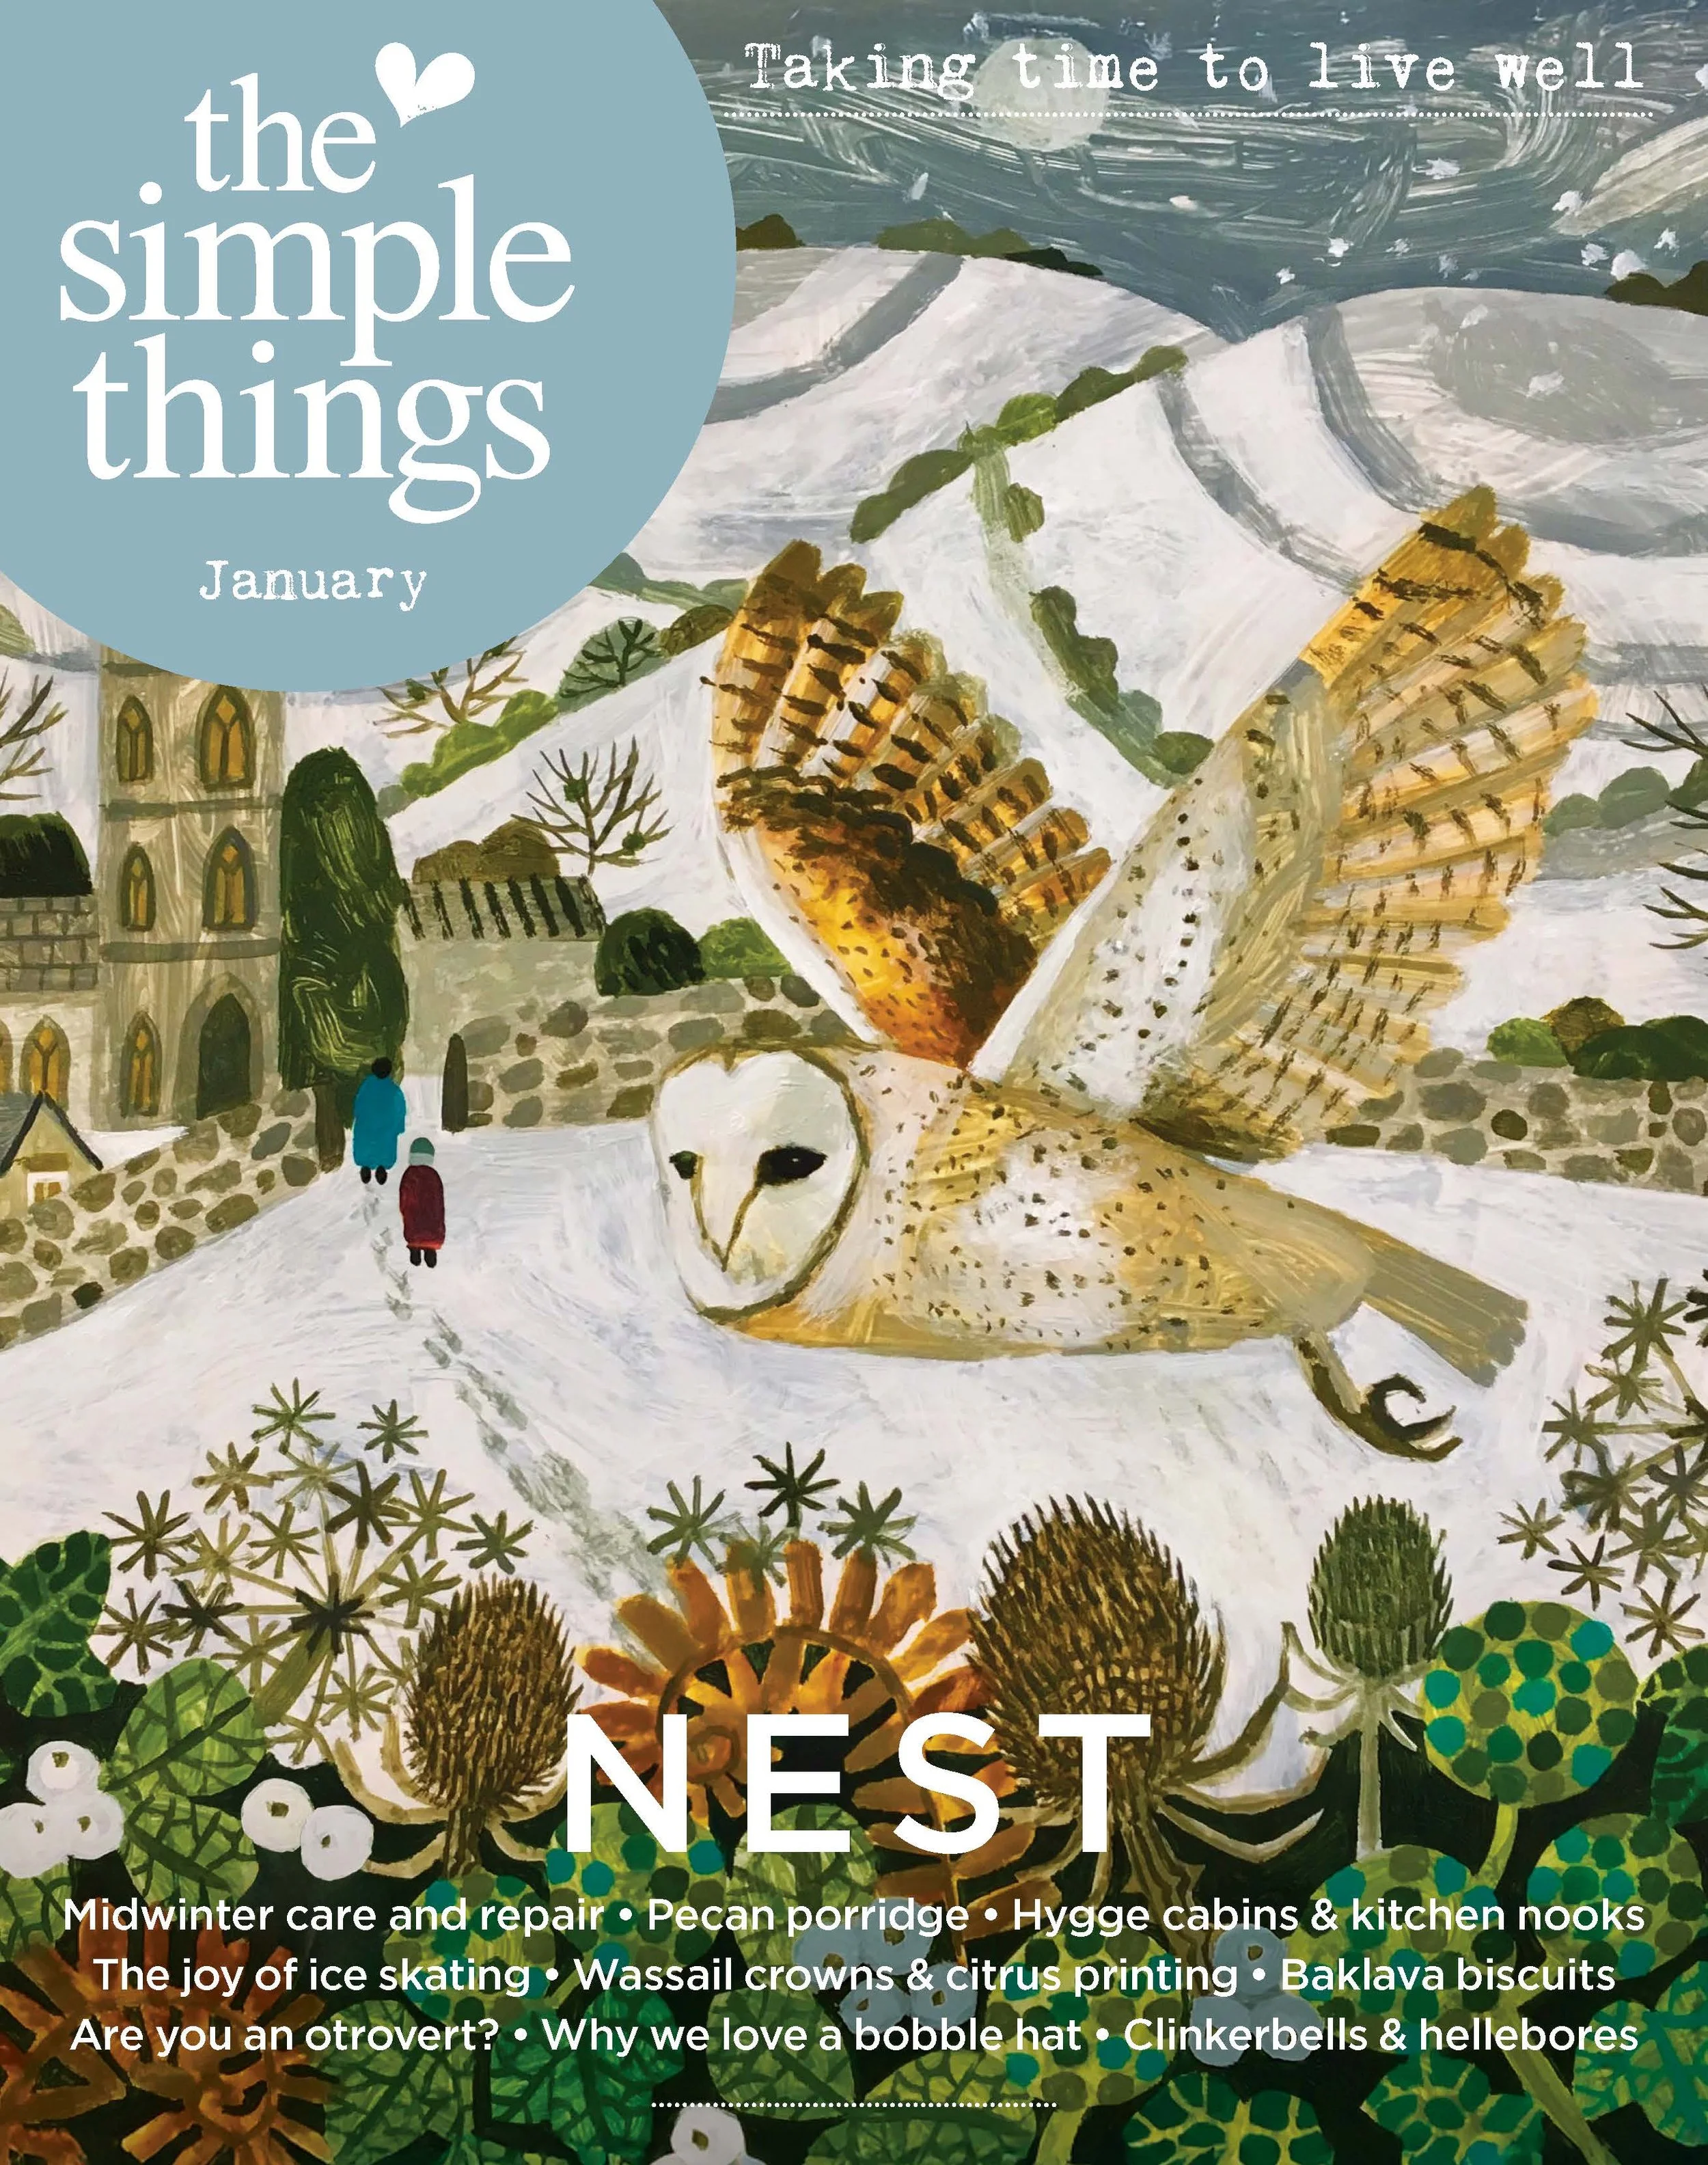
Get hold of your copy of this month's The Simple Things - buy, download or subscribe