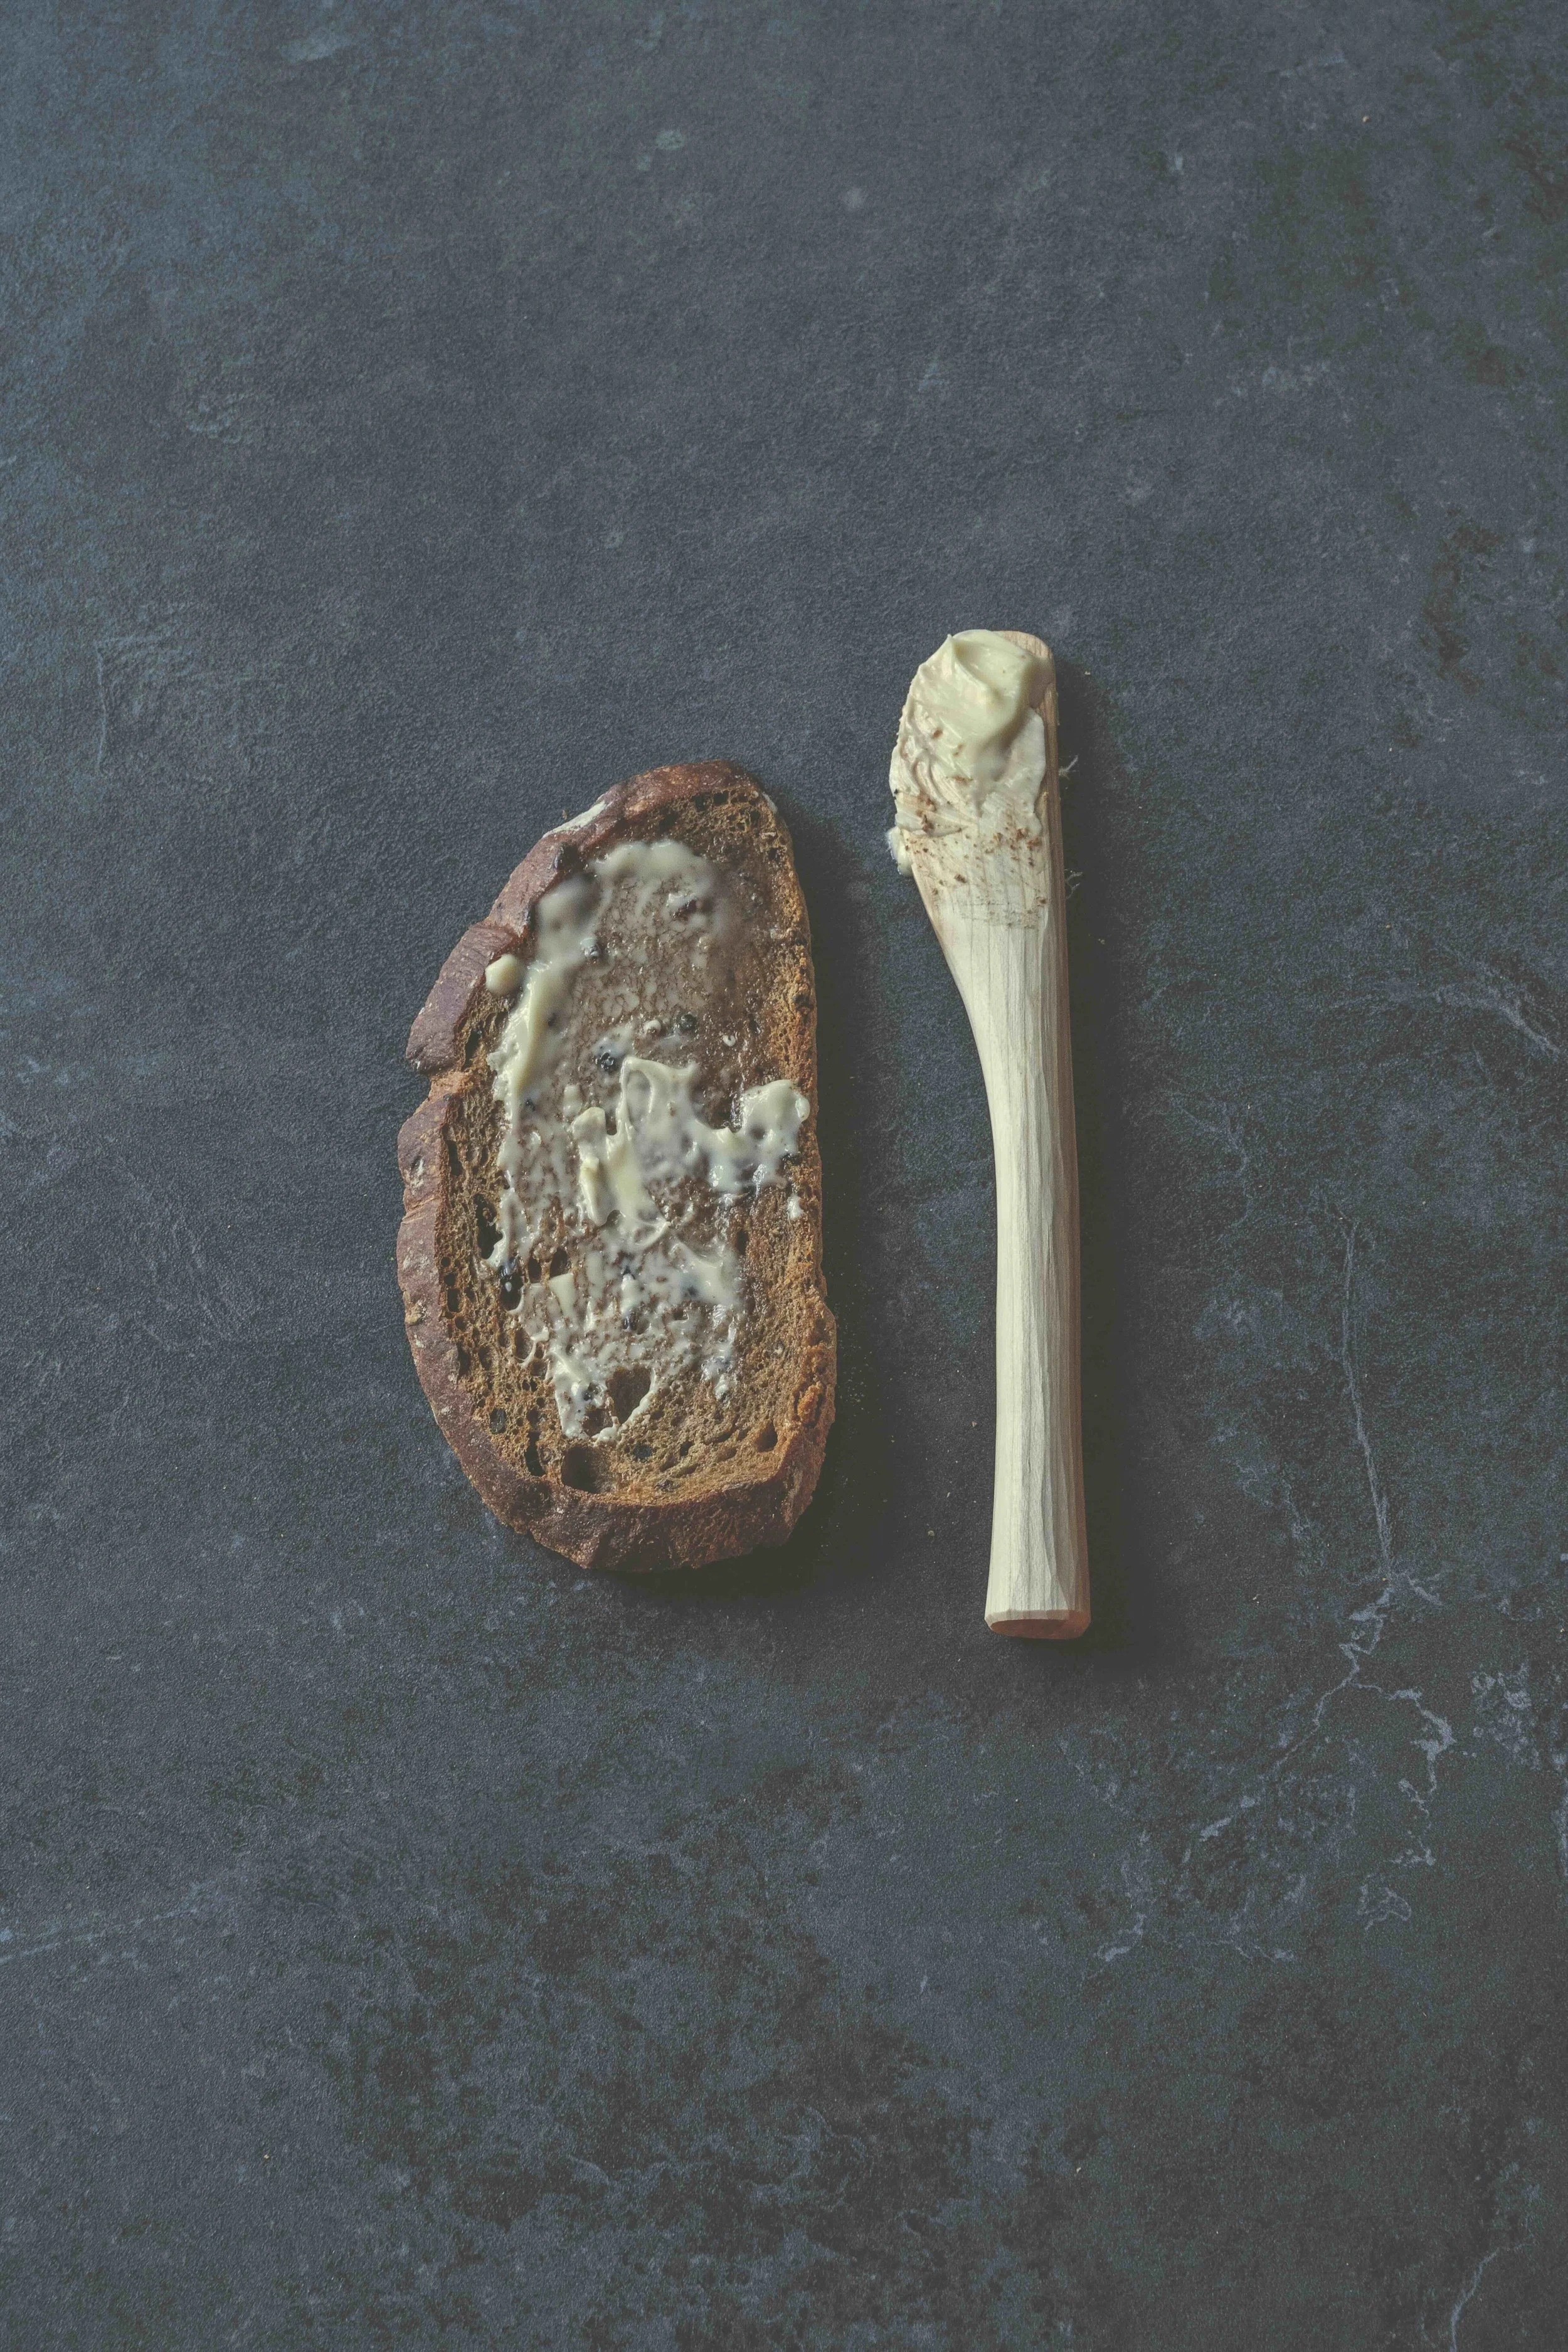
A wooden butter spreader is a pleasingly tactile piece of Scandinavian tableware and a fun project to begin your whittling journey.
You will need:
Fresh round of hardwood, a minimum of 10cm in diameter and roughly 20cm in length
Axe
Wooden club
Pencil
Sharp carving knife.
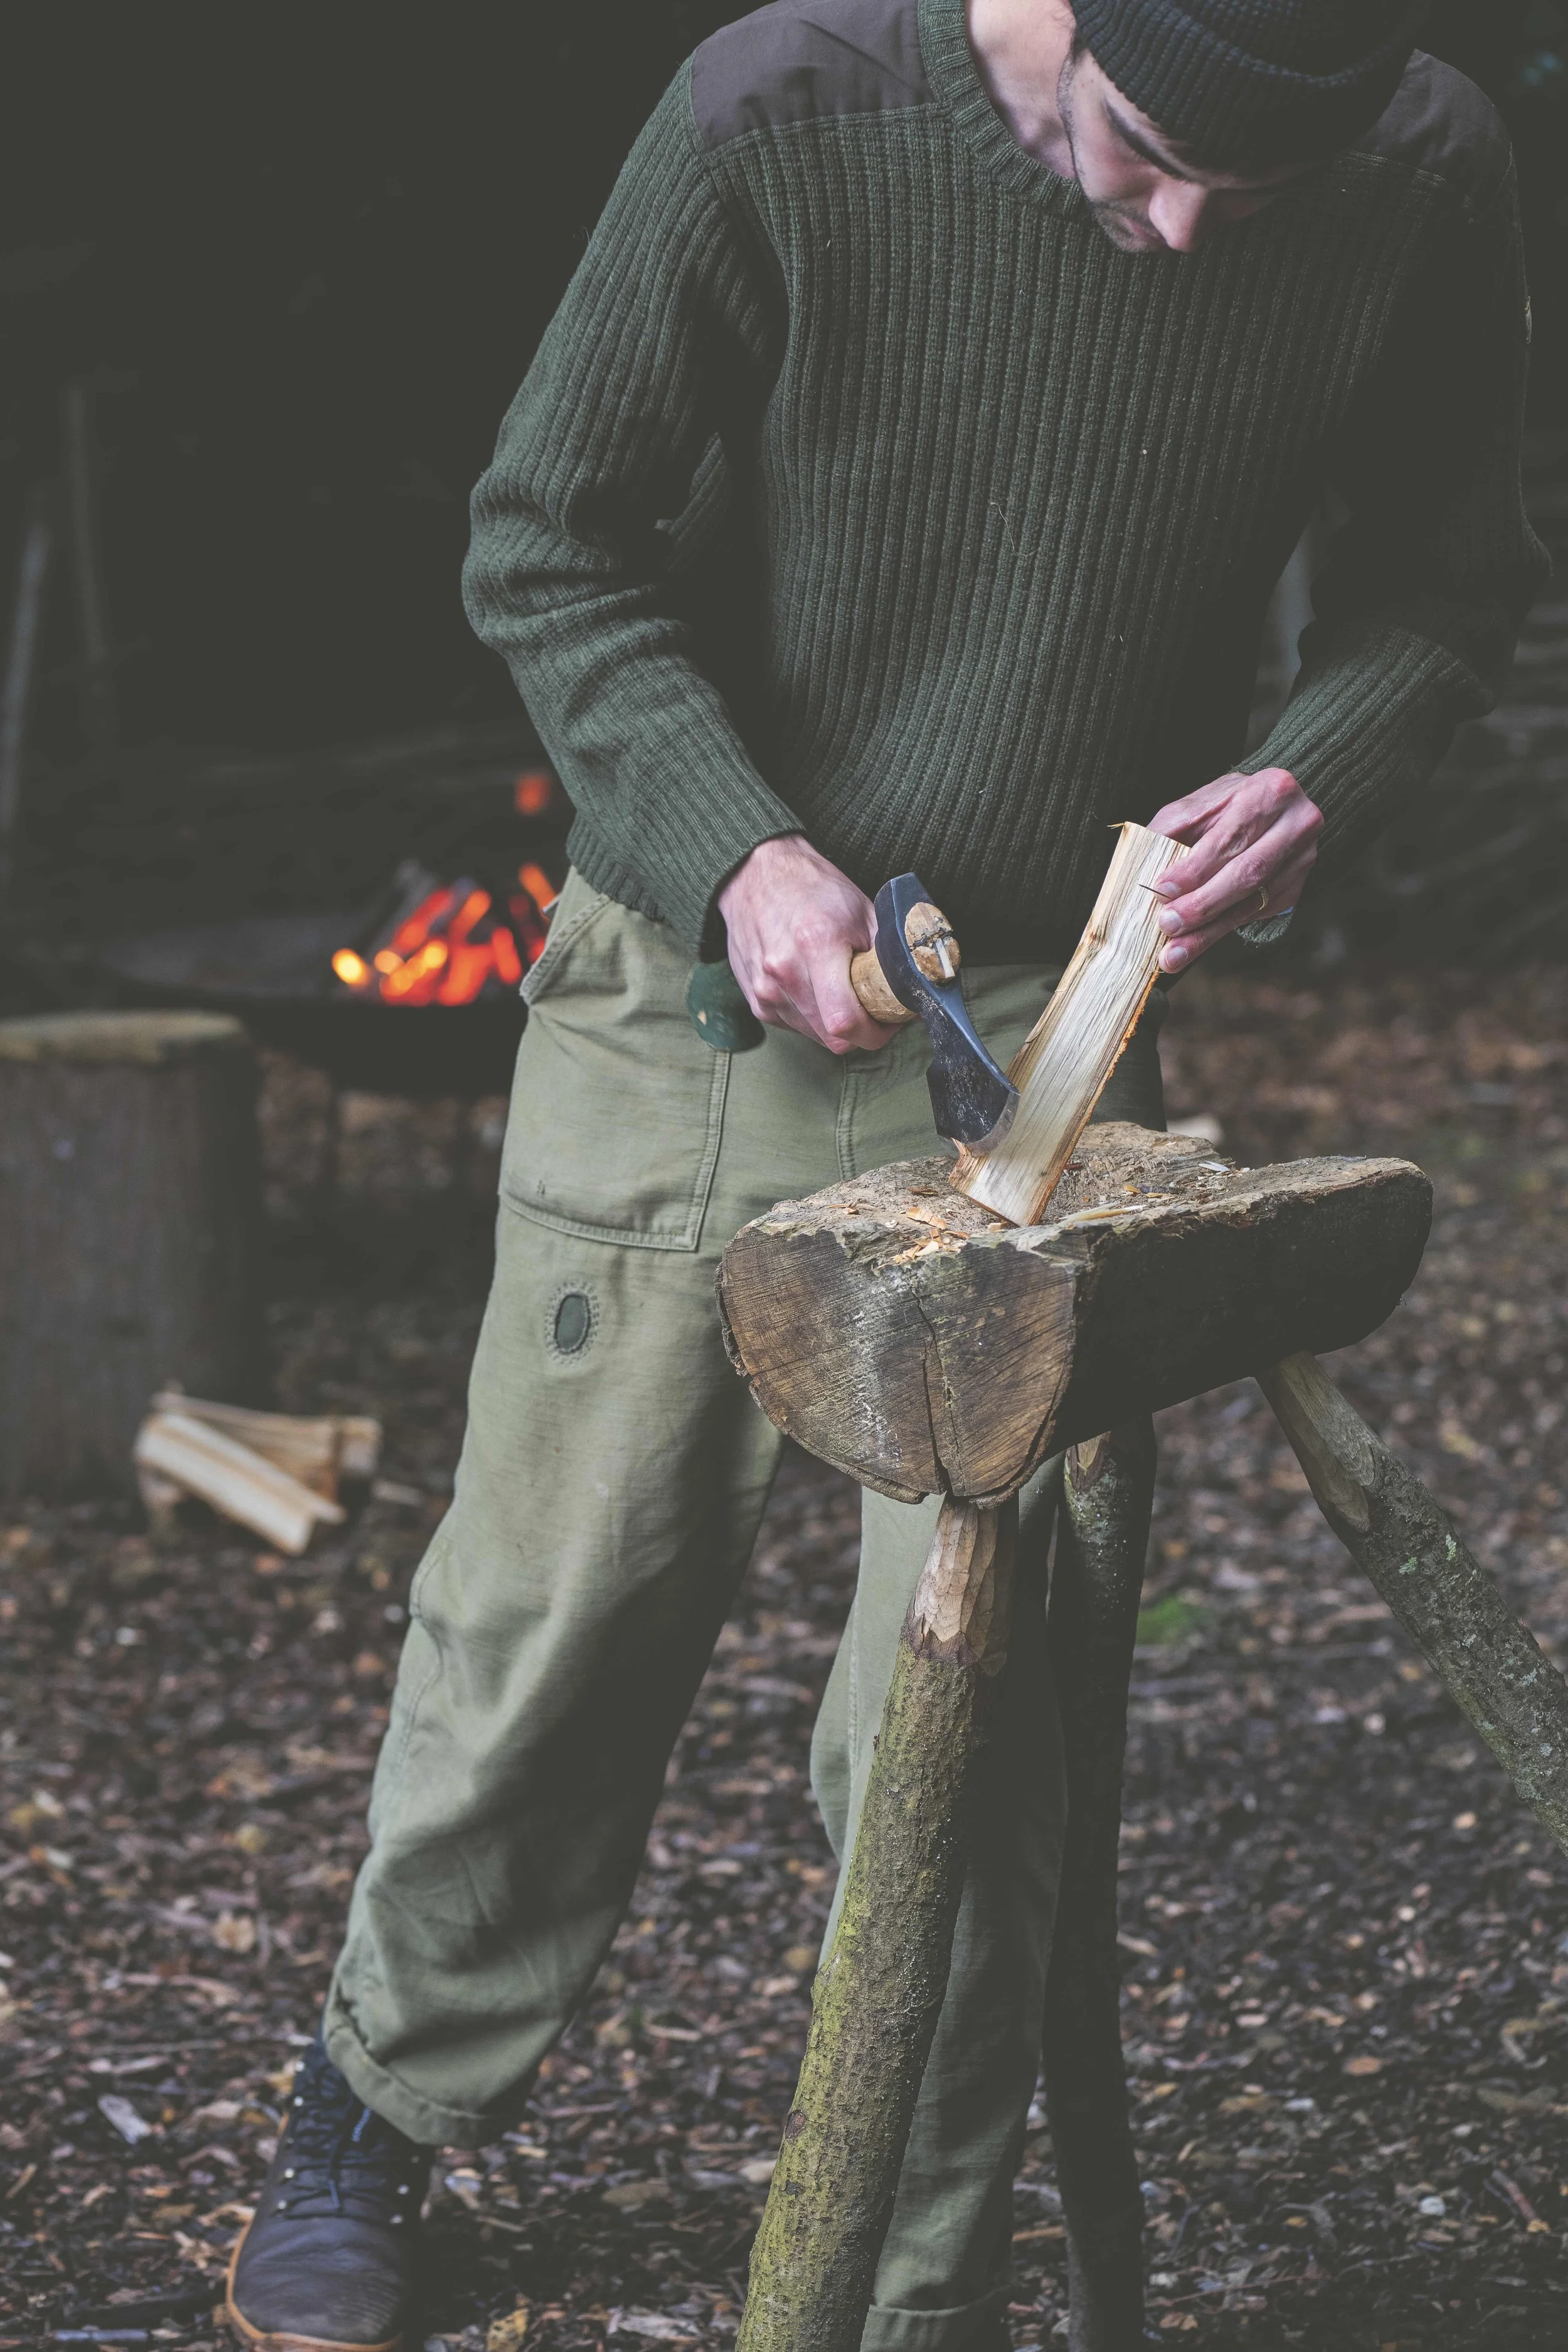
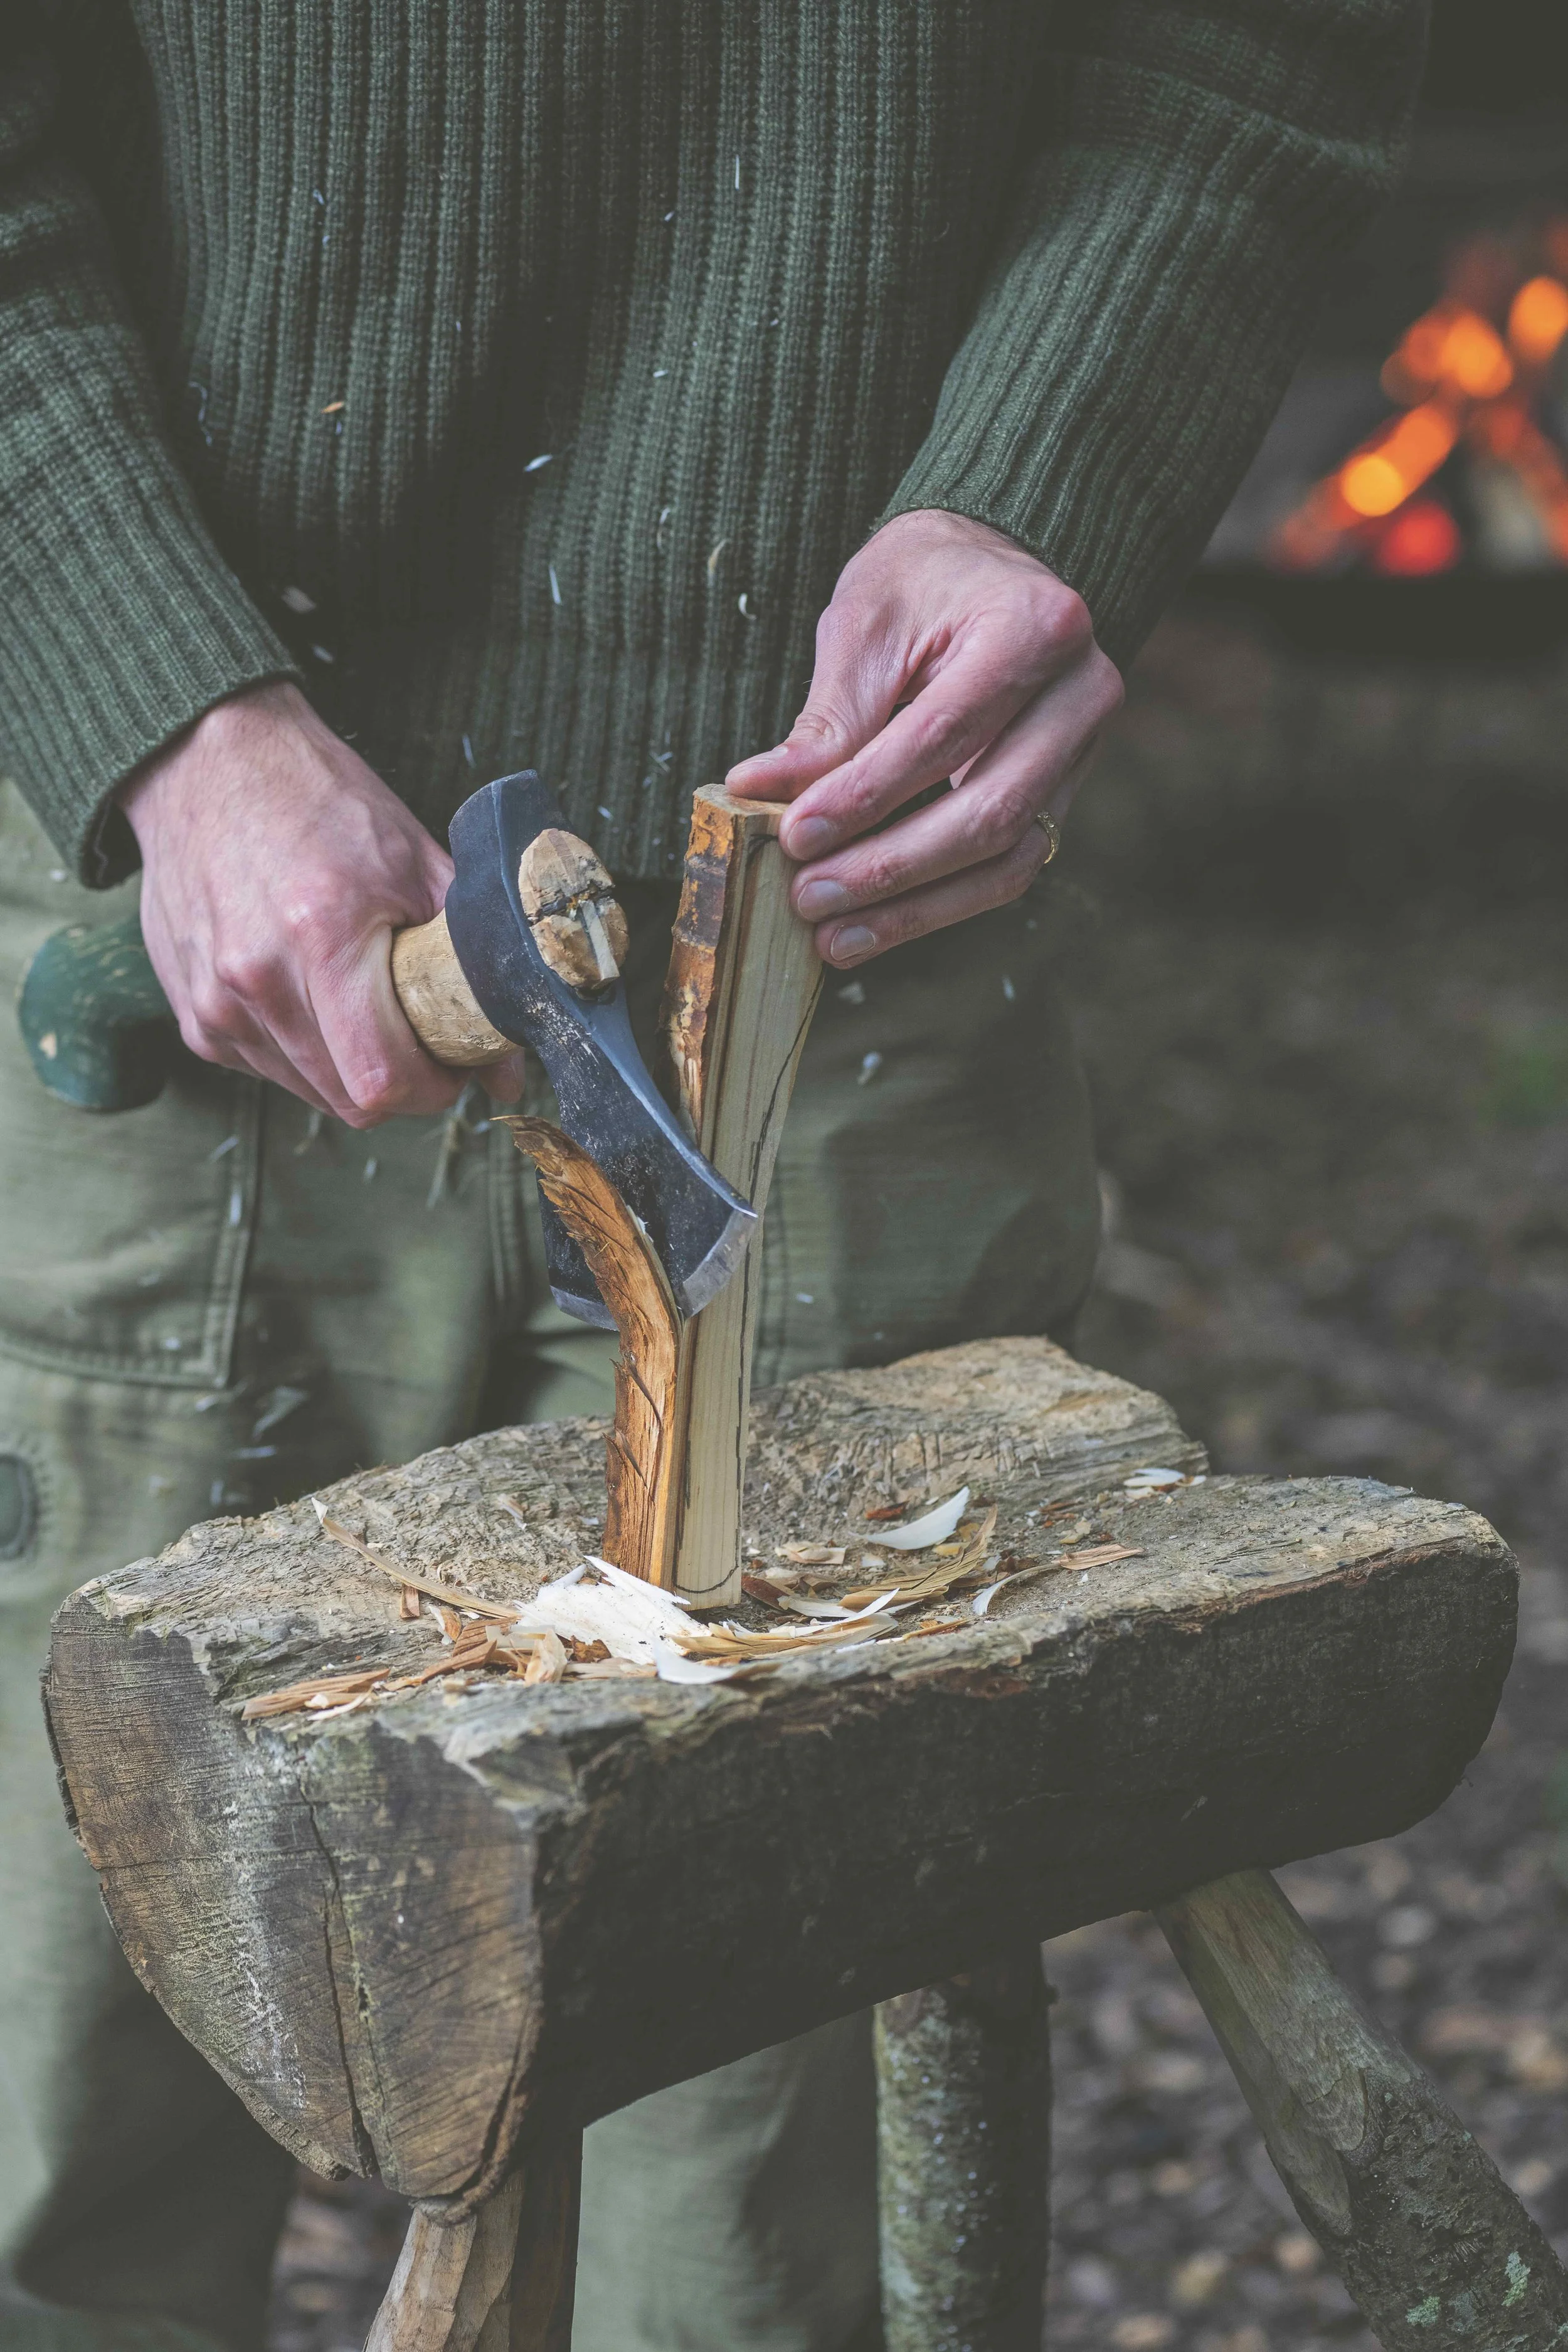
1 Split the log into thin billets, splitting the wood along the grain and into halves each time. The billets for most spreaders need to be roughly 3.5cm at their thickest width on the bark edge. Providing it splits cleanly, you can get up to eight butter spreader billets from a straight piece of 10cm diameter wood.
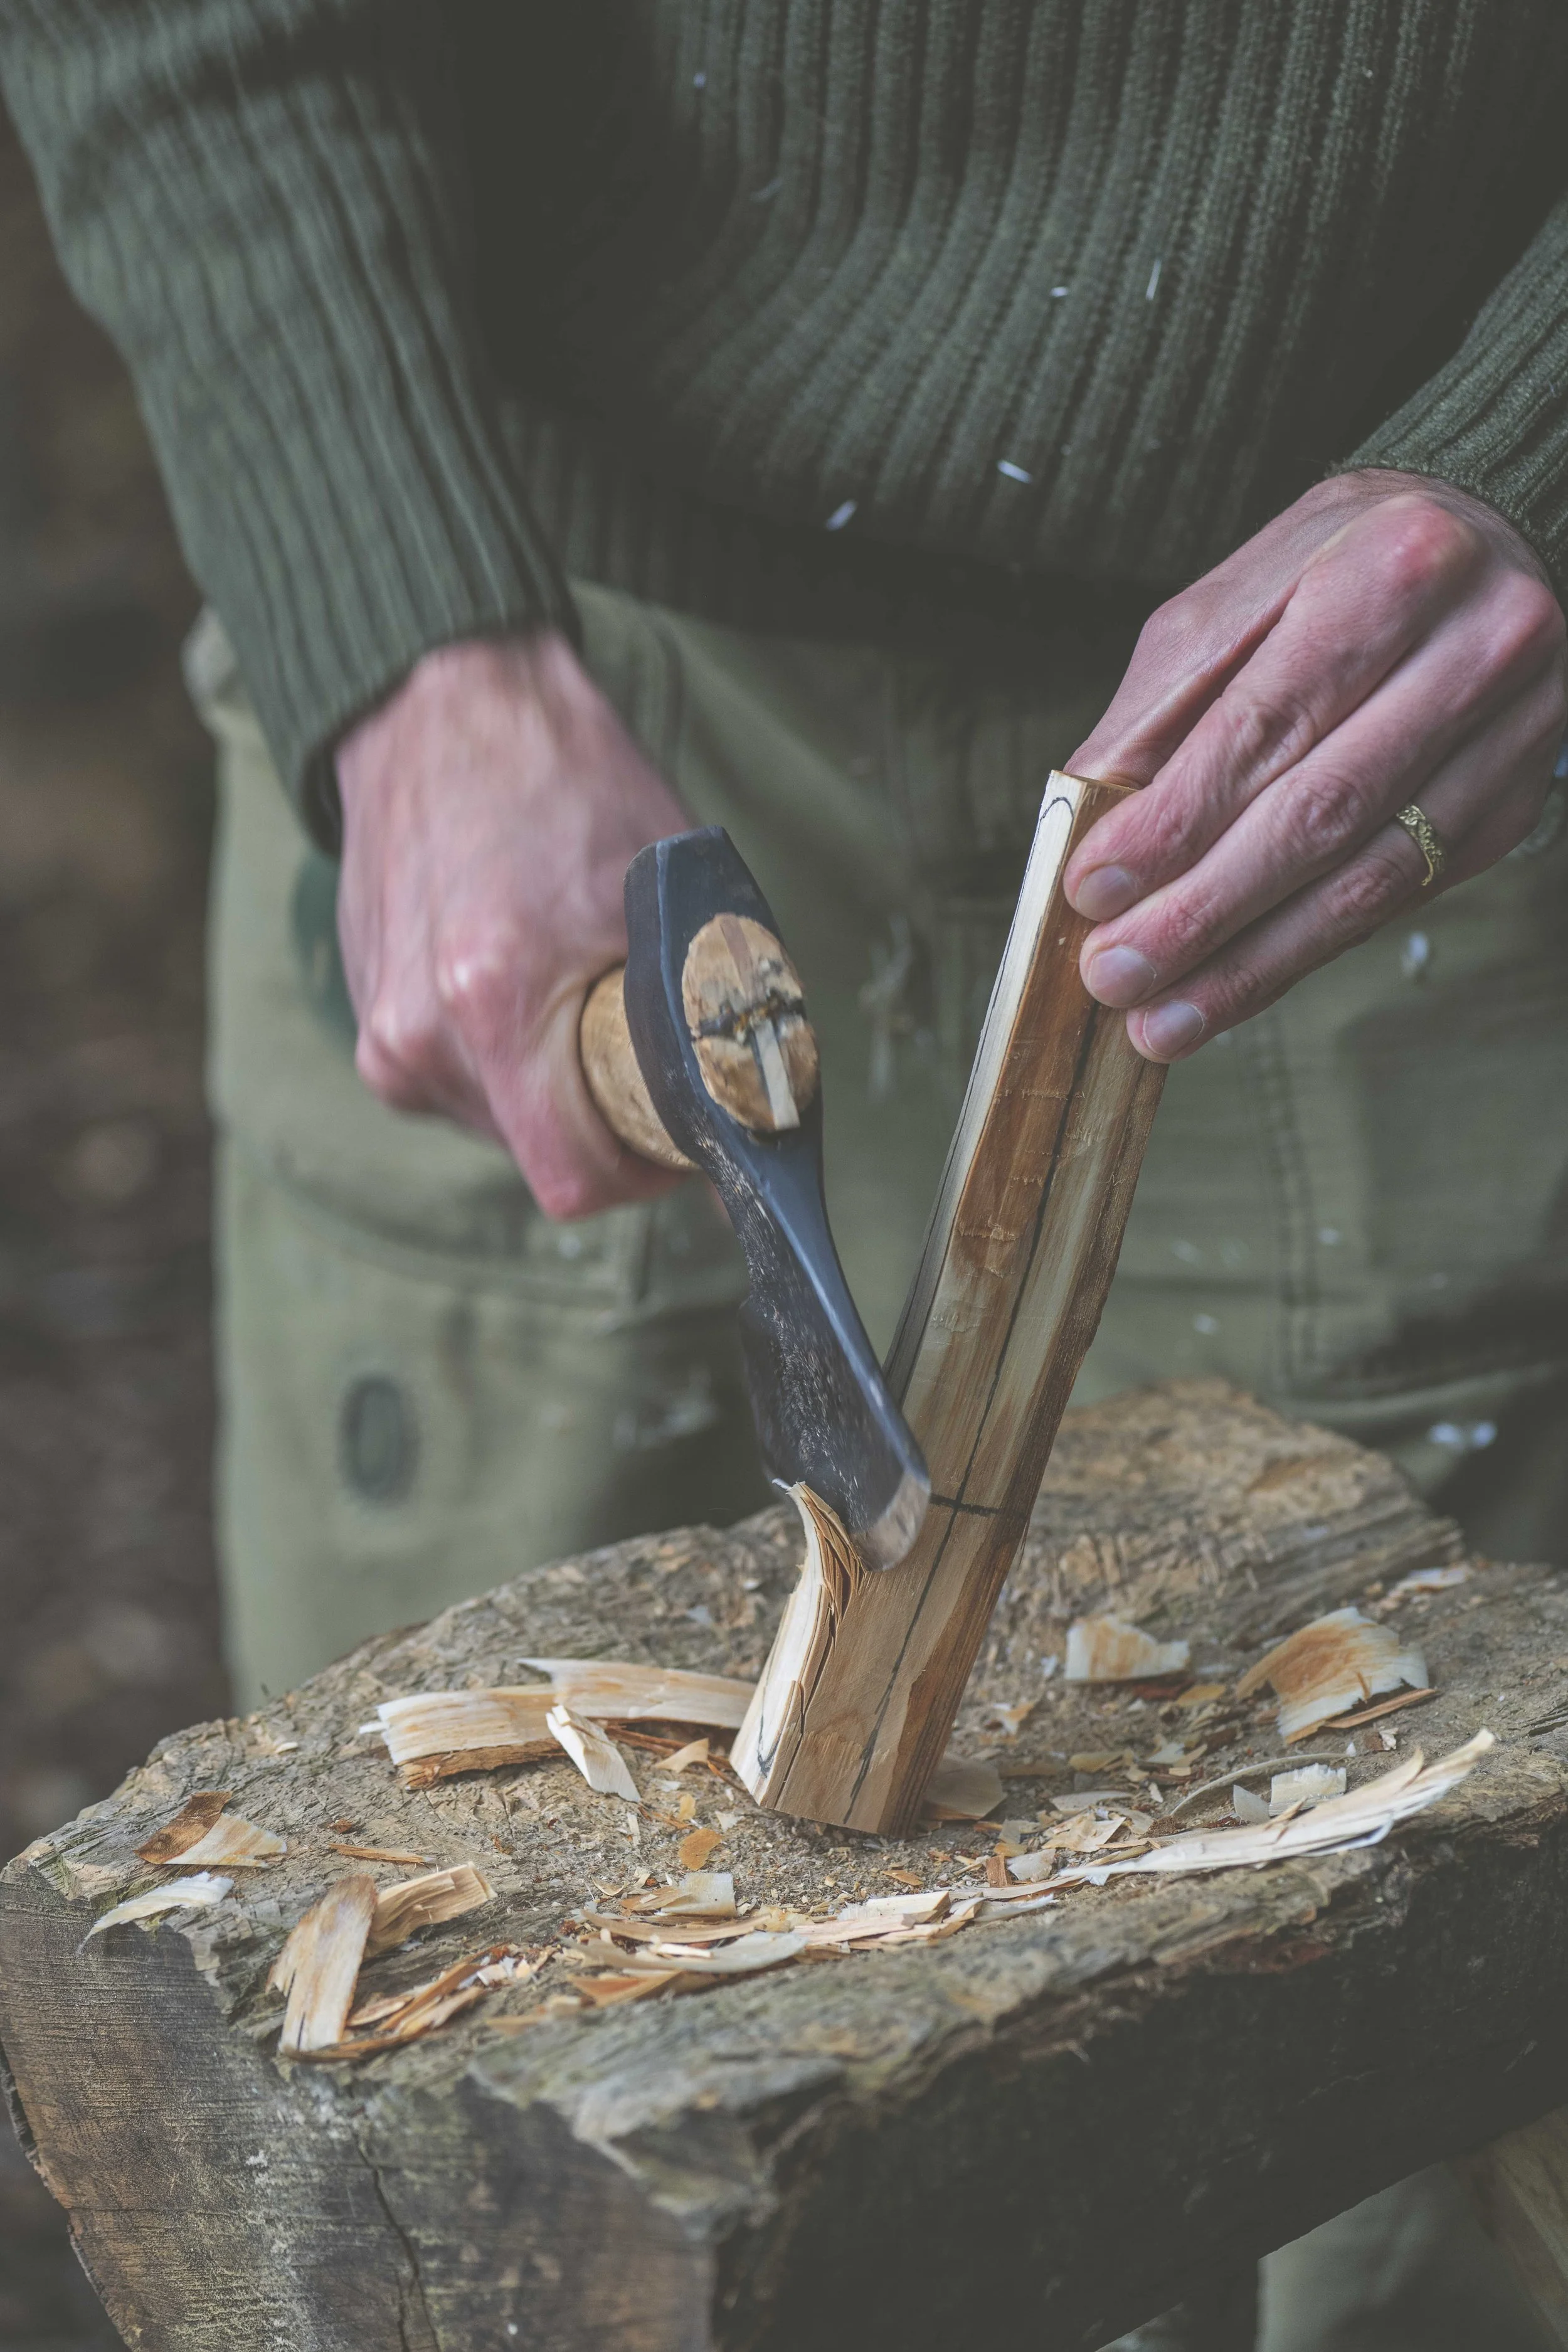
2 Choose your favourite billet. With the axe, use the relief cut to carve away the sharp pith edge, removing 1cm of material.
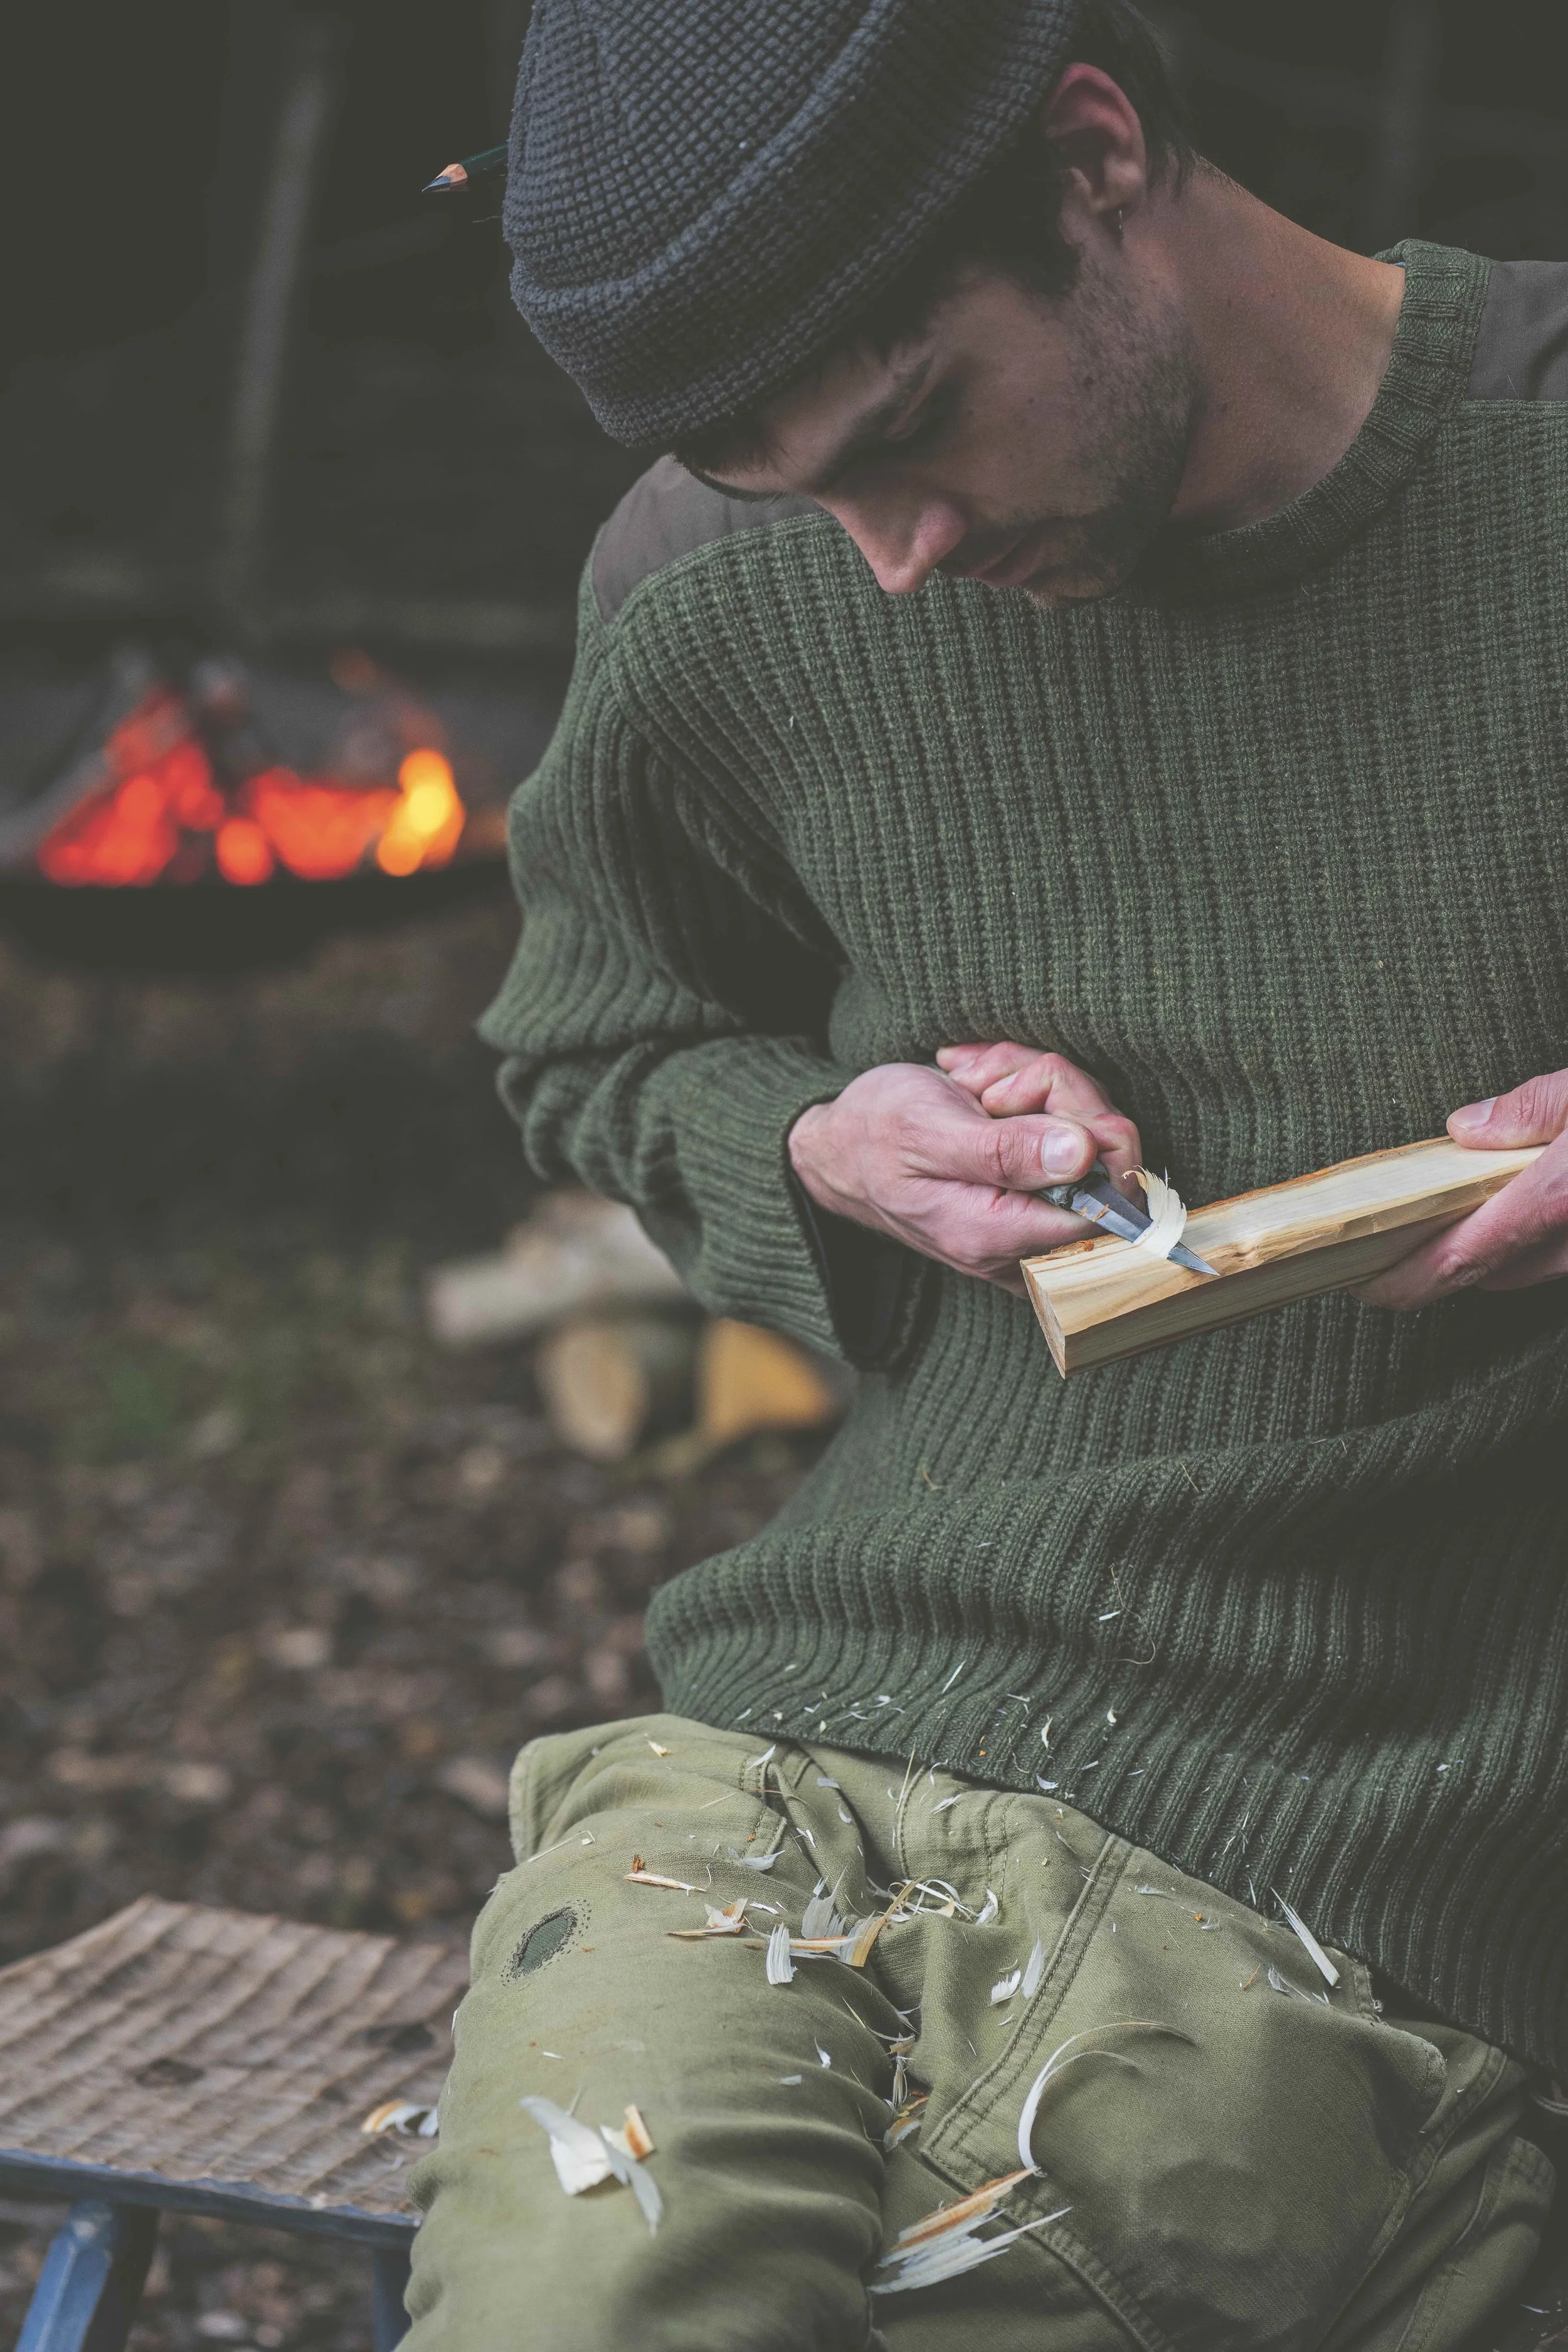
3 Use the carving knife to flatten the surfaces on both of the cleft faces of the billet. The chest lever grip reducing the material to create a smooth plane.
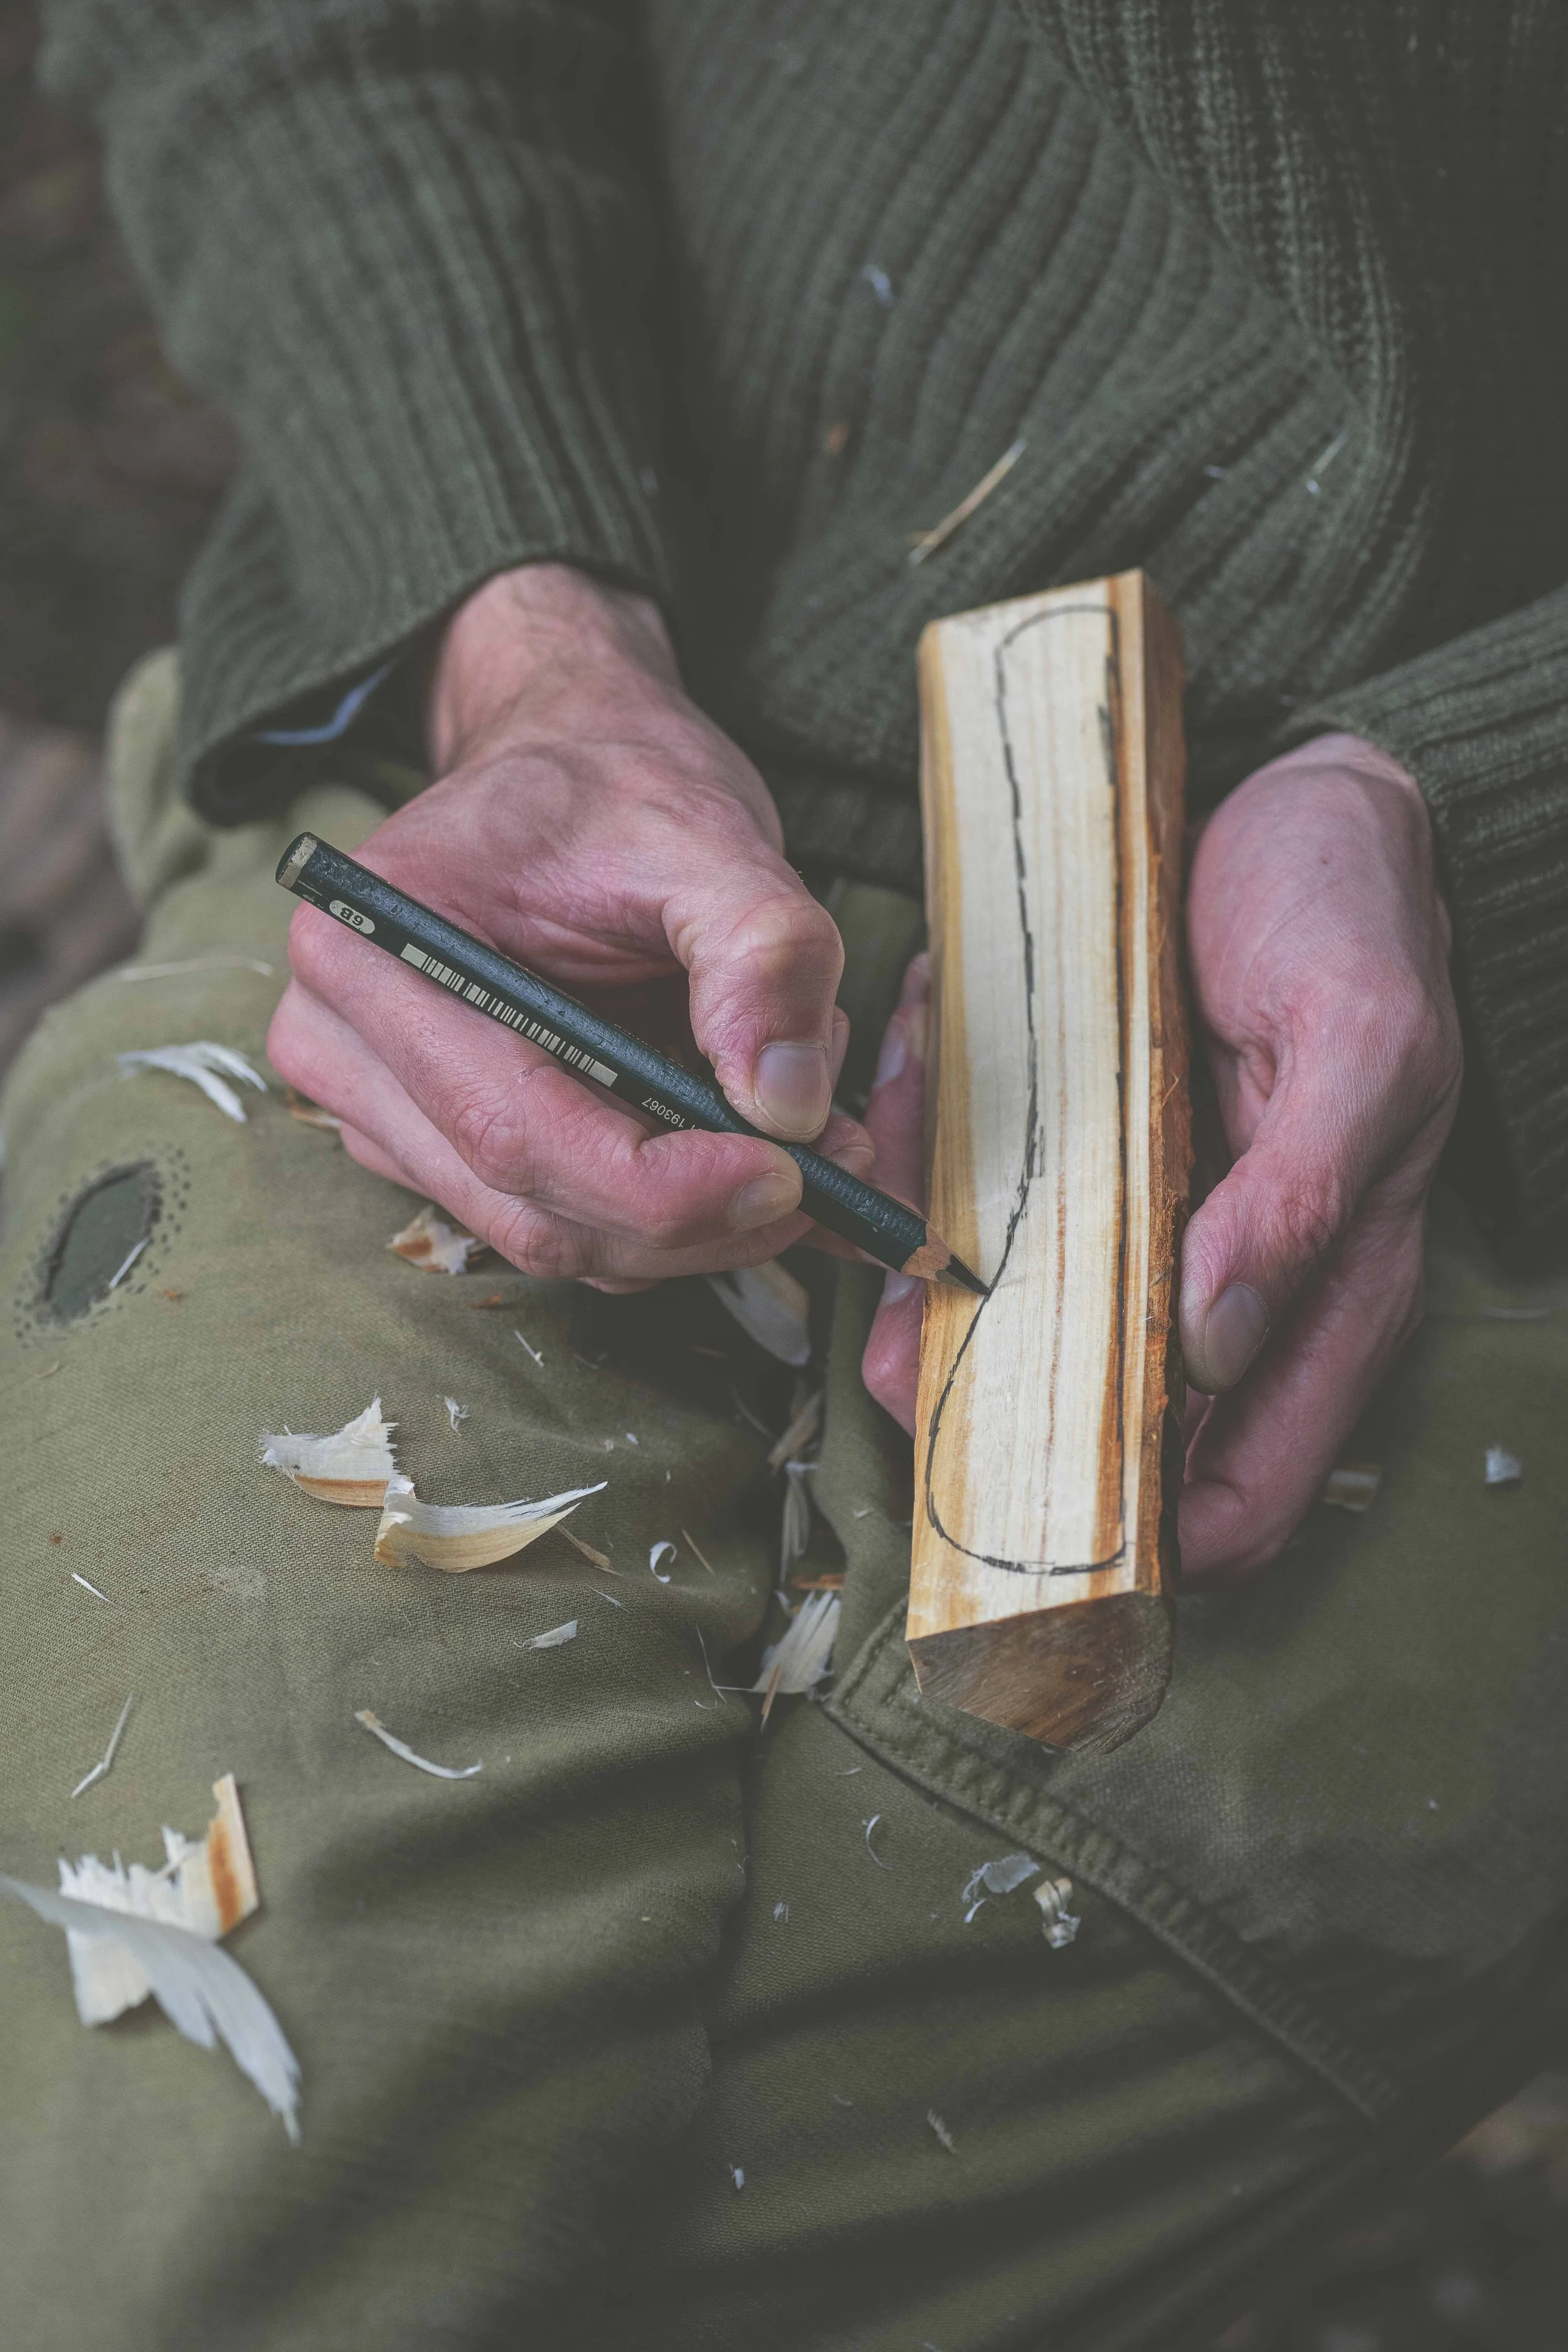
4 Draw on your chosen design incorporating the grain. The spreader must be able to stand the stress of everyday use so, for strength, the grain should run through the shape from the handle to the tip. The main stress of the utensil is where the blade meets the handle. Leaving a portion of material behind here will give the spreader longevity. Most butter spreader designs have a handle length of about 10cm before they flow into the blade. If this is your first spreader, keep the shape simple and keep the spine relatively straight to ease yourself in.
5 Form a taper with the axe along the underside of the spreader from the blade to the end of the handle. Hold the billet at the blade end and, starting from the bottom use the relief cut to break up the fibres before removing. Apply the same method on the spine.
6 Draw a centreline along the back of the spine and mark with a cross the point where the handle becomes the blade. With the axe, thin the billet on either side of the blade, leaving about 0.5cm either side of the centreline. Redraw the shape of the blade where you have cut it away.
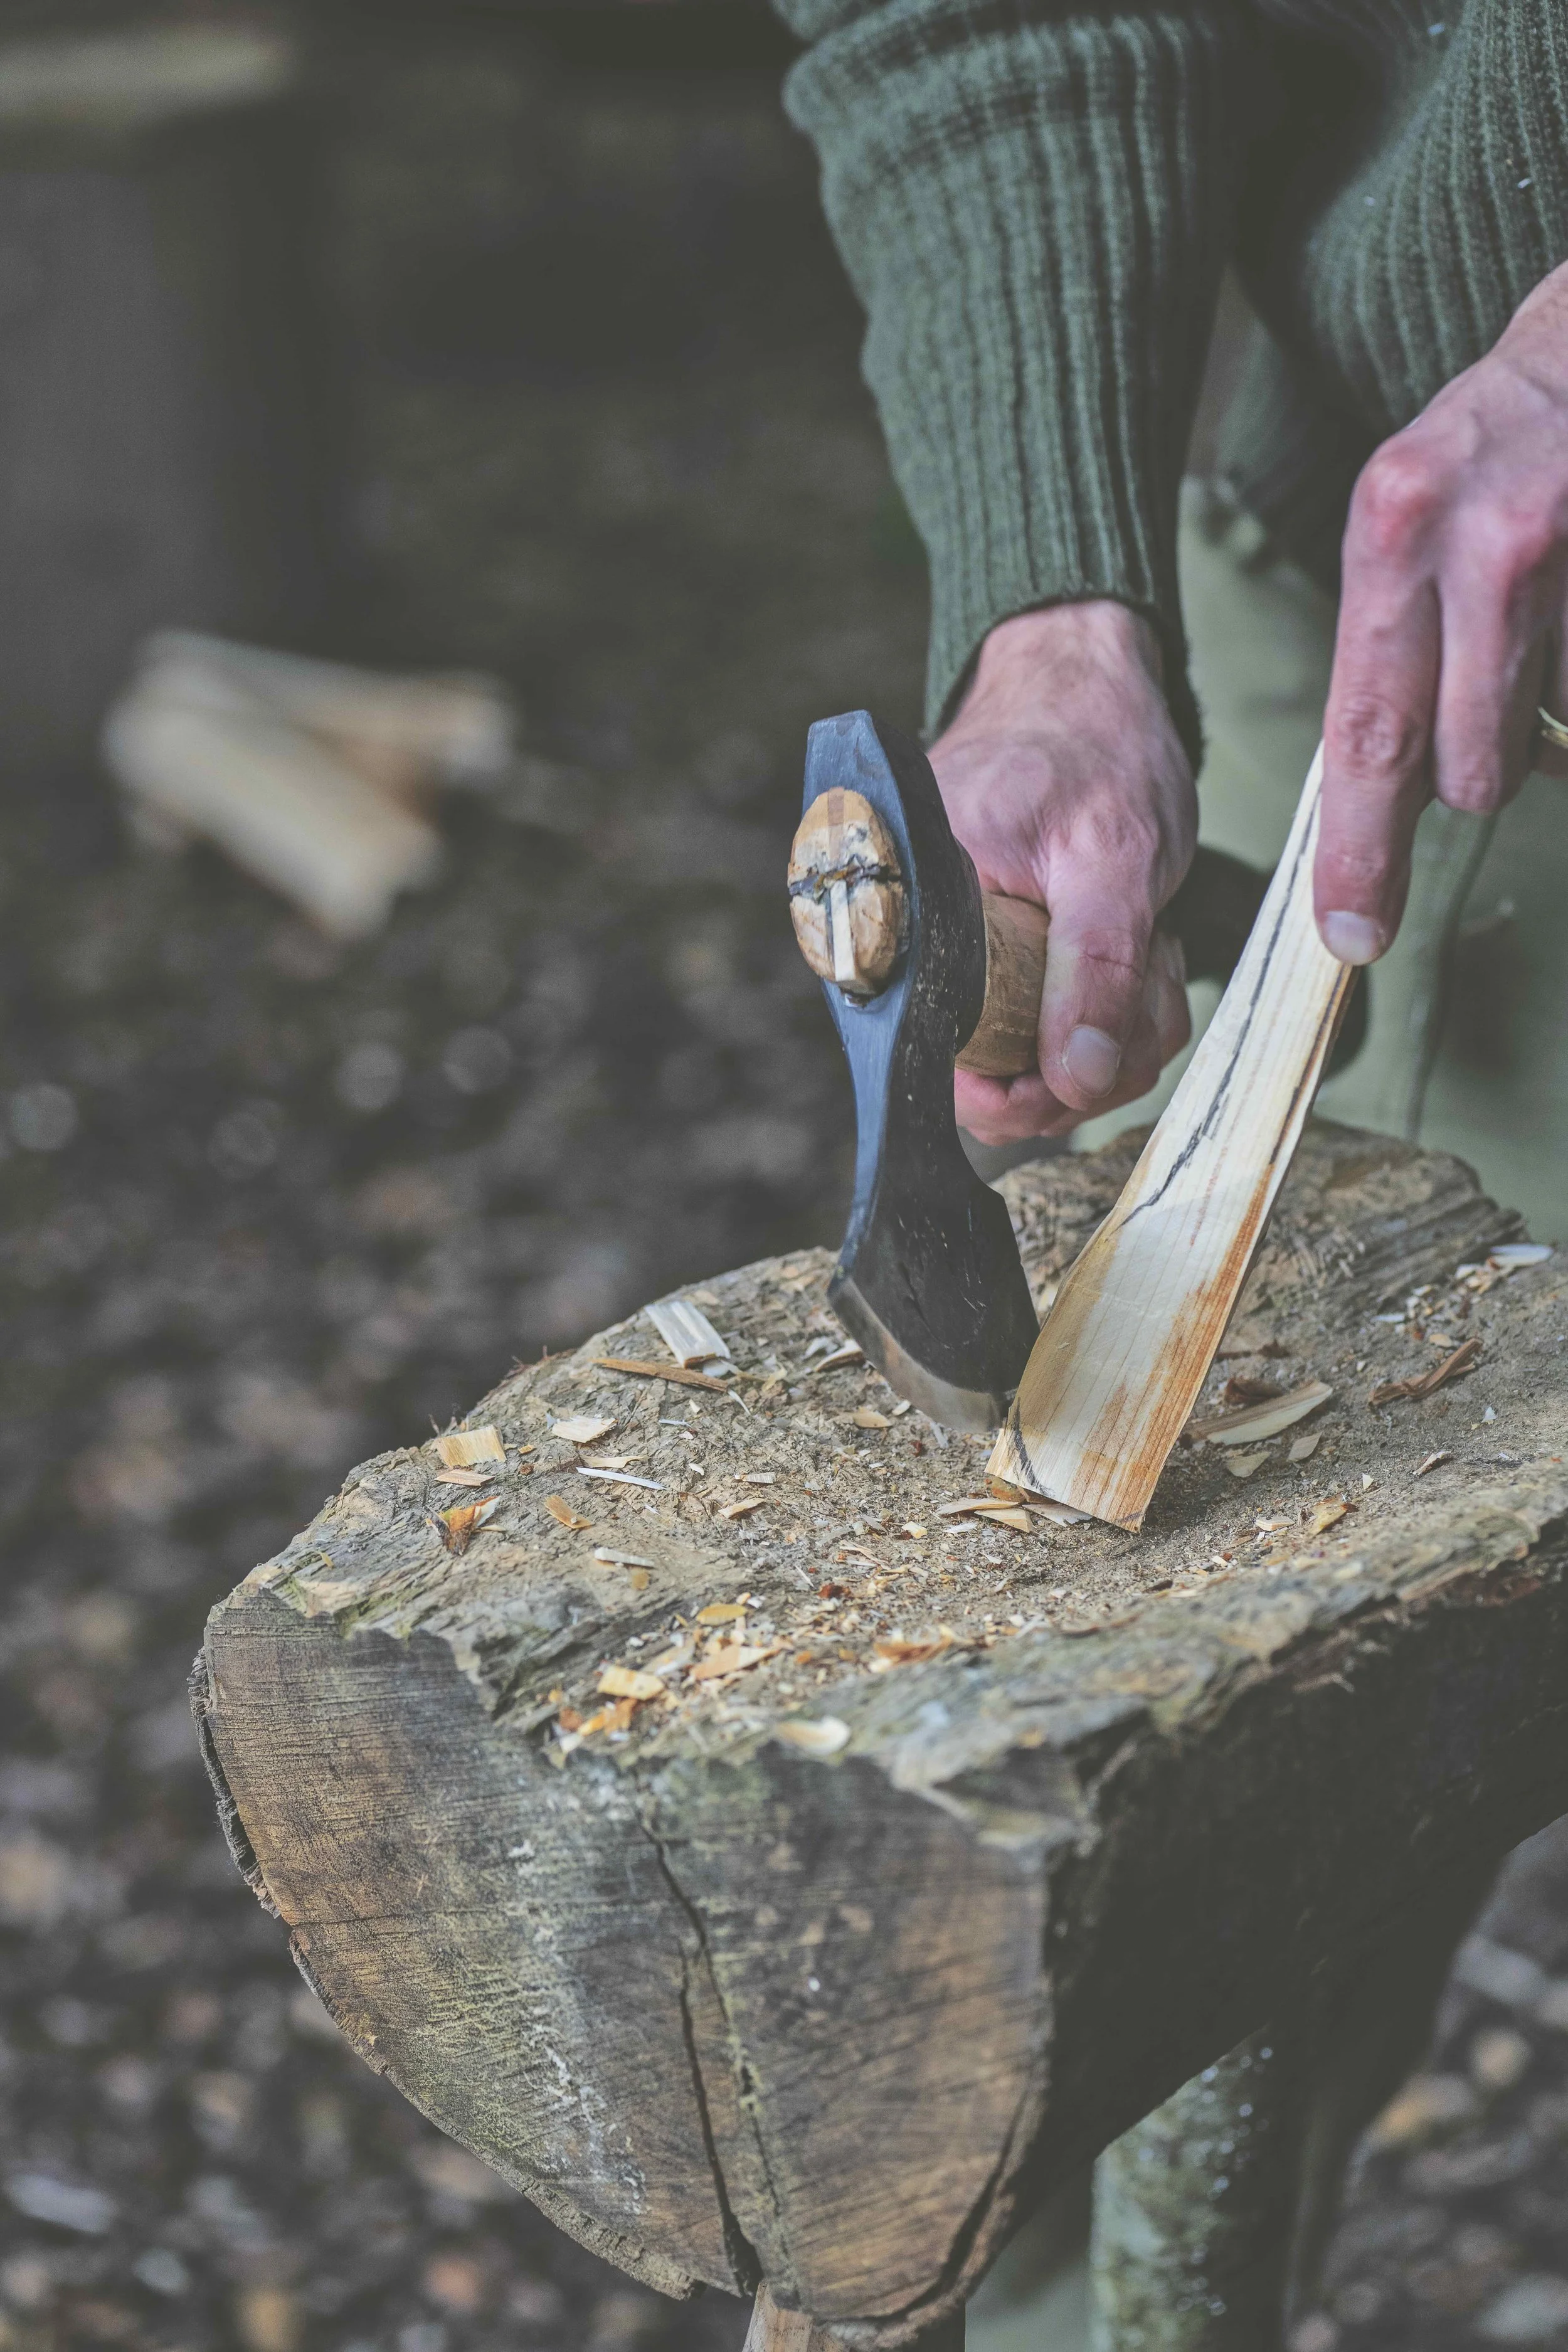
7 Now use the end grain chop technique to round the tip of the spreader blade, gradually arching the blank away from the axe to increase the angle.
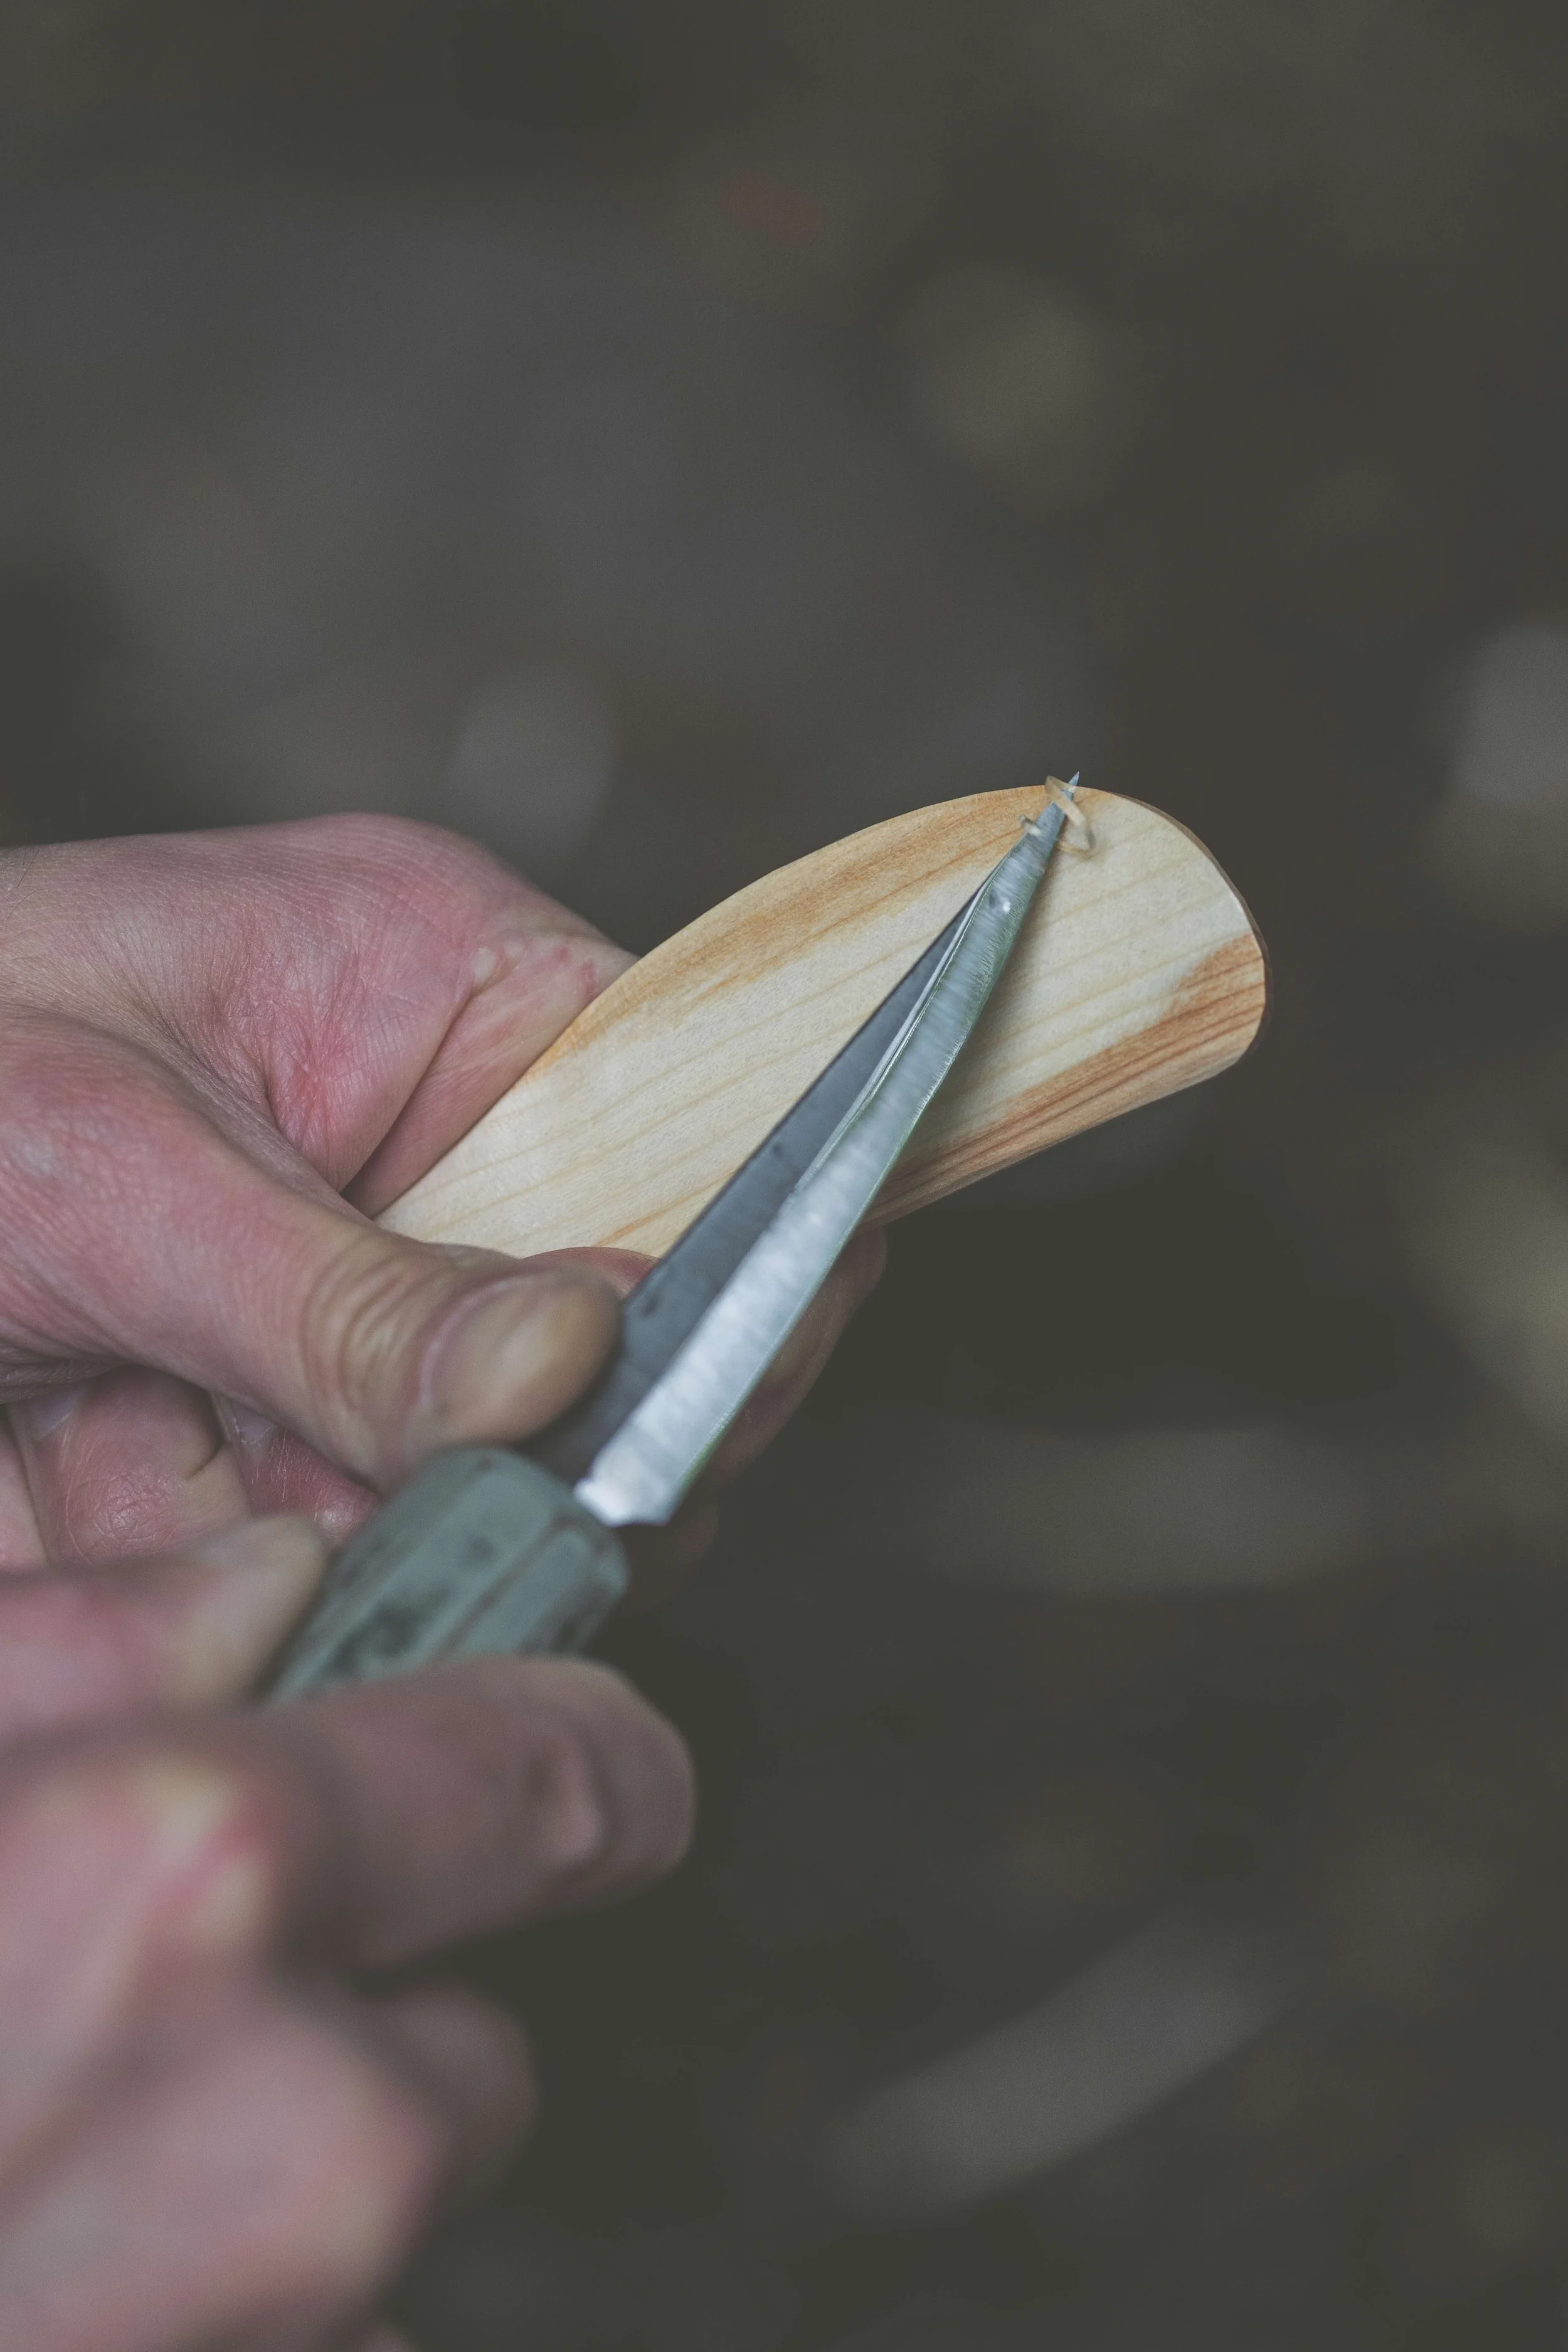
8 With a carving knife, use the power grip to refine the spreader’s blade, thinning it towards the spreading edge to a width no smaller than 2mm.
9 Using the chest lever grip, flow the underside of the knife into the handle. Now carve and refine the spreader’s spine using the drawing grip, slowly peeling back long shavings to a desired handle thickness.
10 With a combination of the thumb push and the pull grip begin to enhance the spreader with smooth facets. To round the tip of the spreader, use the apple peeler grip.
11 Lastly, combine the thumb push and the apple peeler grips to chamfer the edges on the handle’s end and along the length of the spreader’s blade.
Maker’s note: As many butter spreader billets can be harvested from one piece of wood, you can play with a variety of shapes and forms. Could you make the perfect jam smearer? How can you get into the corners of the jar? This is a fantastic opportunity to loosen up into fun shapes and let the imagination flow.
Cutting grips
Here’s how to make all the cuts you need to complete your butter spreader.
Relief cut
Start at the bottom of the billet, tilting the material away from the axe slightly, and create
a series of incisions at about an inch in between each other up the length of the cutting face to the halfway point. Working from the halfway point, chase the material down to the axe block to remove it, forming a taper.
Chest lever grip
1 Begin by sitting comfortably with your back straight, hands open on your lap, palms facing upwards. Hold the knife in your dominant hand, with the blade ahead of the index finger, its cutting edge pointing away from the centre of your body. Hold the stick in your other palm, with the end you want to carve ahead of your hand. From here, close your hands, gripping the two objects from underneath. You should be able to see all of your fingernails.
2 Cross the knife on top of the wood to form an ‘X’ shape. Bring the whole grip into your chest so that the knuckles of your little fingers are touching your ribs. Stick your arms out like wings, making a straight line from elbow to elbow. Use your chest as a lever for your hands, stemming from the articulation of your shoulders.
3 Bring your elbows forward slightly and dig the blade into the top of the wood until you feel resistance. Stiffen your wrists by squeezing the knife and the wood at the same time. Bring your elbows back and puff your chest out to lever a shaving away.
4 Engage your elbows and shoulders to pivot against your chest. Rotate the piece in your hand to expose a new area to the knife.
The end grain chop
1 Hold the billet at its very end, fairly upright, tilting just slightly away from the axe. Cautiously raise the axe just a small amount beneath the level of your hand, then swing the axe firmly into the axe block, aiming to remove the very end corner of the billet.
2 Once you have removed the initial chop, drop the hand holding the billet slowly, gradually arcing it further from the axe to increase the angle of the incision, and repeat the same axe chop. Like a second hand on a clock, continue to arc the billet away to round the end. The more chopping intervals you add to the arc, the more fluid the rounding will be.
The power grip
1 In a seated position, place your knees and feet together, closing the legs. You will be carving the wood off to one side of your lap. Hold the knife in your dominant hand. In your non-dominant hand, hold the wood at one end and tilt it down towards the ground, across your lap. It is important that the wood is below the thigh for safety. Hold the knife in a full grip, forming a clenched fist. The blade should be facing towards the ground when held to your side, to meet the wood.
2 The power from this grip comes from the movement of the shoulder. To engage it fully,
keep your dominant arm straight, with your elbow locked, squeezing the fist lightly so that the only moving part of the body is your shoulder.
3 Introduce the bevel edge to the side of the wood and find the knife’s ‘bite point’ where it
wants to begin cutting. Once you have found the bite, tilt the tip of the knife slightly up towards the sky to encourage a slice and, with a shrug, drop the shoulder to begin slowly driving the knife through the bark, revealing a shaving.
4 Once your shaving has been made, retract your shoulder towards your ear, twisting the piece of wood in your non-dominant hand to expose a new, untouched section. Repeat.
5 To remove material within the portion that you’re holding, simply spin the stick around, hold the other end, and repeat the grip steps.
Thumb Push Grip
Hold the stick in your non-dominant hand in a position where you can reach the spiked end to push the knife away with your thumb. Now, as if you are sharpening a pencil, use your thumb to guide the back of the knife onto the wood. For safety and comfort, push the knife at the end of the handle. For safety, the thumb push grip should always be directed pushing away from you, and not towards.
Apple peeler grip
Firmly hold the stick upright in your nondominant hand, exposing the blunt end. The focus here is on your dominant, knife hand moving the knife back and forth as if to peel an apple. This motion should free up your thumb, which can serve as an anchor, safely latching on to the side of the stick, providing purchase for the knife to carve through the wood.
Pull grip
1 In your non-dominant hand, bring the wood to a comfortable point at your sternum, pinching the end firmly with the fingertips for support. In your dominant hand, form a closed fist around the knife handle, blade pointing upwards with the cutting edge facing towards you, as if you're looking directly down the barrel of the knife.
2 Transfer your thumb to the other side of the knife handle. Position the knife upright to the outward facing side, beneath your fingertips. Your nondominant hand should always be the farthest point away and the knife shouldn’t ever be positioned ahead of your fingers. Angle the knife so that the tip is directed away.
3 Draw the knife back gradually, revealing a gentle spiral like a ribbon shaving. The knife’s pace is regulated, being naturally slowed by your body, with the tip always upright and angled away, all while the wood shields your non-dominant hand. Focus on applying a steady, consistent movement, drawing back from the elbow, brushing your forearm against your hip. Look down the knife’s edge. Focus on the angle with which the bevel is being introduced to the wood.
Taken from The Green-Wood Carver: Slow Woodcraft for Beginners by Samuel Alexander (Skittledog). Photography: Charles Emerson

