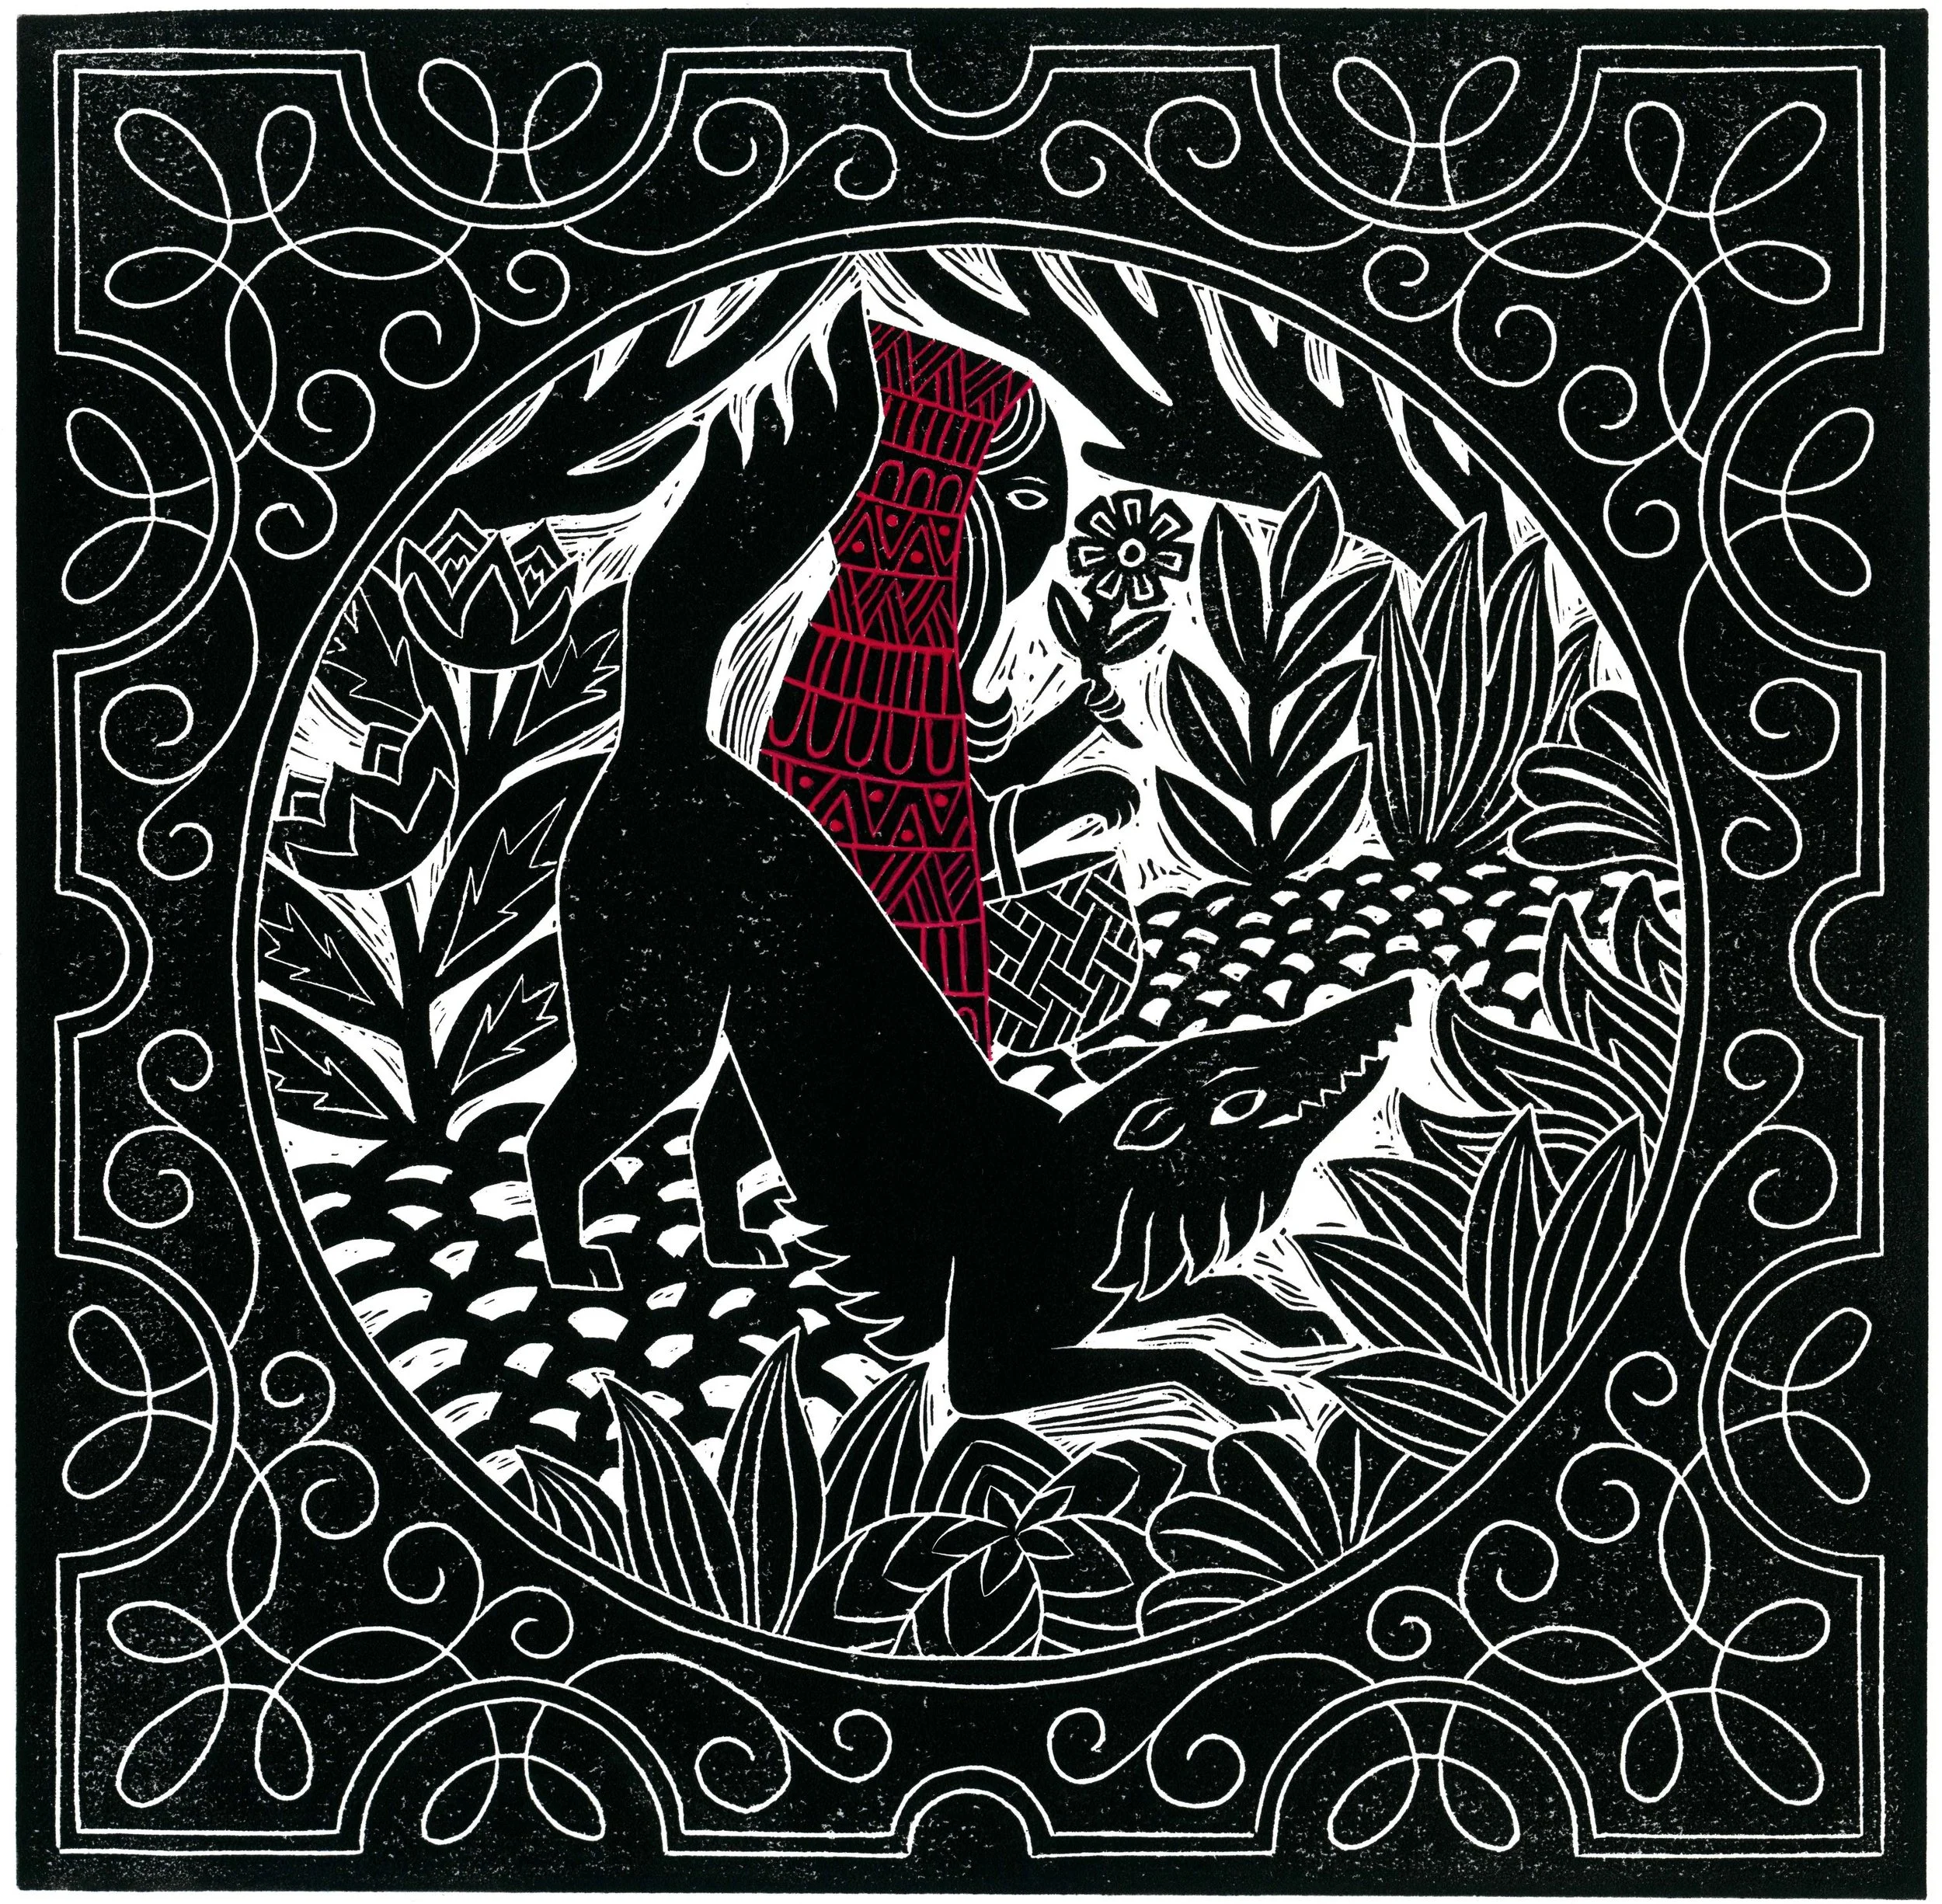
Illustration by Kavel Rafferty
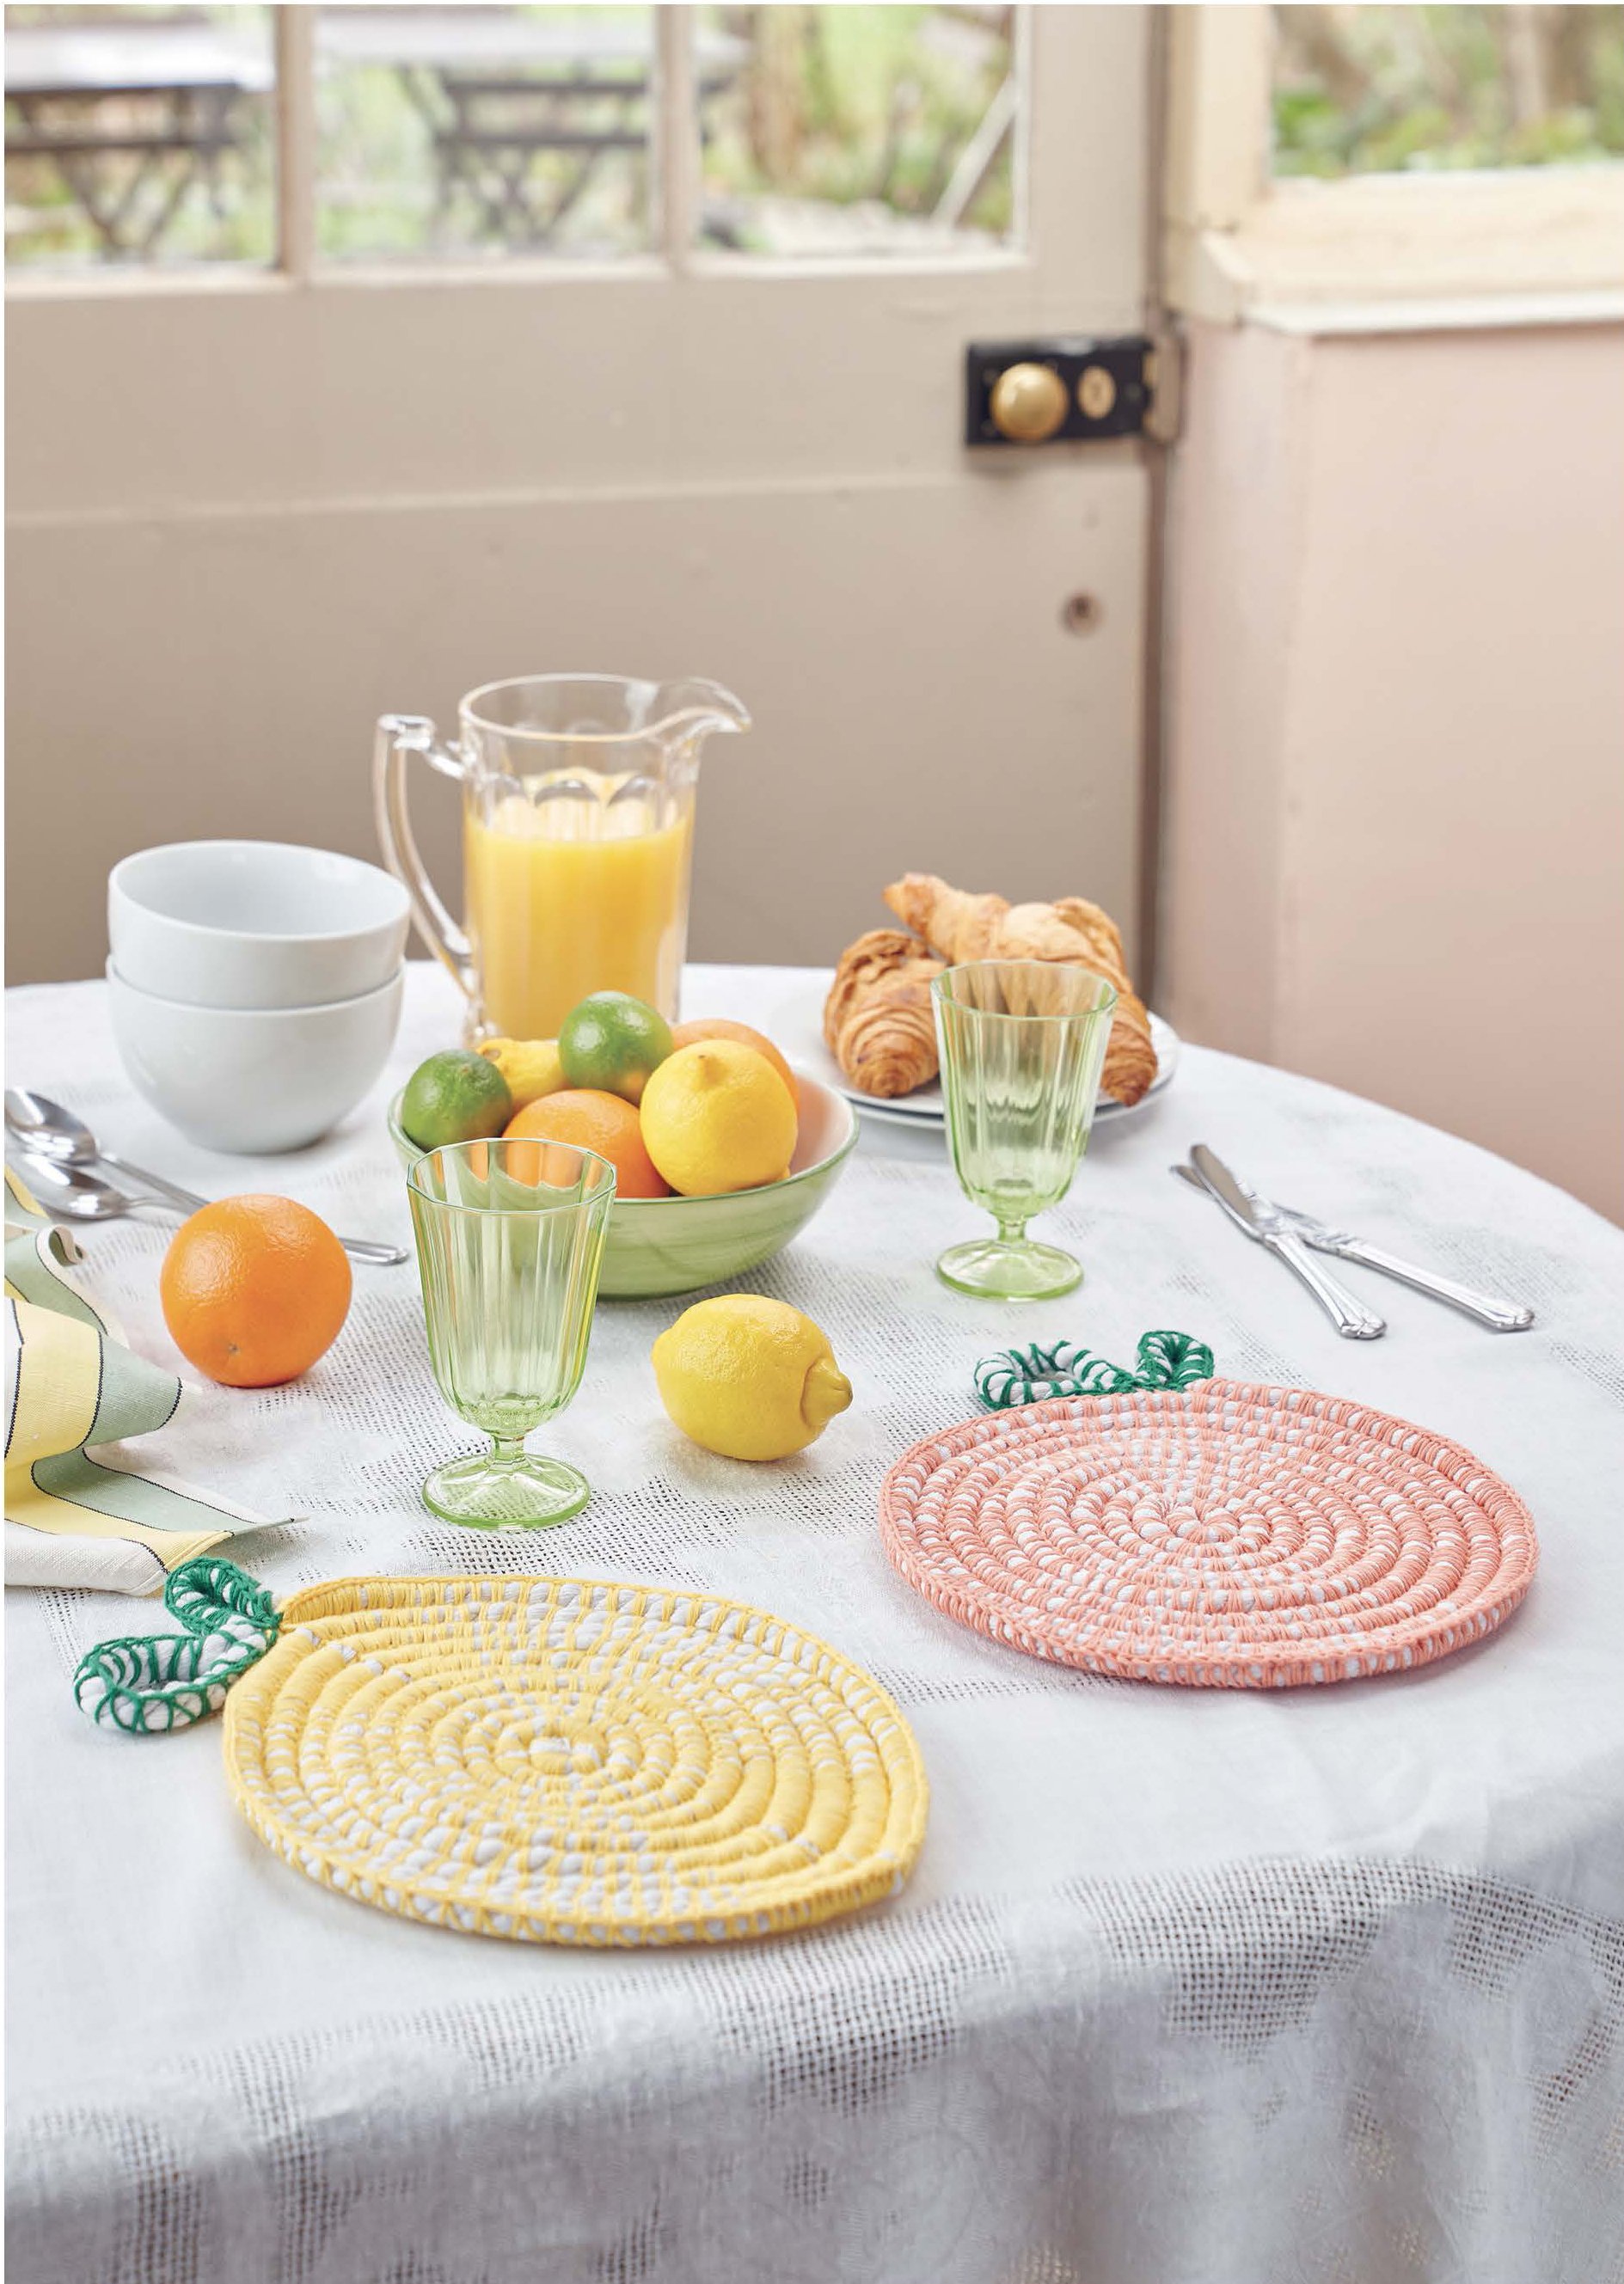
Brighten your January table with a zesty cloth to protect it, just in time for marmalade season.
Pick your fruits
A few differently sized citrus fruits look effective, so maybe buy a couple of lemons, a couple of limes, a large orange and a grapefruit. Cut each in half widthways (so that you get a print that shows the separate segments). Juice each half carefully, taking care to break up the pith between each fruit segment. Leave the juiced fruit halves out to dry a little.
Choose your colours
Squeeze a generous amount of fabric paint into foil trays, using a different tray for each colour. Classic orange, yellow and acid green look effective but you could also pick colours to match to your decor if you prefer.
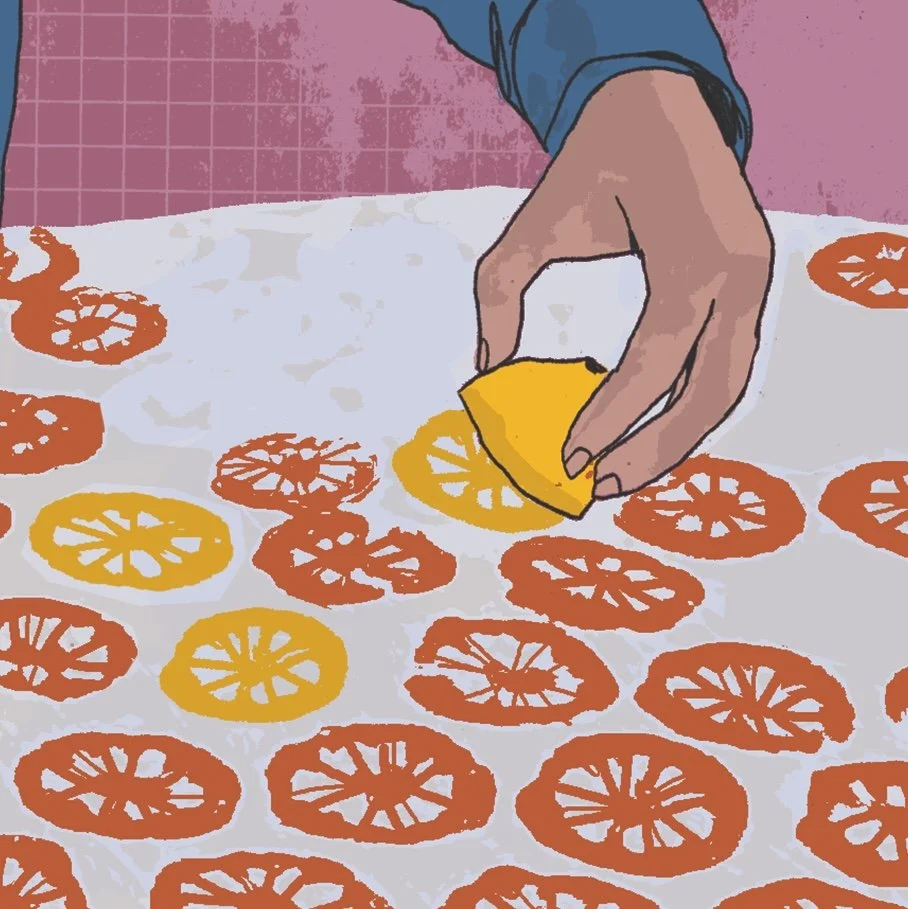
Make your mark
Dip the citrus halves into the paint, or apply the paint to the bottom of each half carefully with a paint brush. Gently press each painted half onto a plain tablecloth, working from the centre towards the edges. If it’s a large cloth you might need to stamp in sections and leave each one to dry. Once complete, throw it on your table to show off your homemade marmalade on toast and orange juice to its best effect.
This kitchen table project is taken from our Miscellany pages, which are full of seasonal fun facts and silliness each month. The January issue is in shops now.