Photography by Gap Photos
As autumn fades slowly into winter it can feel like the garden has less to offer but some things are most beautiful as they fade. Here are a few plants that look beautiful in a winter garden with a touch of frost on, or brought inside as a late autumn bouquet.
1 Hydrangeas
As Autumn truly sets in, the hydrangea flowers fade into dusty pinks, yellows and browns, and they just get more beautiful. You can cut a few heads to bring in - you don’t need many as they’re so big - but if you can, enjoy these in the garden as there’s often already new growth on the stems that it would be a shame to lose.
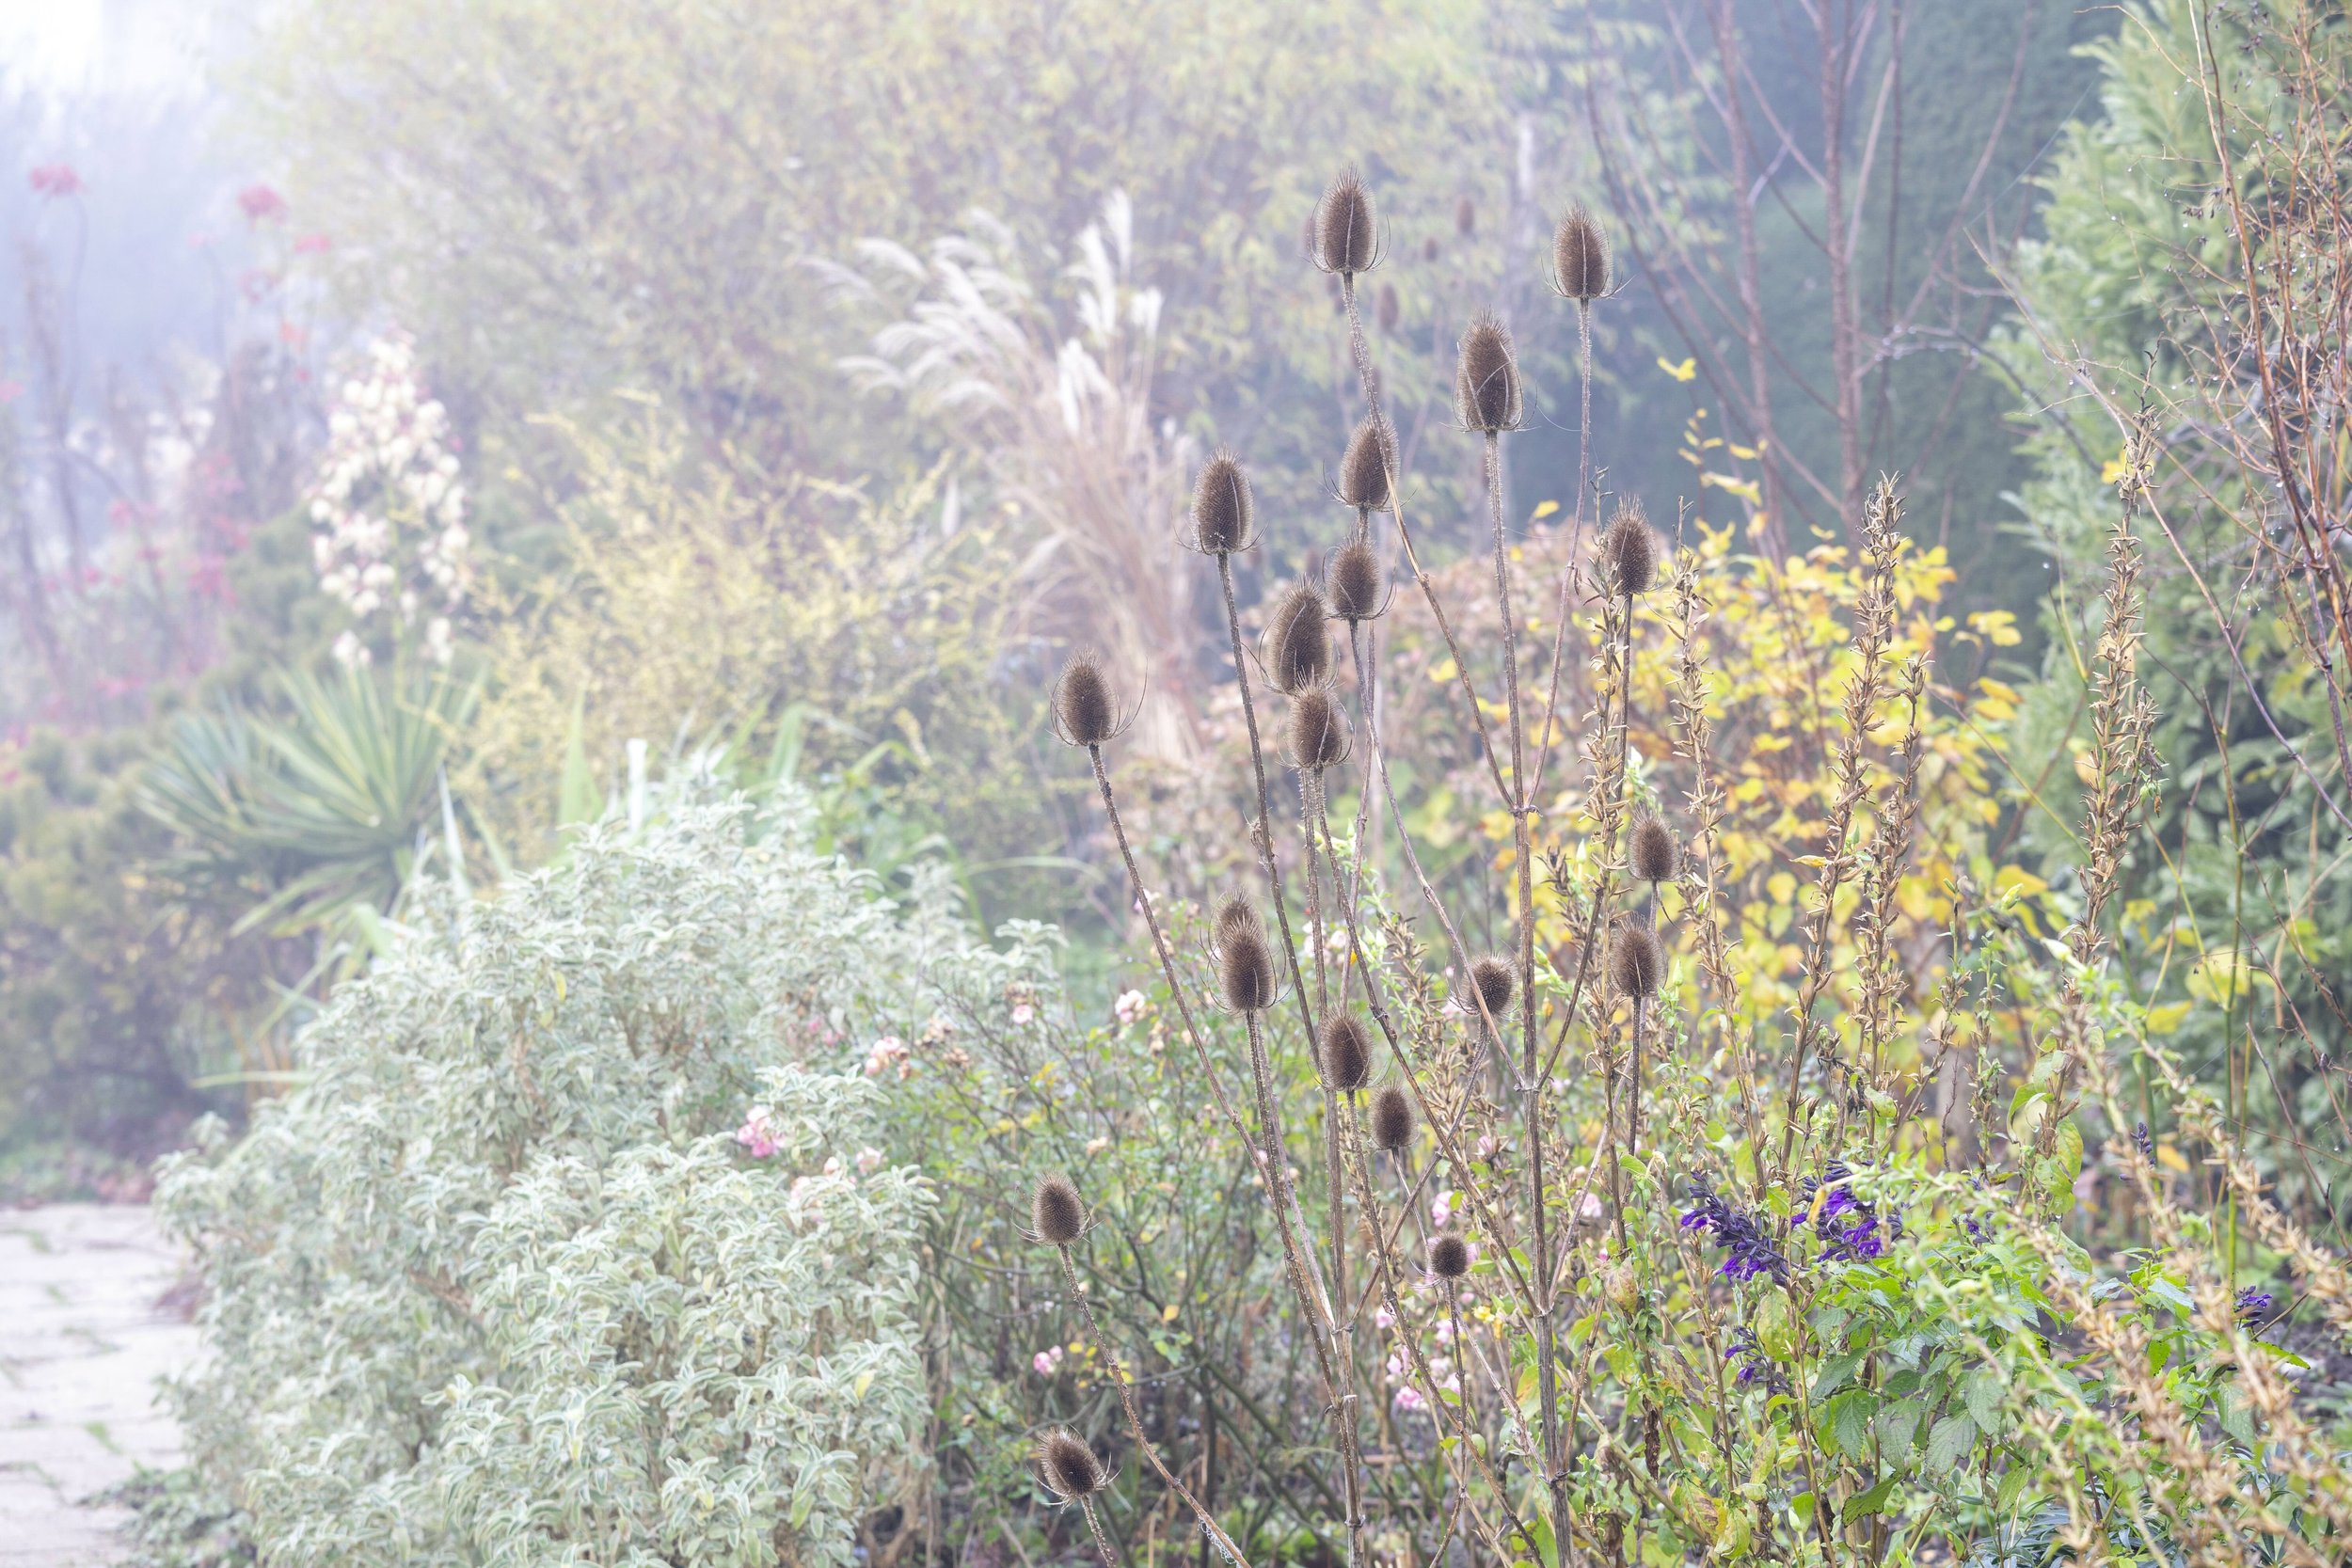
2 Teasels
Statuesque teasels (pictured above) look great with a dusting of frost on them outdoors and, if left, provide food for birds, including goldfinches. They look dramatic indoors, too, either in a tall vase or woven into a wintry garland using wire, along with pinecones, cinnamon sticks and anything else the season offers.
3 Honesty
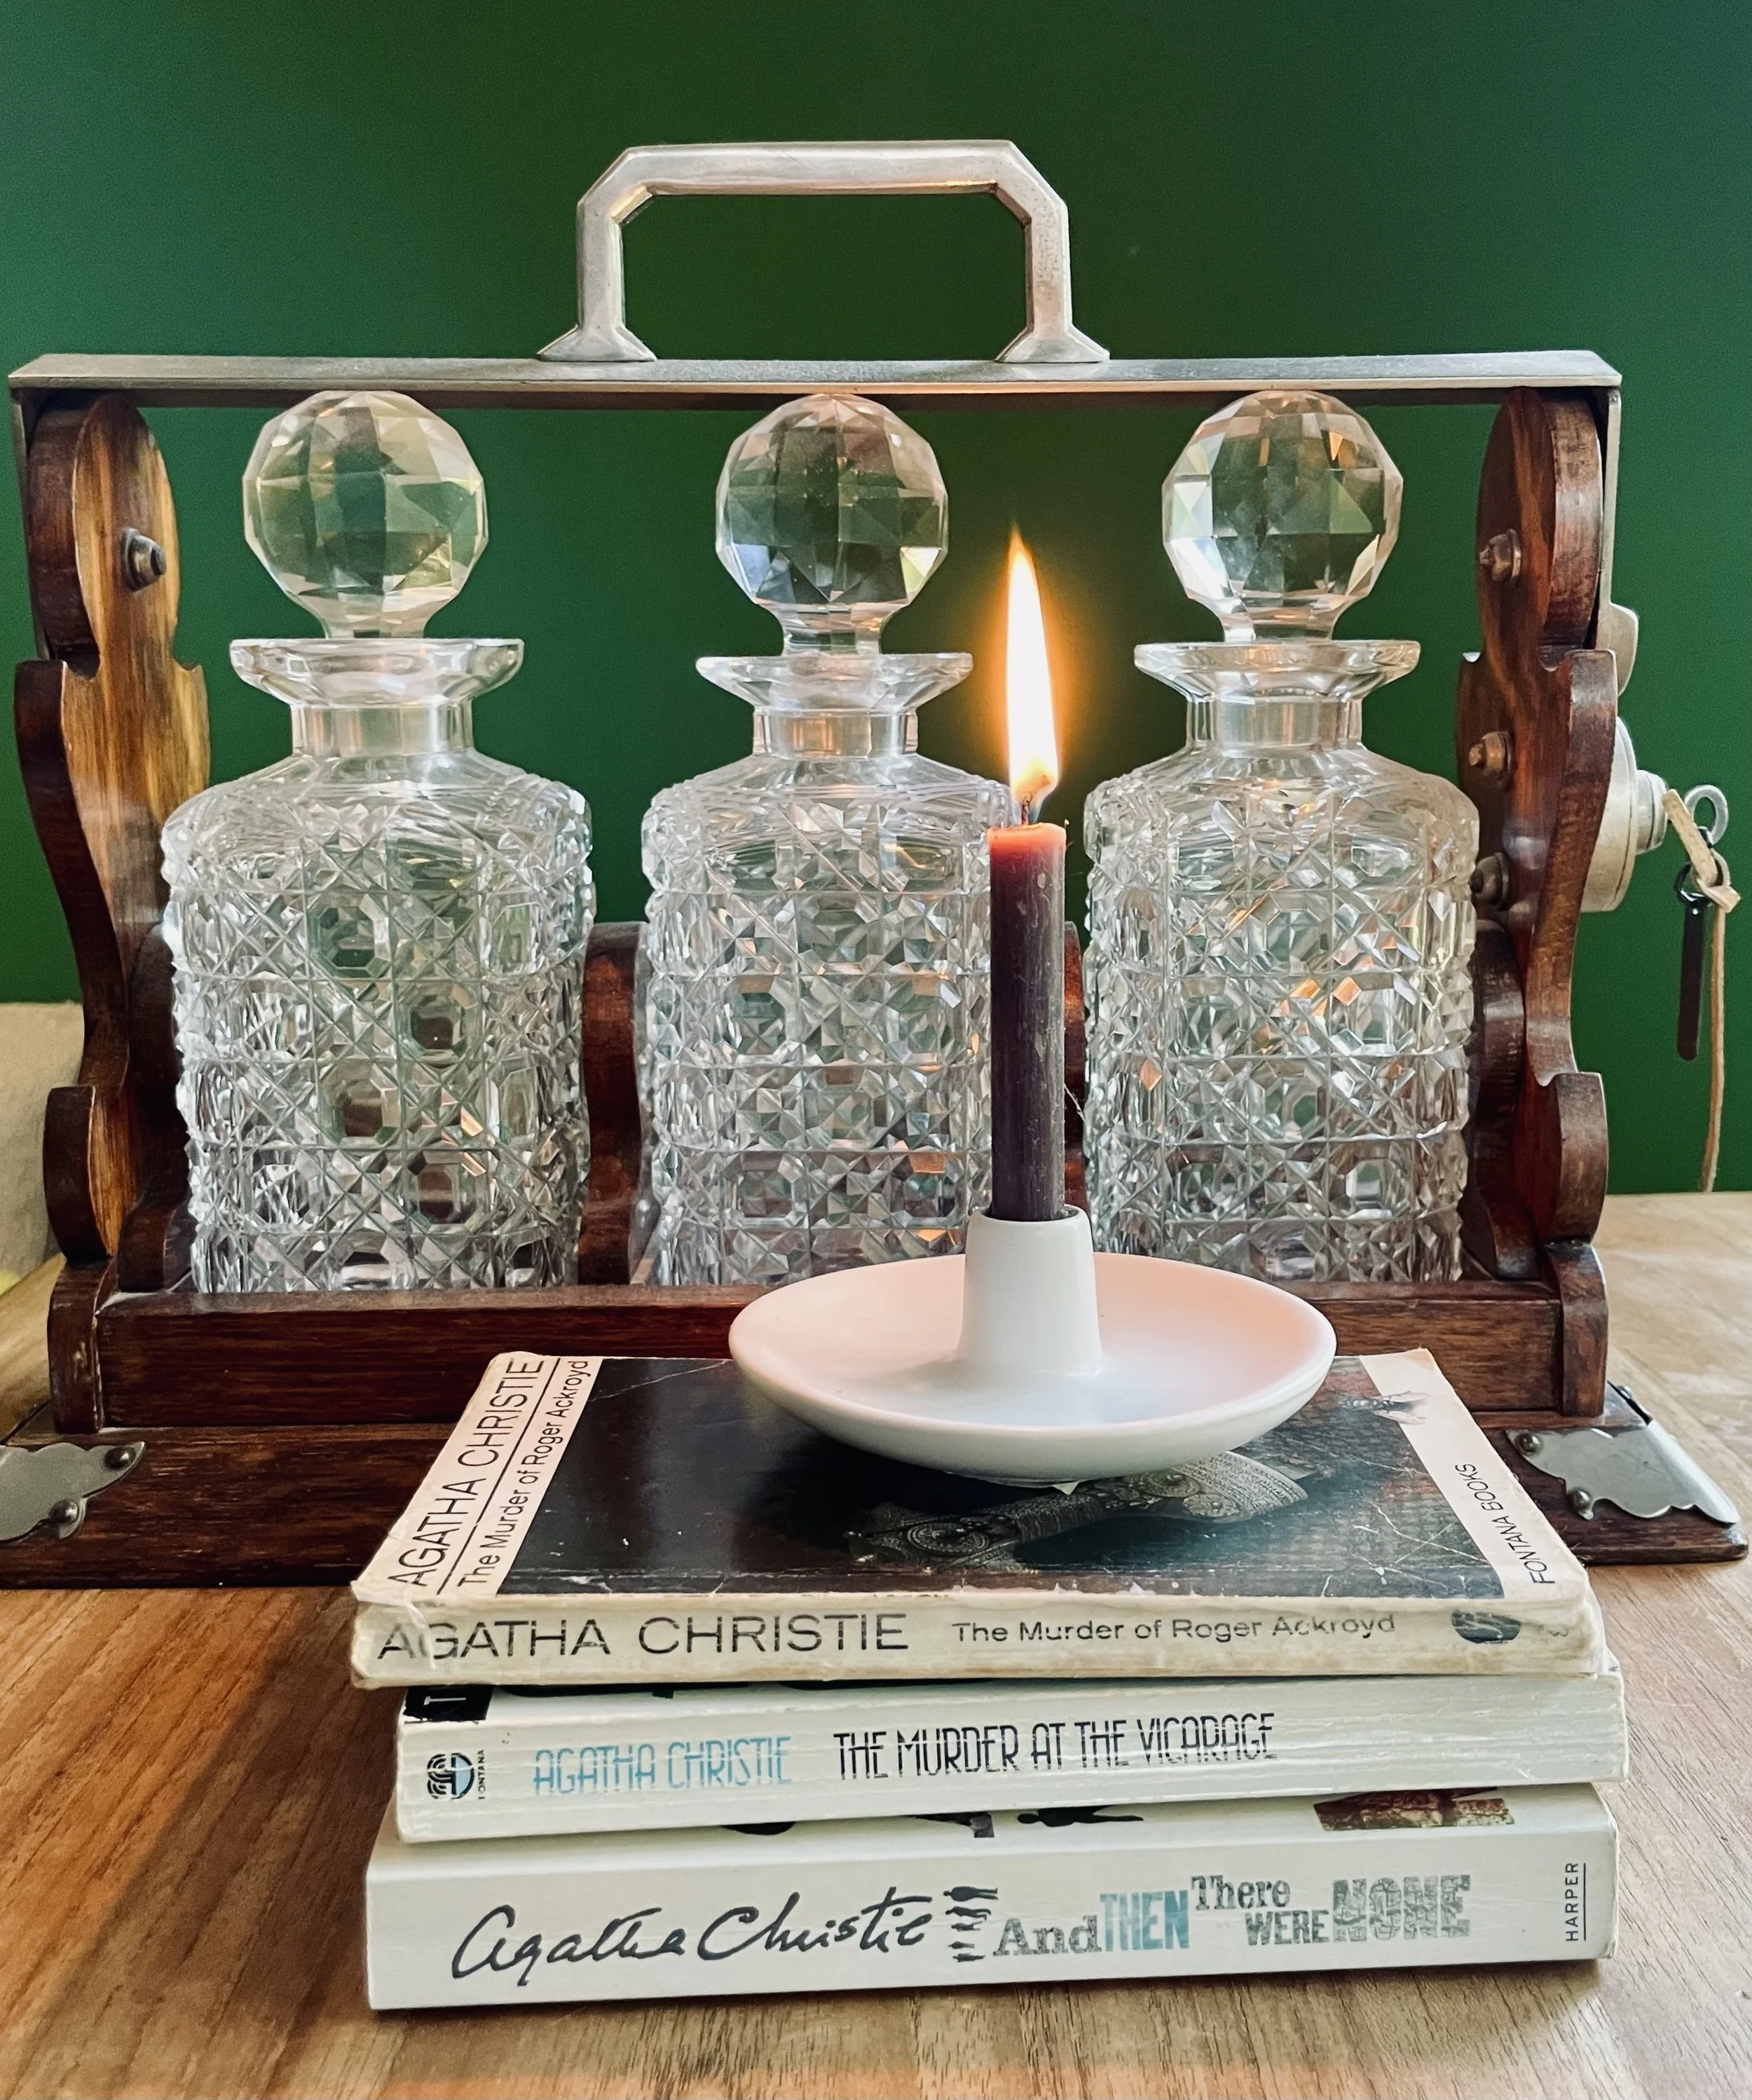
Honestly, Honesty is one of the plants that looks better after it’s ‘gone over’. Once it’s finished its growing season, you can peel back one side of the seed pod that the seeds are stuck to, and leave these outside for the birds, and you’re left with little circles of what looks like tracing paper. They look stunning in a vase indoors and lamp or candlelight will gently illuminate them to look like branches hung with lots of tiny moons.
4 Lotus seedheads
Totally dramatic, in the garden or a vase, these have a really strong structure that brings an indoor dried bouquet to life. Pair with other seedheads, dried grasses and twigs. Some like to spray them pretty colours but we think they’re just beautiful as nature intended.
5 Alliums
Spent alliums have the look of ghostly fireworks. They come in a variety of globe shapes, some looser shapes with little ‘stars’ at the end of each stalk, some ‘tighter’ that look like fluffy cricket balls. As they fade from whites and purples to light brown they keep their dramatic shape but become more ethereal. Pick them to bring indoors before they fall over.
For more Autumnal inspiration, read ‘In at the Beginning’ by Jo Mattock in our November issue, which is all about why Autumn is the most exciting time of year in the garden.
Buy this month's The Simple Things -buy, download or subscribe