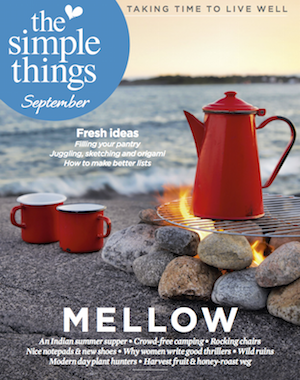
In December's The Simple Things, Cinead McTernan explores the world of fruit and nut trees and selects the species most suitable for a domestic garden. Here, we pick out some of our favourite fruit and nut recipes from previous issues.
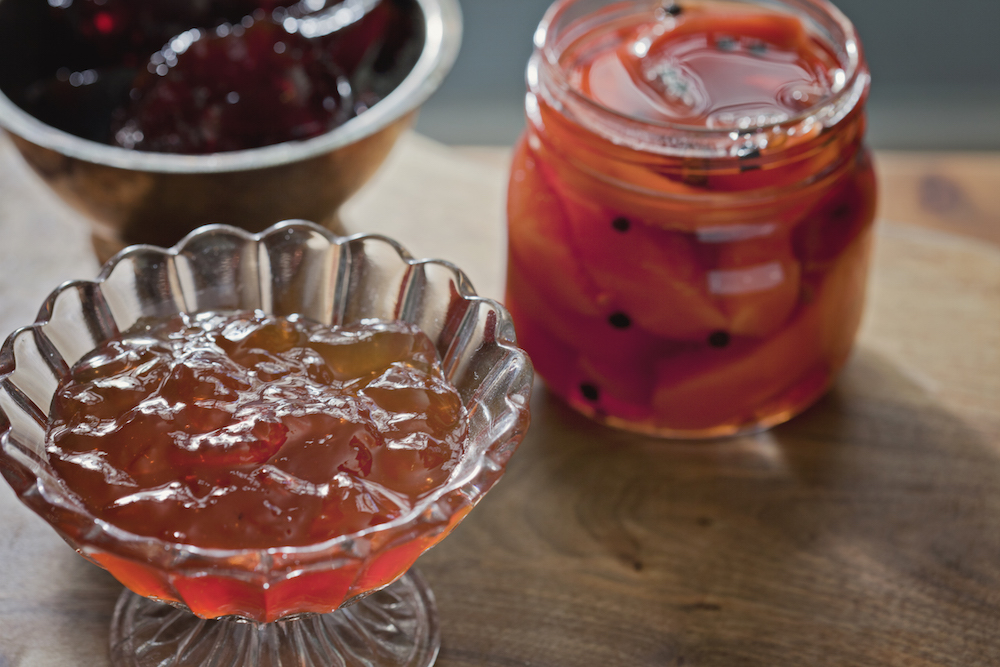
Spiced pickled quince
Looks stunning in the jar and goes well with soft goats’ cheese or cold meat.
400g granulated sugar
700ml cider vinegar
1 tsp black peppercorns
1 tsp coriander leaves
1 bay leaf
4 quinces
1. Put sugar, vinegar, peppercorns and herbs into a large saucepan and bring slowly to the boil.
2. Peel, core and quarter the quinces; cut each quarter into three and place in the liquid. Bring back to the boil and then turn the heat down and simmer for 40 mins. The quince will soften and turn a rich pink colour.
3. Allow to cool slightly and then spoon into sterilised jars before pouring the liquor over and sealing. They’ll keep for a couple of months.
Recipe by Lia Leendertz, taken from issue 29 (November 2014 - buy back issue now)
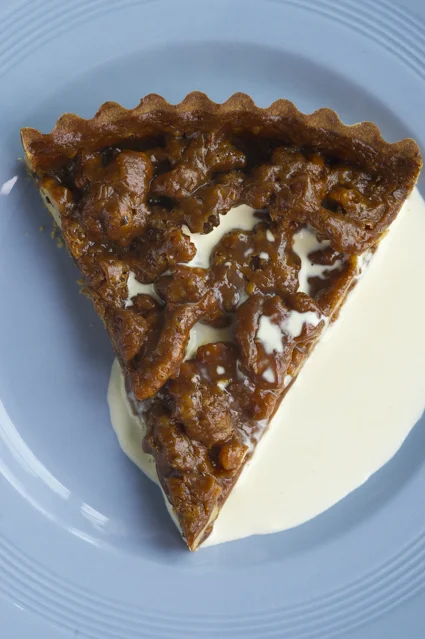
Quick walnut tart
This is very fine if you make your own pastry, but once in a while shop-bought pastry can make the difference between making something and not.
240g sugar
180ml double cream
2 tbsp good honey
1 tsp fennel seed, ground
1 tsp cinnamon, ground
200g walnuts
500g sweet pastry
1 egg, lightly beaten
1 Preheat oven to 180C/Fan 160/350F.
2 Add sugar to a pan on a moderate heat. Stir as it starts to turn to caramel, and once or twice more until all the sugar turns.
3 With the pan still on the heat, slowly pour in the cream, stirring as you do – it will form ribbons but keep going and it will become smooth. Stir in the honey, fennel, cinnamon and nuts. Leave to cool while you prepare the pastry case.
4 Butter and flour a 22-24cm tart tin.
5 On a floured surface, roll out the pastry to 5mm thick and line the tin.
6 Spike the pastry using a fork and bake for 10 mins. Brush pastry with beaten egg, and bake another 7 mins.
7 Spoon the nut mixture evenly into the tart and bake for about 30 mins in the centre of the oven. Let cool for 10 mins, before removing the side of the tin and leaving to cool on a rack.
Recipe by Mark Diacono, taken from issue 40 (October 2015 - buy back issue now)
Recipe by Lia Leendertz, photography by Kirstie Young
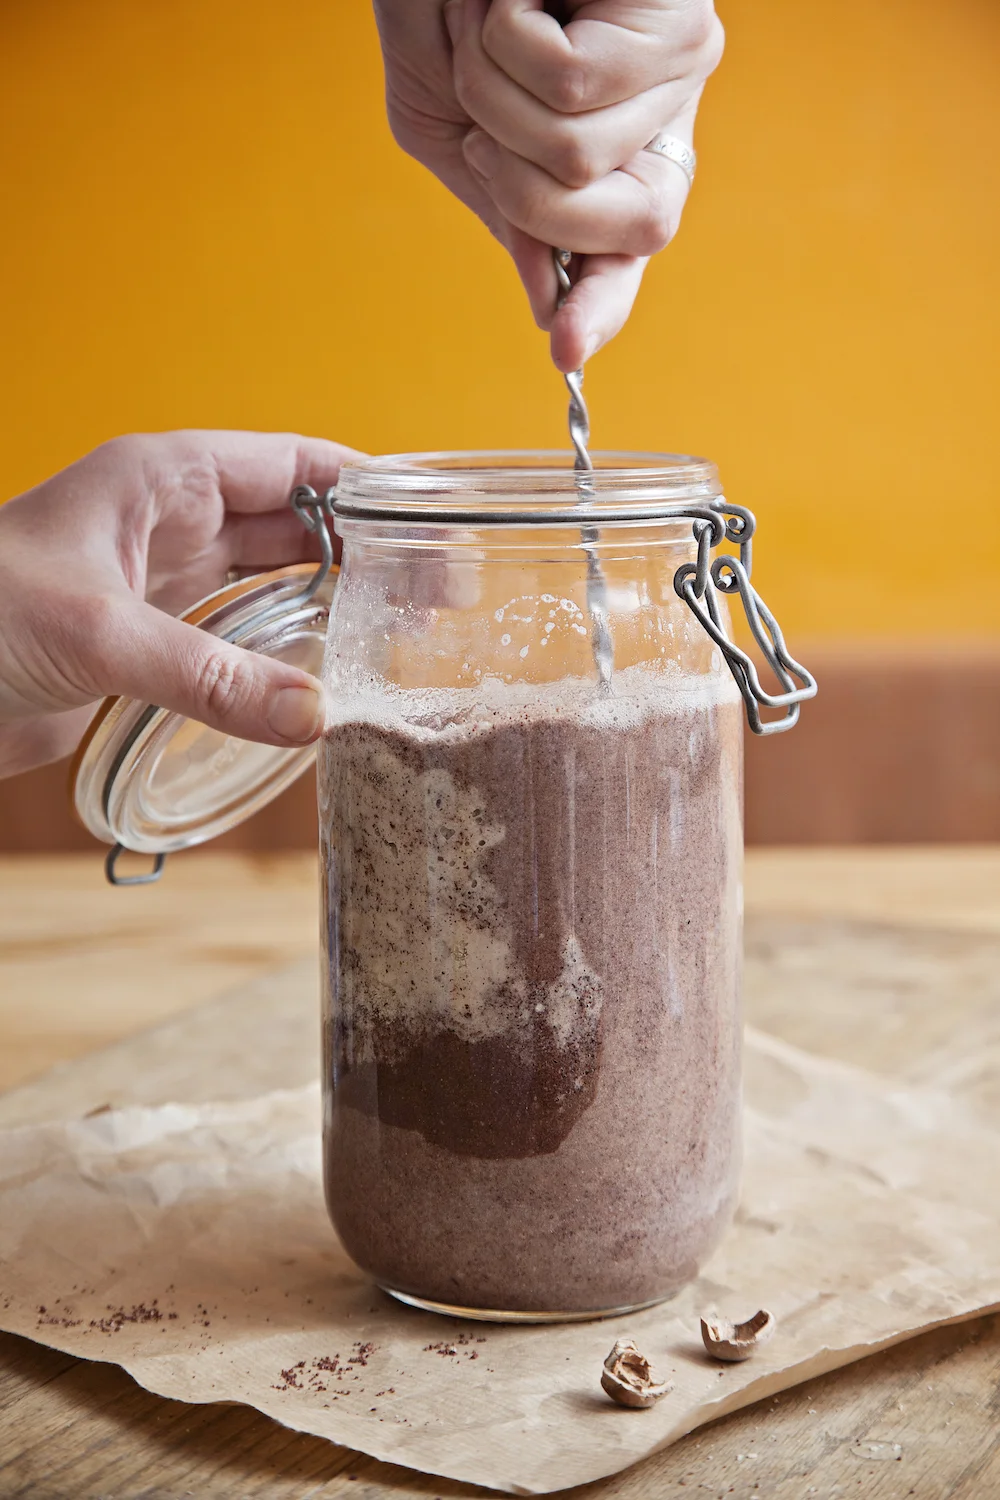
Gianduja liqueur
This chocolate and hazelnut liqueur is definitely worth the effort of spending a little time with the nutcracker. Gianduja is the forerunner of nutella, a chocolate and hazelnut paste created in Turin during the Napoleonic era, when a resourceful chocolatier mixed his limited supply of cacao with hazelnuts to make it stretch further. This is adapted from a recipe in Andrew Schloss’s Homemade Liqueurs and Infused Spirits. Siphoned off into pretty little bottles, it makes wonderful Christmas presents.
450g hazelnuts
200g cacao nibs
750ml vodka (40% proof)
300ml simple syrup* (you can buy this but it’s easy to make, see below)
1 In a large, dry frying pan, toast the hazelnuts until they start to take colour, then tip them into a cloth and rub off as many of the skins as you can easily get to come off.
2 Pour the cacao nibs into the frying pan and toast briefly, until the aroma hits your nose. Tip out into a cool bowl.
3 In batches, grind hazelnuts and cacao nibs in a food processor until they are the texture of coarse sand (you could use a pestle and mortar instead, but this will obviously take some time). Tip everything into a large, sealable jar and pour on the vodka. Stir well.
4 After around ten days, strain the mixture into a sterilised and cooled jar. Use a colander lined with muslin, and when the bulk of the liquid has passed through, suspend the muslin above the jar and let it drip through for an hour or so. Don’t squeeze or press on the mixture to extract more liquid, as this will cloud the liqueur.
5 Stir in the cooled simple syrup and it is then ready to drink, or to store for up to a year.
*To make the simple syrup
1 I always use American ‘cups’ measurements for making syrup, because you need an equal volume of water and sugar and this is the most straightforward way to measure them. You will need around 1¼ cups each of sugar and water. But if you prefer, this equates to around 300ml water and about 200g sugar.
2 Put the sugar and water into a saucepan and warm through gently until the sugar has dissolved, then turn up the heat and simmer for a minute. Take off the heat and allow to cool.
Recipe by Lia Leendertz, taken from issue 39 (September 2015 - buy back issue now)
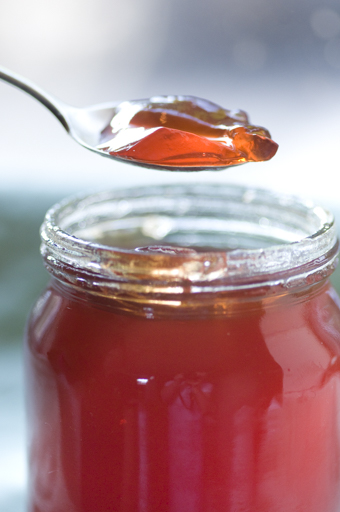
Medlar jelly
Little accompanies rich meats and cheese as well as a good jelly. This deep amber preserve has just the right mix of sharp and sweet, with a fruity edge
1kg medlars, quartered (ideally around half bletted, half not)
juice of half–1 lemon
around 500g caster sugar
1 vanilla pod (optional)
1. Put the medlars in a large pan and pour in just enough water to cover. Add the juice of half a lemon, more if you fancy a sharper flavour. Bring to the boil, lower the temperature and simmer for an hour.
2. Leave to strain overnight through a jelly bag or muslin into a bowl.
3. Put a small plate into the fridge to chill. Measure the juice and pour it into a clean pan. For each 500ml of juice, add 375g of caster sugar.
4. Split the vanilla pod along its length and add to the liquid. Warm gently, stirring as the sugar dissolves. Increase the heat to a rolling boil, then boil unstirred, for 5 mins.
5. Turn off the heat and test for the setting point by spooning a few drops onto the cold plate, leaving it for a minute then pushing it with your finger. It should wrinkle. If not, test again in 5 mins.
6. Pour the jelly into warm, sterilised jars and seal. It will keep in a cool, dark place for at least a year, often much longer. Once open, store in fridge - it should last months.
Recipe by Mark Diacono, taken from issue 41 (November 2015 - buy back issue now)

Almond butter
If you want to make homemade almond butter, you just need almonds and a food processor. Head over to digital editor Lottie Storey's blog - Oyster & Pearl - for a very easy recipe.