The Simple Things

Taking time to live well
  • Home
  • Subscribe
  • SHOP
  • Newsletter
  • About
  • Work with us
  • Home
  • Subscribe
  • SHOP
  • Newsletter
  • About
  • Work with us

Blog

Taking Time to Live Well

  • All
  • Chalkboard
  • Christmas
  • Competition
  • could do
  • Eating
  • Escape
  • Escaping
  • Fresh
  • Fun
  • gardening
  • Gathered
  • Gathering
  • Growing
  • Haikus
  • Interview
  • Living
  • Looking back
  • Magazine
  • magical creatures
  • Making
  • Miscellany
  • My Neighbourhood
  • Nature
  • Nest
  • Nesting
  • outing
  • playlist
  • Reader event
  • Reader offer
  • Shop
  • Sponsored post
  • Sunday Best
  • Think
  • Uncategorized
  • Wellbeing
  • Wisdom
Photography and styling: Caroline Rowland

Photography and styling: Caroline Rowland

Science | decorate a Christmas tree using maths

Iona Bower December 5, 2020

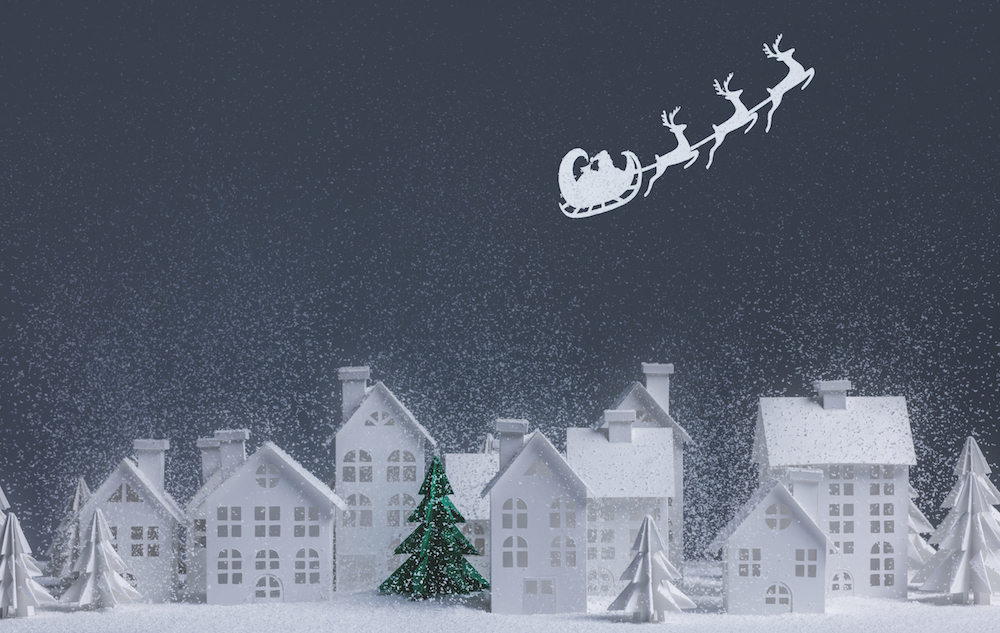
Is decorating a tree best done using science or plain good sense? Pick a method below and give it a go

Some people’s trees always just look stunning, don’t they? Don’t get us wrong, we’re big fans of a wonky tree ourselves, but we do sometimes wonder what their secret is. So we’ve done a bit of analysis to discover whether a Christmas tree is best decorated using hard science (or some tricky maths at least) or a good dollop of Simple Things style common sense.  Do give one a go and let us know how you got on.

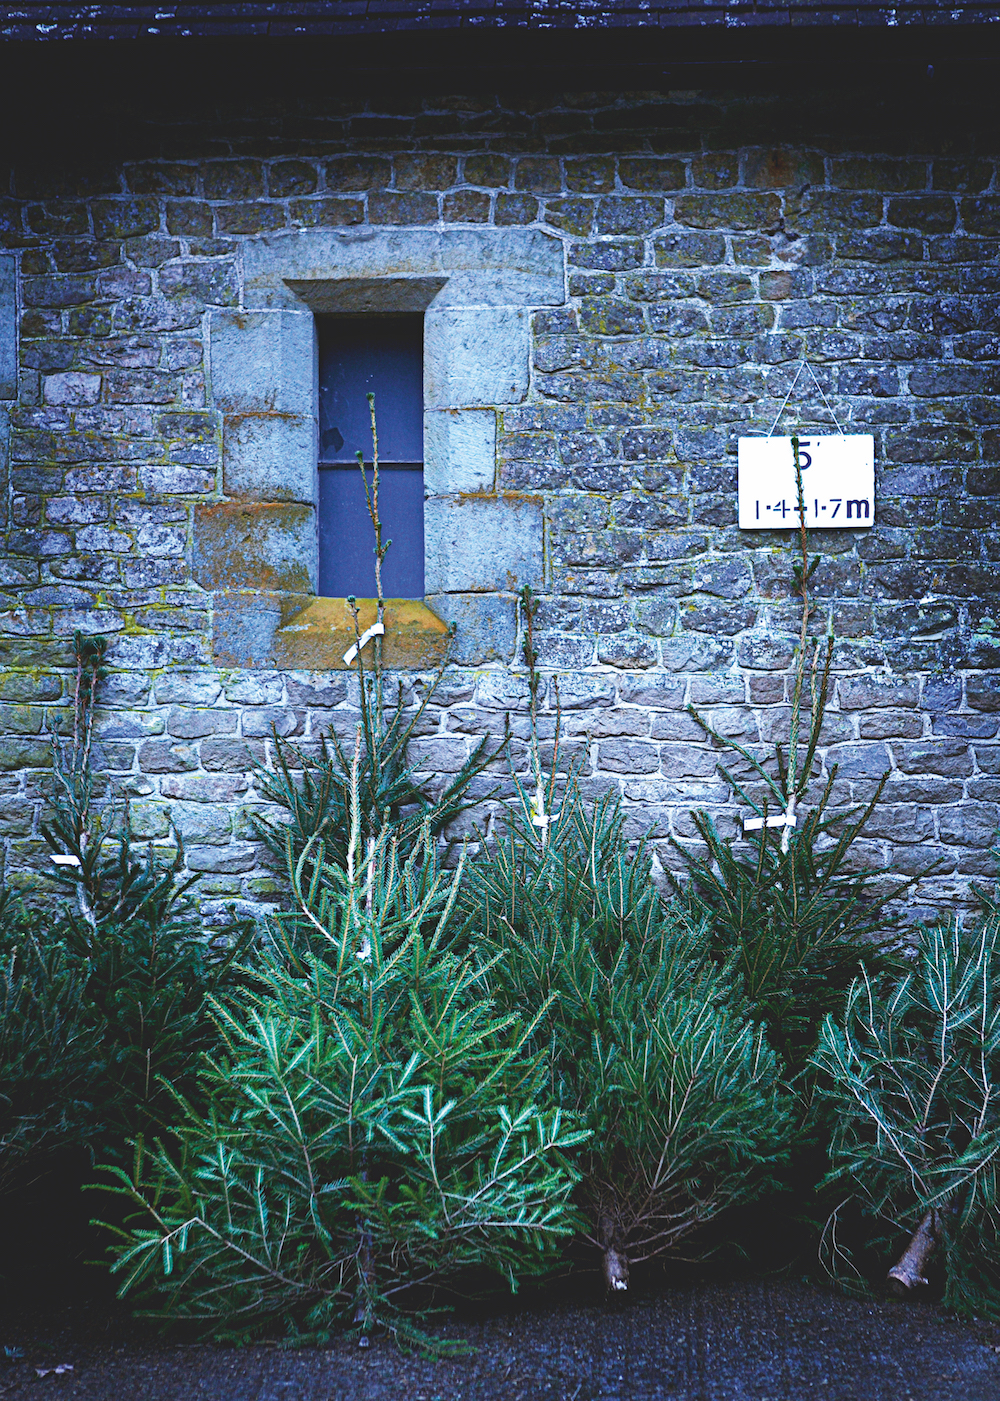
Decorating a tree using mathematics

How much tinsel is too much? What quantity of baubles is enough? And is that angel too much? Take a deep breath. Maths students at Sheffield University Maths Society (SUMS - ho ho ho) have got all the answers. And they’ve shown their workings, too. 

Using 'treegonometry' they have calculated that a 152cm (5ft) Christmas tree would require 31 baubles, 776cm of tinsel and 478cm of lights with a 15cm star or angel on the top.

Length of tinsel = 13 x 𝛑/8 x (tree height in cm)

Number of baubles = √17/20 x (tree height in cm)

Height of star in cm =  Tree height in cm ÷ 10

If you’re no Pythagorus you can find a calculator here courtesy of Sheffield University to do the above sums for you. Just enter the height of your tree. 

Decorating a tree using common sense

Wondering whether a mono-colour tree would look stylish or ‘cold’? Or whether you need to put every last trinket on (even the ones the children made years ago and looked awful before they were stuck in the attic for a decade)? Fear not. We’ve got it all worked out, and not a sum in sight. 

Which baubles to put where? Easy. Breakables at the bottom so they have less far to fall, along with larger baubles. Work upwards in size order so you have the more delicate ones at the top and they won’t pull the more spindly branches down. For edibles such as chocolates, gingerbread biscuits and the like, take the height of your dog/child, triple it, and hang only above that height. 

How to design a colour scheme. Look at everything you have. Do you have basically one or two colours? If yes, decorate using only those. If no, mix it all up and go for a ‘lived in’ look.

In a knot with your lights? First make sure your tree is within reach of a plug socket. Pull the tree out to wrap the lights around it and push it back to the wall or corner afterwards to make putting the lights around it easier. Keep the lights rolled, unravelling only as you go. For a more professional look, start in the middle of the tree and take the lights out to the end of one branch and back to the middle, continue in the same way around the branches of the tree until you get high up enough that they can just be draped around. 

How to hide ‘homemade but horrible’ decorations. Put them round the back. Or if your tree is in a window, bury them in the bottom third round the side of the tree. 

Star or angel? Both, of course! It’s Christmas - you can’t have too many trinkets!

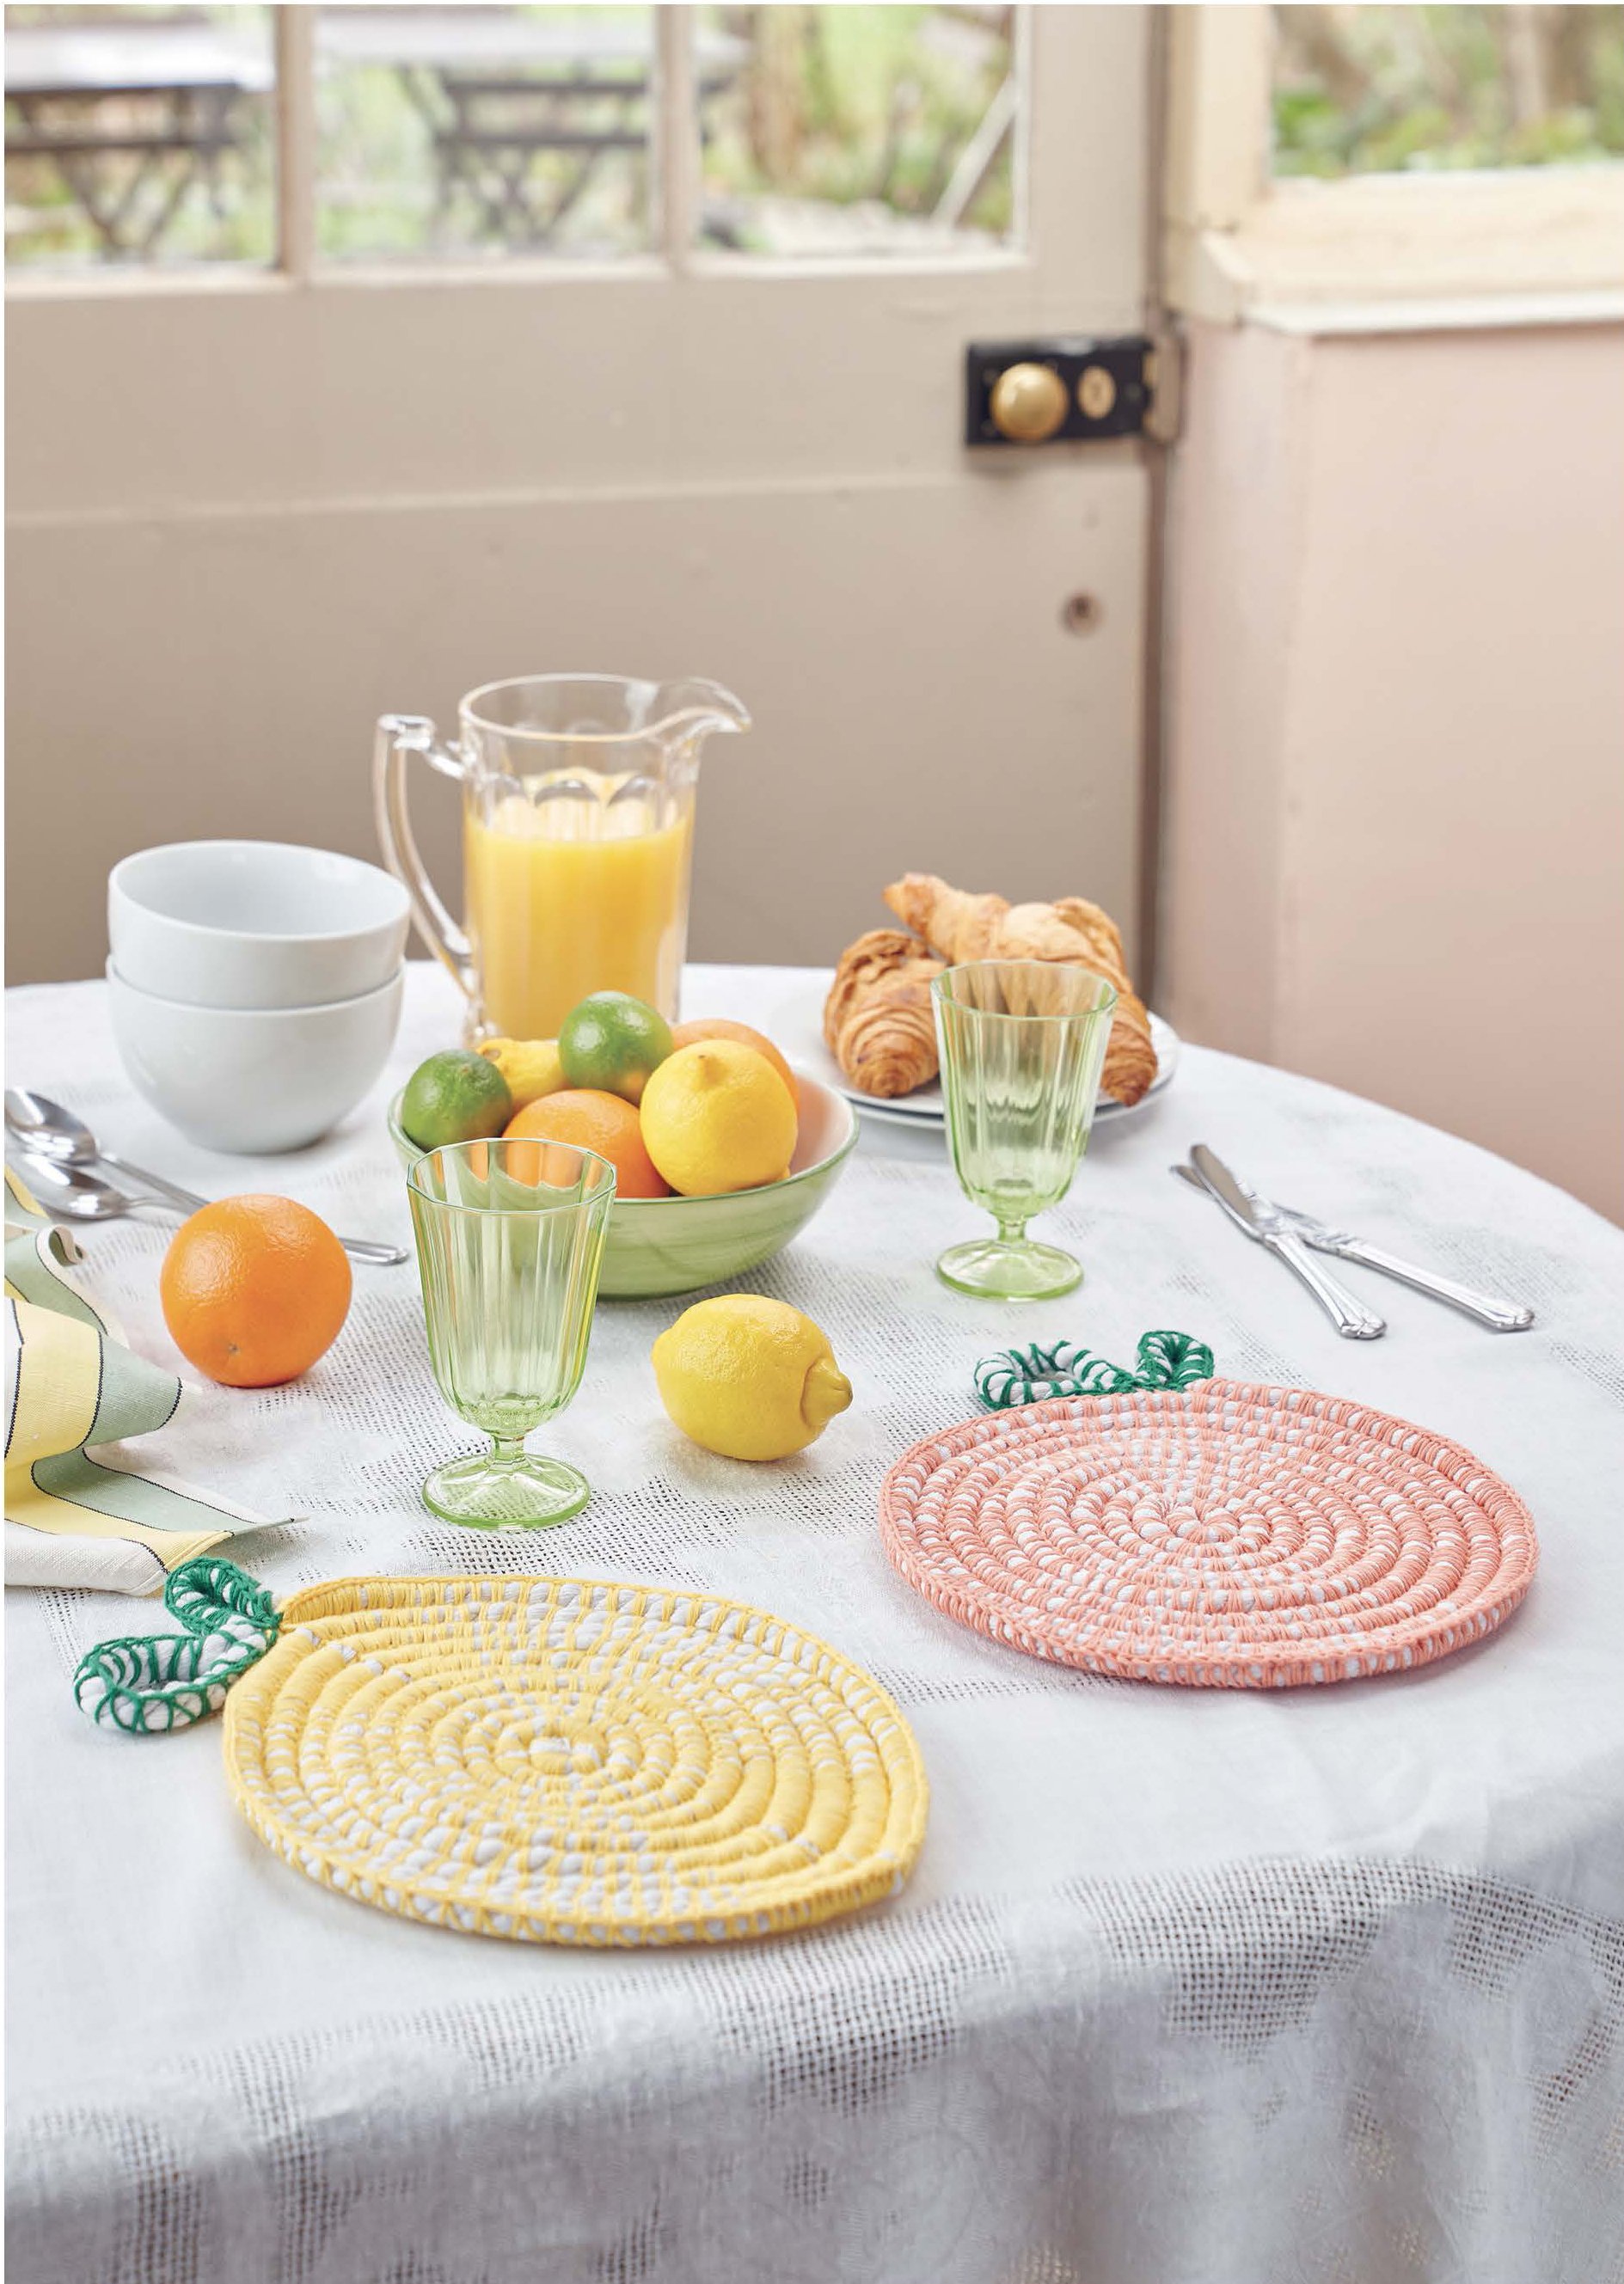
The very beautiful tree pictured above was decorated by Caroline Rowland, who has enough style running through her veins to be able to eschew both common sense and science. It’s just one of the trees we featured in our My Place feature starting on page 124.

Buy this month's The Simple Things - buy, download or subscribe

More Christmas decoration ideas…

Featured
caroline rowland xmas tree.jpg
Dec 5, 2020
Science | decorate a Christmas tree using maths
Dec 5, 2020
Dec 5, 2020
Make: Ornament cards
Nov 23, 2018
Make: Ornament cards
Nov 23, 2018
Nov 23, 2018
Dec 30, 2016
Christmas: Share your favourite decorations with The Simple Things
Dec 30, 2016
Dec 30, 2016

More from our December issue…

Featured
Outdoorsy Xmas James Lampard.jpg
Dec 24, 2020
Think | Christmas Eve magic
Dec 24, 2020
Dec 24, 2020
Jigsaws pieceworkpuzzles.com.jpg
Dec 19, 2020
How to | do a jigsaw properly
Dec 19, 2020
Dec 19, 2020
VEG PEEL_ST Xmas Gin Crisp_CFrawley_01.JPG
Dec 15, 2020
Recipe | Root Veg Peel Crisps with Truffle Oil
Dec 15, 2020
Dec 15, 2020
In Fun Tags issue 102, Issue 102, Christmas, christmas decorations, christmas, christmas tree
Comment

Make: Ornament cards

David Parker November 23, 2018

During the build-up to Christmas, spare a thought for the postie with his bag full of cards. The British send more per person than any other country, so it’s not surprising that we were the originators of the first commercial Christmas card, in 1843. We have a fine tradition of making cards, too – even Queen Victoria had her kids at it.

And the Queen was spot on: making your own cards is a satisfyingly easy way to add personality and sparkle (depending on how liberal you are with the glitter) to your Christmas. It will even save you some money, too. These clever cards can be adjusted to size to allow for any desired festive greeting, whether it’s a to- the-point ‘Merry Christmas’ or a lengthier salutation. They can also double as gift tags or ornaments.

You will need:
Colourful card
9–10cm bowl or other circular shape to use as a template
Pencil
Washi tape (Japanese masking tape: there’s a colourful selection available from www.papermash.co.uk)
Glitter tape
Scissors
Hole punch
Ribbon, twine or string
Glue (optional)


Step one

Fold a piece of card in half. Trace around the bowl carefully, leaving approximately 1.25cm of space by the fold. Apply a strip of metallic washi tape to fill the space between the fold and the top of the circle shape.

STEP TWO

Cut out your ornament shape, keeping inside the pencil outline all the way round – you don’t want any lines to be visible on your finished card. Cut a straight line down each side of the metallic tape to shape the top of the ornament.

STEP THREE

Decorate the card with strips of glitter and washi tape. To make small glitter dots, use a hole punch. You can decorate both sides of the card if you like.

STEP FOUR

To create a slightly different look, get inspired by the swirls of peppermint lollipops. Mark the centre on your circle, then position triangular-shaped strips of glitter tape so that the points meet in the middle. Trim tape ends.

STEP FIVE

Open up the card and punch a small hole in the centre of the tab. Cut a piece of twine or ribbon approximately 25cm long. Fold the length in half, tie the loose ends together, then feed the looped end through the hole at the fold of the card. The knotted end will be hidden neatly inside the card when it’s closed.

STEP SIX

To make them into ornaments, decorate both sides, add the string, then dab a bit of glue in the centre to fix the two sides together. Allow to dry before hanging on your tree.

Make it mini

Handmade gift tags are a sweet finishing touch. Punch or cut circles out of card before decorating them with glitter tape.

This craft idea was first published in our December 2014 issue. MARISA EDGHILL is a Canadian craft designer and lover of pretty tapes. Her book Washi Style: Make It With Paper Tape (Search Press) is available in bookshops and online. Marisa can be found blogging at www.omiyageblogs.ca and shares crafty inspiration on Instagram @omiyage_ca.

Get hold of your copy of this month's The Simple Things - buy, download or subscribe

From our December issue…

Featured
sun bread.jpg
Dec 21, 2021
Bake: sun bread for Yule
Dec 21, 2021
Dec 21, 2021
xmas cover.jpg
Dec 25, 2018
December: a final thought
Dec 25, 2018
Dec 25, 2018
donkey pic.jpg
Dec 15, 2018
Meet the donkeys of the New Forest
Dec 15, 2018
Dec 15, 2018

More things to make…

Featured
Lavender eye pillow.jpg
Jul 22, 2023
Make | A Soothing Lavender Eye Pillow
Jul 22, 2023
Jul 22, 2023
Modern Crochet Style PAGES2.PRESS 60.jpg
Apr 19, 2023
Weekend Project | Crocheted fruit placemats
Apr 19, 2023
Apr 19, 2023
bottle6.jpg
Mar 16, 2022
Make | A Macrame Bottle Holder
Mar 16, 2022
Mar 16, 2022
In Making, Nest Tags christmas, issue 30, december, christmas card, christmas decorations
1 Comment
Image: Unsplash

Image: Unsplash

Christmas: Share your favourite decorations with The Simple Things

Lottie Storey December 30, 2016

It's one of the best bits of Christmas... Getting the box of decorations out of storage for another year and opening it up. The first glimpse of those favourite baubles, the ones that take pride of place year after year, always make us smile. Even though we like to add to our collection every year, the continuity of the heirloom decorations is reassuringly peaceful - a tonic before the madness of the Christmas rush sets in. 

The Simple Things team would love to see which decoration embodies Christmas for you so, before you take down your tree, take a high res snap and send it to us. 

Email: thesimplethings@icebergpress.co.uk

Twitter/Facebook/Instagram: @simplethingsmag


In Christmas Tags christmas, christmas tree, christmas decorations, december
Comment

Christmas: Make papercut star decorations for your tree

Lottie Storey November 21, 2016

If paper chains feel passe and you're a bit bored with your baubles, try a DIY papercut tree decoration for a feelgood festive craft

The appeal of papercutting is the simple satisfaction of creating something from nothing. Starting literally with a blank sheet of paper, a drawing can become an intricate work of art. And like many other creative pursuits, it’s a meditative process, requiring your full attention.

Papercut artist Poppy Chancellor says, “We all need time to be artistic. It’s good for your brain and soul. There is something very soothing in this art of taking your time. When you patiently follow the lines with the knife, you will start to see elegant artistry emerge from a single sheet of paper. The hours slip away and all those daily worries start to dim. You don’t need much skill to cut along a suggested line but practice and patience are essential. Anyone with a scalpel and a steady hand can give it a try.”

If you’ve tried cutting a few designs, the next step is to draw your own, either by hand or digitally (just remember to flip your image once you are done and trace or print this mirror image on to the back of your chosen paper). Start by following paper artists and other creatives on social media to feed your mind. Share your own creations online and ask for feedback.

From Roman statues to Greyhound buses, there seems no subject too obscure or too tricky for papercutting. But some things are easier than others; Poppy’s drawn us a beginner’s papercut star tree decoration*, for example – well, it is Christmas!

This beautiful 3D Christmas scene is practically a paper sculpture and not a project for beginners. But see where having a go at our paper star template could take you (find it in the December issue of The Simple Things). You can also download her paper snowflake design. We’d love to see pics of them hung on your tree @simplethingsmag

Our template design features in Poppy’s book Cut it Out! 30 Designs to Cut Out and Keep (Virgin Books). 


More from the December issue:

Featured
Nov 30, 2023
Christmas: Choosing the tree
Nov 30, 2023
Nov 30, 2023
Dec 25, 2021
Christmas crackers: How to wear a paper hat plus six awful cracker jokes
Dec 25, 2021
Dec 25, 2021
Dec 24, 2021
Christmas recipe: Mulled white wine
Dec 24, 2021
Dec 24, 2021

More projects to make:

Featured
TEA COSY JUMPER.jpg
Jan 25, 2025
How to | Make a Tea Cosy from an Old Jumper
Jan 25, 2025
Jan 25, 2025
Wellbeing.jpg
Feb 11, 2024
Make | Kitchen Face Masks
Feb 11, 2024
Feb 11, 2024
AdobeStock_276831672_Preview.jpg
Oct 23, 2023
Project | Make Seed Bombs
Oct 23, 2023
Oct 23, 2023
  Buy ,  download  or  subscribe   See the sample of our latest issue  here   Buy a copy of our latest anthology:  A Year of Celebrations   Buy a copy of  Flourish 2 , our wellbeing bookazine  Listen to  our podcast  - Small Ways to Live Well

Get hold of your copy of this month's The Simple Things - buy, download or subscribe

View the sampler here


In Making, Christmas Tags issue 54, december, craft, papercraft, christmas, christmas decorations, christmas tree
Comment

Recipe: Edible baubles

David Parker December 3, 2015

Giving the odd couples on Strictly Come Dancing’s Christmas special a run for their money is this recipe’s unlikely pairing: fruit cakes and Polo mints. 

These mini mincemeat-laced sponges are marzipaned and iced to rival the classiest of tree decorations. But will they hang? The real question is whether anything this tasty will even make it onto the tree... 

Edible baubles

Makes 24

For the fairy cakes:

140g self-raising flour
1 tsp baking powder
1 tsp ground cinnamon
1/2 tsp mixed spice
1/2 tsp salt
175g unsalted butter, soft, diced
175g muscavado sugar
3 eggs, lightly beaten
60g ground almonds
150g mincemeat

To ice and decorate: 

4 tbsp apricot jam
500g marzipan
Icing sugar, to dust
1 tbsp sherry or cooled, boiled water
750g white sugarpaste
Packet of Polo mints
60g bag white royal icing, no.1 nozzle
30-50g red sugarpaste
60g bag red royal icing, no.1 nozzle

You will need:

24 red paper cases
6.5cm round cutter
7cm round cutter
Selection of tiny cutters
Lengths of 5mm-wide ribbon

1. Preheat the oven to 180C/Fan 160C/ 350F. Line two fairy cake tins with paper cases. Sift first 5 ingredients into a bowl; add butter, sugar, eggs and nuts. Beat with an electric whisk. Fold in mincemeat. Divide batter between cases and bake for 15–18 mins, or until springy. Leave cakes tins for 2 mins, then cool on a rack. 
2. Warm the jam slightly, push it through a sieve, then brush it lightly over each cake. 
3. Roll marzipan out to 4–5mm thick on a worktop dusted with icing sugar. Using the smaller cutter, stamp out discs of marzipan to top each cake. Brush lightly with sherry or water. Use larger cutter to create white sugarpaste discs (the same size as the top of the cases) and smooth over the cake edges. Press a mint into each to make a ring, attaching with royal icing if needed. Leave overnight.
4. To decorate, roll out to 2–3mm thick on a board dusted with icing sugar. To make buttons, cut out tiny rounds, indent the edge with a smaller cutter and make two holes with a cocktail stick. Attach all the sugarpaste decorations with royal icing. Pipe details with the white and red royal icing. Thread the mints with ribbon.

Tip: Sugarpaste decorations can be made in advance and stored in a box (not in an airtight container or the fridge).

RECIPE AND IMAGE TAKEN FROM SEASONAL BAKING BY FIONA CAIRNS (WEIDENFELD & NICOLSON, £25). PHOTOGRAPHY DAN JONES

December's The Simple Things is on sale. Buy, download or subscribe now.

In Fresh, Eating Tags christmas, issue 30, december, christmas decorations, christmas tree
Comment

Escape: Go foraging PLUS natural festive decoration/gift ideas

David Parker November 30, 2014

Carols and hymns are wound through with references to holly and ivy, and the tradition of collecting these intensely green reminders that life does continue year round stretches way back to pre-Christian times. A foraging walk requires a sturdy bag and secateurs and will make decorating your home or creating a wreath an easy job.

Both holly and ivy are easy to find growing wild in Britain – ivy is an important autumn source of pollen for bees and other pollinators, while holly berries, although toxic to humans, are enjoyed by birds and other wildlife. You’ll need to track down a cluster of holly bushes, since only the female produces berries, but both sexes need to be nearby!

Mistletoe also has its parasitic roots in pre-Christian times, but these days gathering some for a cheeky doorway ornament doesn’t require the use of a golden sickle on the sixth day of the moon’s cycle, just good local air quality and a keen eye. Though as the orchards in which it is most often found are now rare and localised you are more likely to find it at a market.

Cone and fir garland

When you’re out on a woodland walk keep your eyes peeled for cones, berries, twigs and leaves to make into homemade decorations. You don’t have to spend a fortune on decorations, there are plenty of things to forage for free that add seasonal sparkle. No need to stick to a natural, Shaker-style Christmas either – use paint, glitter and colourful ribbon to help them work with your chosen colour scheme. It’s a good idea to keep a plastic bag in your pocket so you’re always ready to collect mother nature’s winter bounty.

  • Collect 20 cones and several fir tree twigs, needles still attached. Cut the twigs into 5cm lengths and strip needles from one end, exposing about 1cm of bare stem.

  • Cut a 1m length of garden string (or ribbon, or twine).

  • To make the garland, simply alternate between cones and fir sprigs, tying them onto the string at 2cm intervals. Leave enough string at either end to attach to the tree, mantelpiece or spot of your choice.

A foraged hamper

Been foraging all year to make delicious goodies? Use these to make a foraged hamper of treats - it's a thoughtful, handmade gift idea. 

Follow the instructions over on Wolves in London blog where you'll find recipes, ideas and inspiration for homegrown, foraged and seasonal food, perfect for a foraged Christmas hamper.

Turn to page 66 of December's The Simple Things for more on the walks that make Christmas. Buy, download or subscribe now.

In Escape Tags christmas, christmas decorations, issue 30, december, foraging
Comment
Featured
  Buy ,  download  or  subscribe   See the sample of our latest issue  here   Buy a copy of our latest anthology:  A Year of Celebrations   Buy a copy of  Flourish 2 , our wellbeing bookazine  Listen to  our podcast  - Small Ways to Live Well
Feb 27, 2025
Feb 27, 2025

Buy, download or subscribe

See the sample of our latest issue here

Buy a copy of our latest anthology: A Year of Celebrations

Buy a copy of Flourish 2, our wellbeing bookazine

Listen to our podcast - Small Ways to Live Well

Feb 27, 2025
Join our Newsletter
Name
Email *

We respect your privacy and won't share your data.

email marketing by activecampaign
facebook-unauth twitter pinterest spotify instagram
  • Subscriber Login
  • Stockists
  • Advertise
  • Contact

The Simple Things is published by Iceberg Press

The Simple Things

Taking time to live well

We celebrate slowing down, enjoying what you have, making the most of where you live, enjoying the company of of friends and family, and feeding them well. We like to grow some of our own vegetables, visit local markets, rummage for vintage finds, and decorate our home with the plunder. We love being outdoors and enjoy the satisfaction that comes with a job well done.

facebook-unauth twitter pinterest spotify instagram