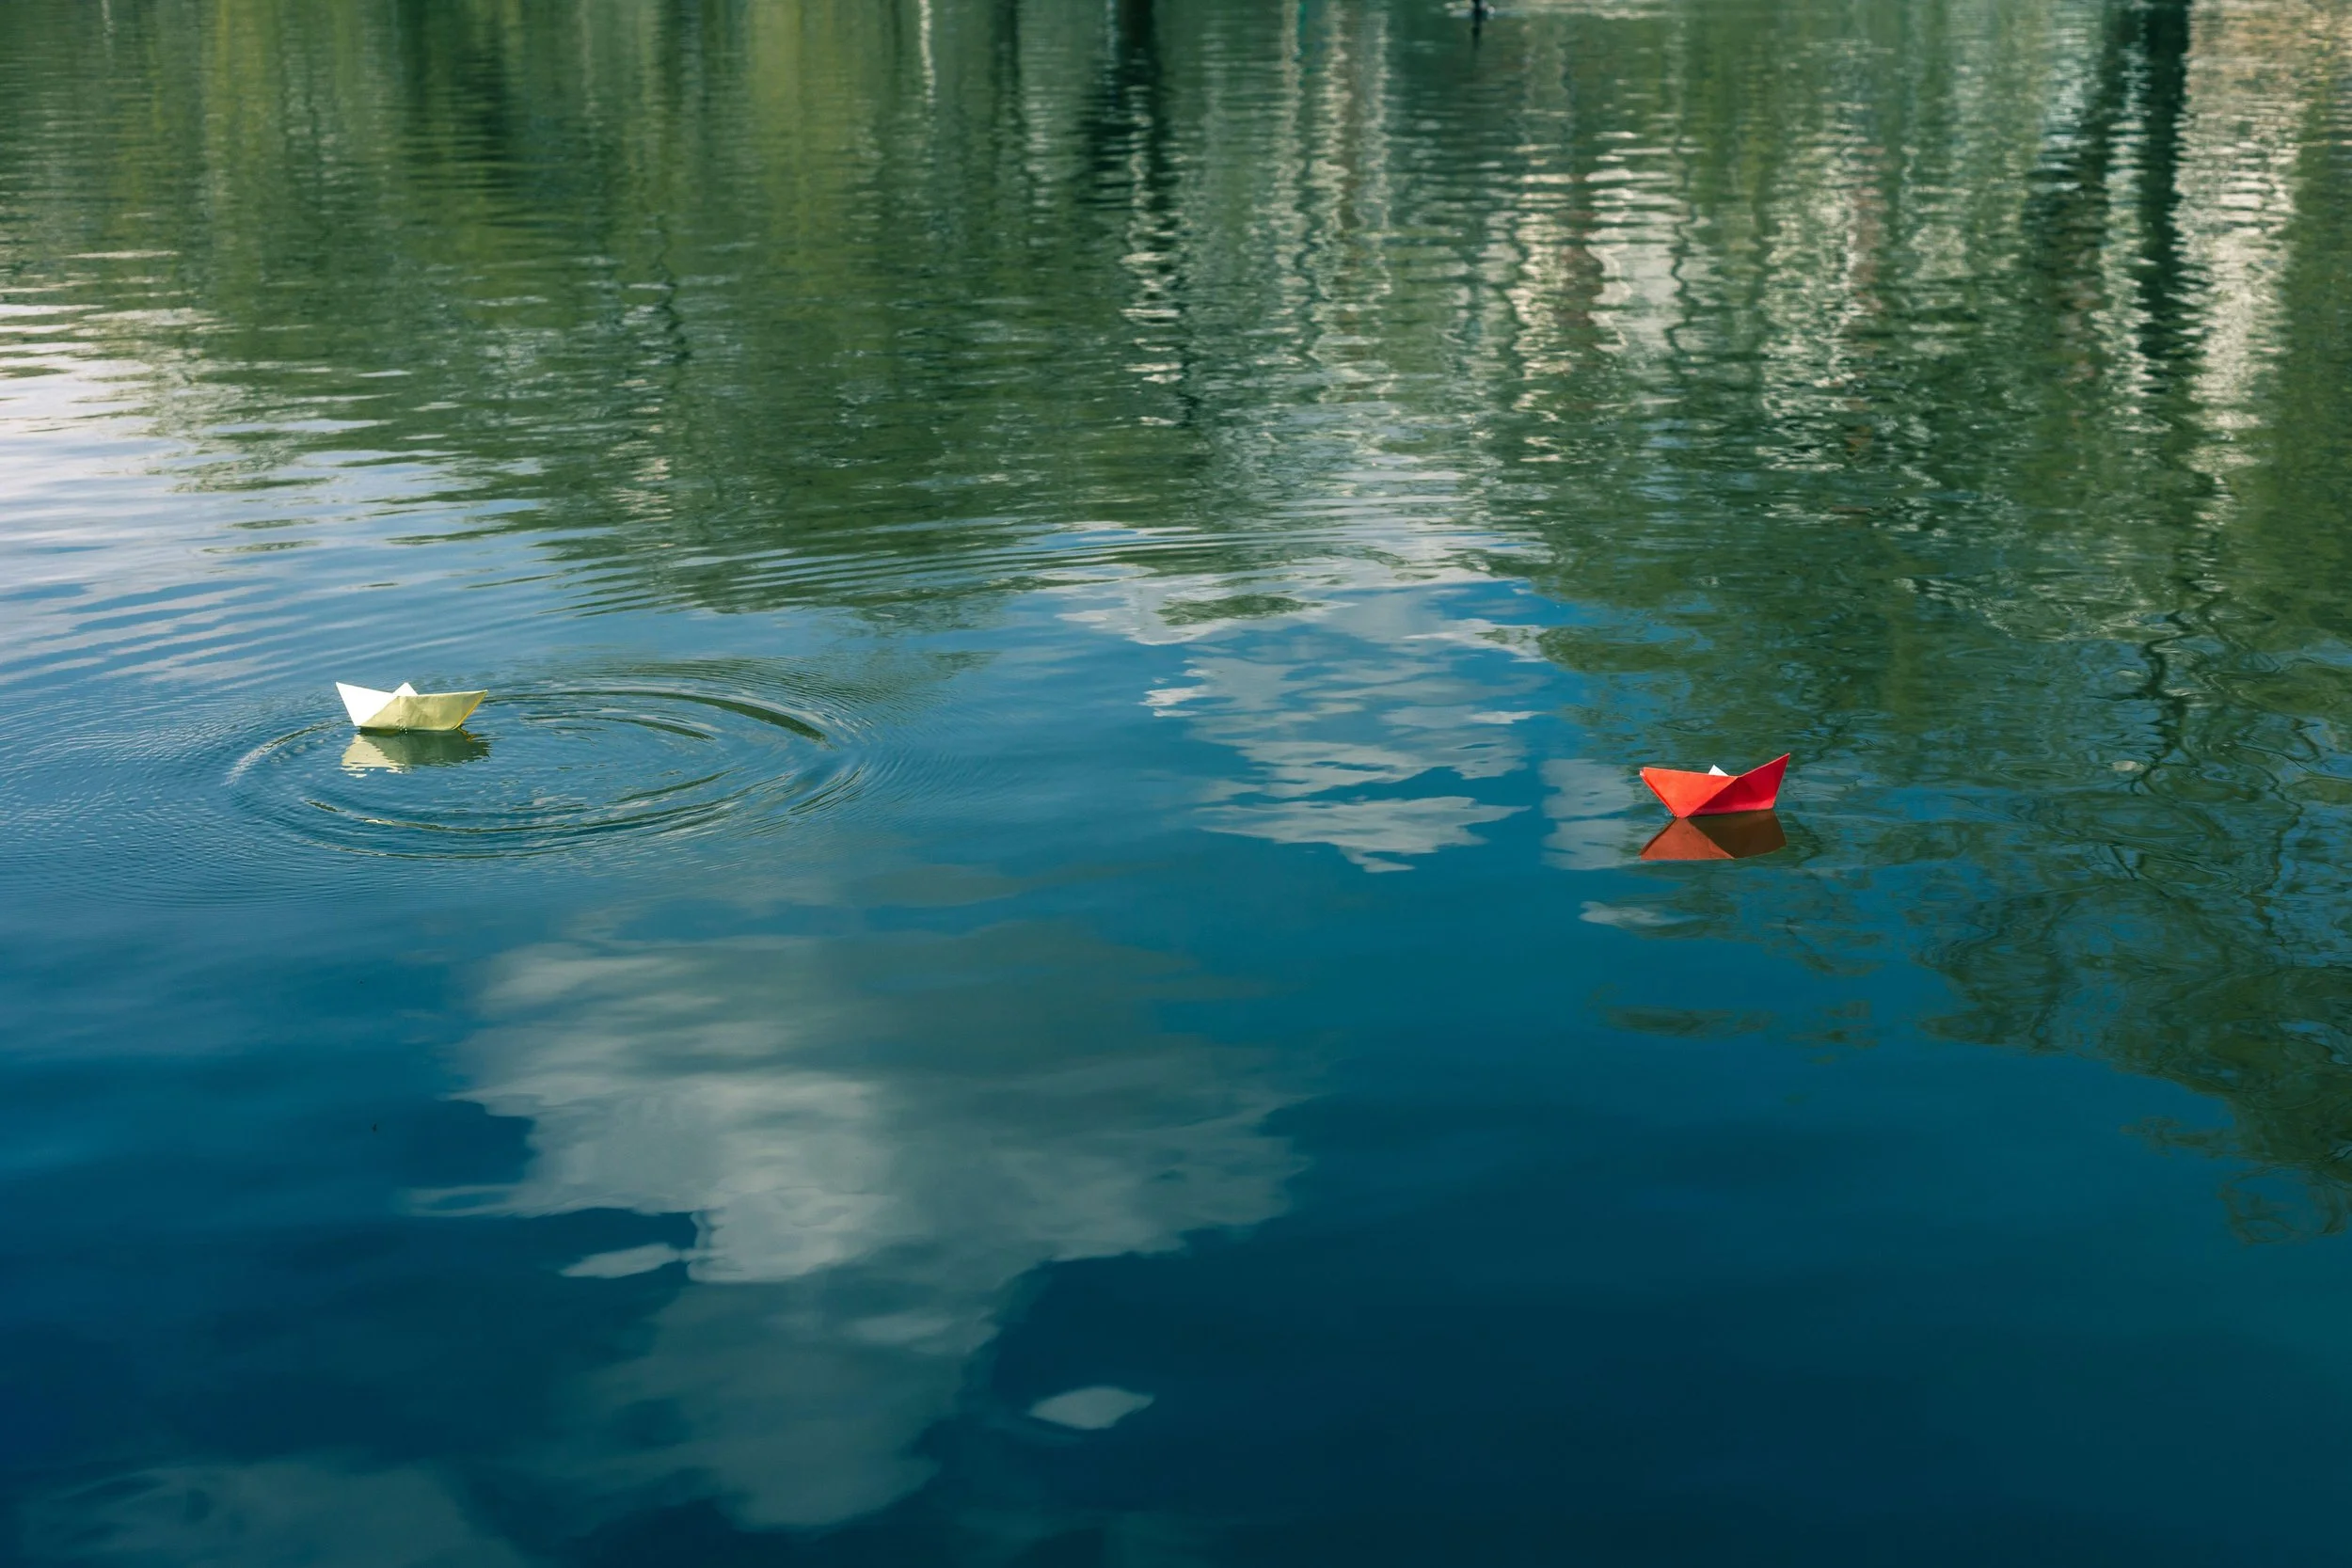
Set sail on a local pond or even a puddle with these easy instructions
This paper boat technique is a bit of a classic but we’ve used step-by-step instructions from instructables.com where you can find pictures to help, if you like.
You will need: A piece of A4 paper. A paper folding tool for making your creases nice and crisp is useful but a ruler will do just as well.
Put your A4 paper in front of you, portrait style and fold up from the top to the bottom to fold it in half, leaving the ‘open’ end facing you.
Fold each top corner down diagonally to make the sails.
Take the flap at the bottom of the paper and fold it up against the bottom of the 2 folded triangles. Take the corners of the rectangle that are sticking out over the triangle and wrap these parts of the paper around the edges of the triangle. Crease them so that they stay wrapped around the edge of the triangle.Flip the paper over and repeat Steps 1 and 2.
Pick up the triangle, then use your fingers to open up the bottom of the triangle. Pull the paper apart gently until it pops into a square shape. Make sure the bottom corners of the triangle fold over each other and become the bottom corner of a diamond.
Arrange your paper so that the bottom points of the diamond can fold upward. Fold up 1 corner, aligning it with the top corner. Then, flip the paper over and do the same thing to the other side.
As before, pick up the triangle, then open up the bottom of your new triangle with your fingers. Crease the paper along its edges so that it stays in a square shape.
Pull out the triangles to release your boat. Start at the top of the diamond and gently pull the two sides apart so that the seam running down the middle of the diamond expands. Crease the bottom of the folded-out sides to make the boat a bit stronger.