The Simple Things

Taking time to live well
  • Home
  • Subscribe
  • SHOP
  • Newsletter
  • About
  • Work with us
  • Home
  • Subscribe
  • SHOP
  • Newsletter
  • About
  • Work with us

Blog

Taking Time to Live Well

  • All
  • Chalkboard
  • Christmas
  • Competition
  • could do
  • Eating
  • Escape
  • Escaping
  • Fresh
  • Fun
  • gardening
  • Gathered
  • Gathering
  • Growing
  • Haikus
  • Interview
  • Living
  • Looking back
  • Magazine
  • magical creatures
  • Making
  • Miscellany
  • My Neighbourhood
  • Nature
  • Nest
  • Nesting
  • outing
  • playlist
  • Reader event
  • Reader offer
  • Shop
  • Sponsored post
  • Sunday Best
  • Think
  • Uncategorized
  • Wellbeing
  • Wisdom
Photography: Kirstie Young

Photography: Kirstie Young

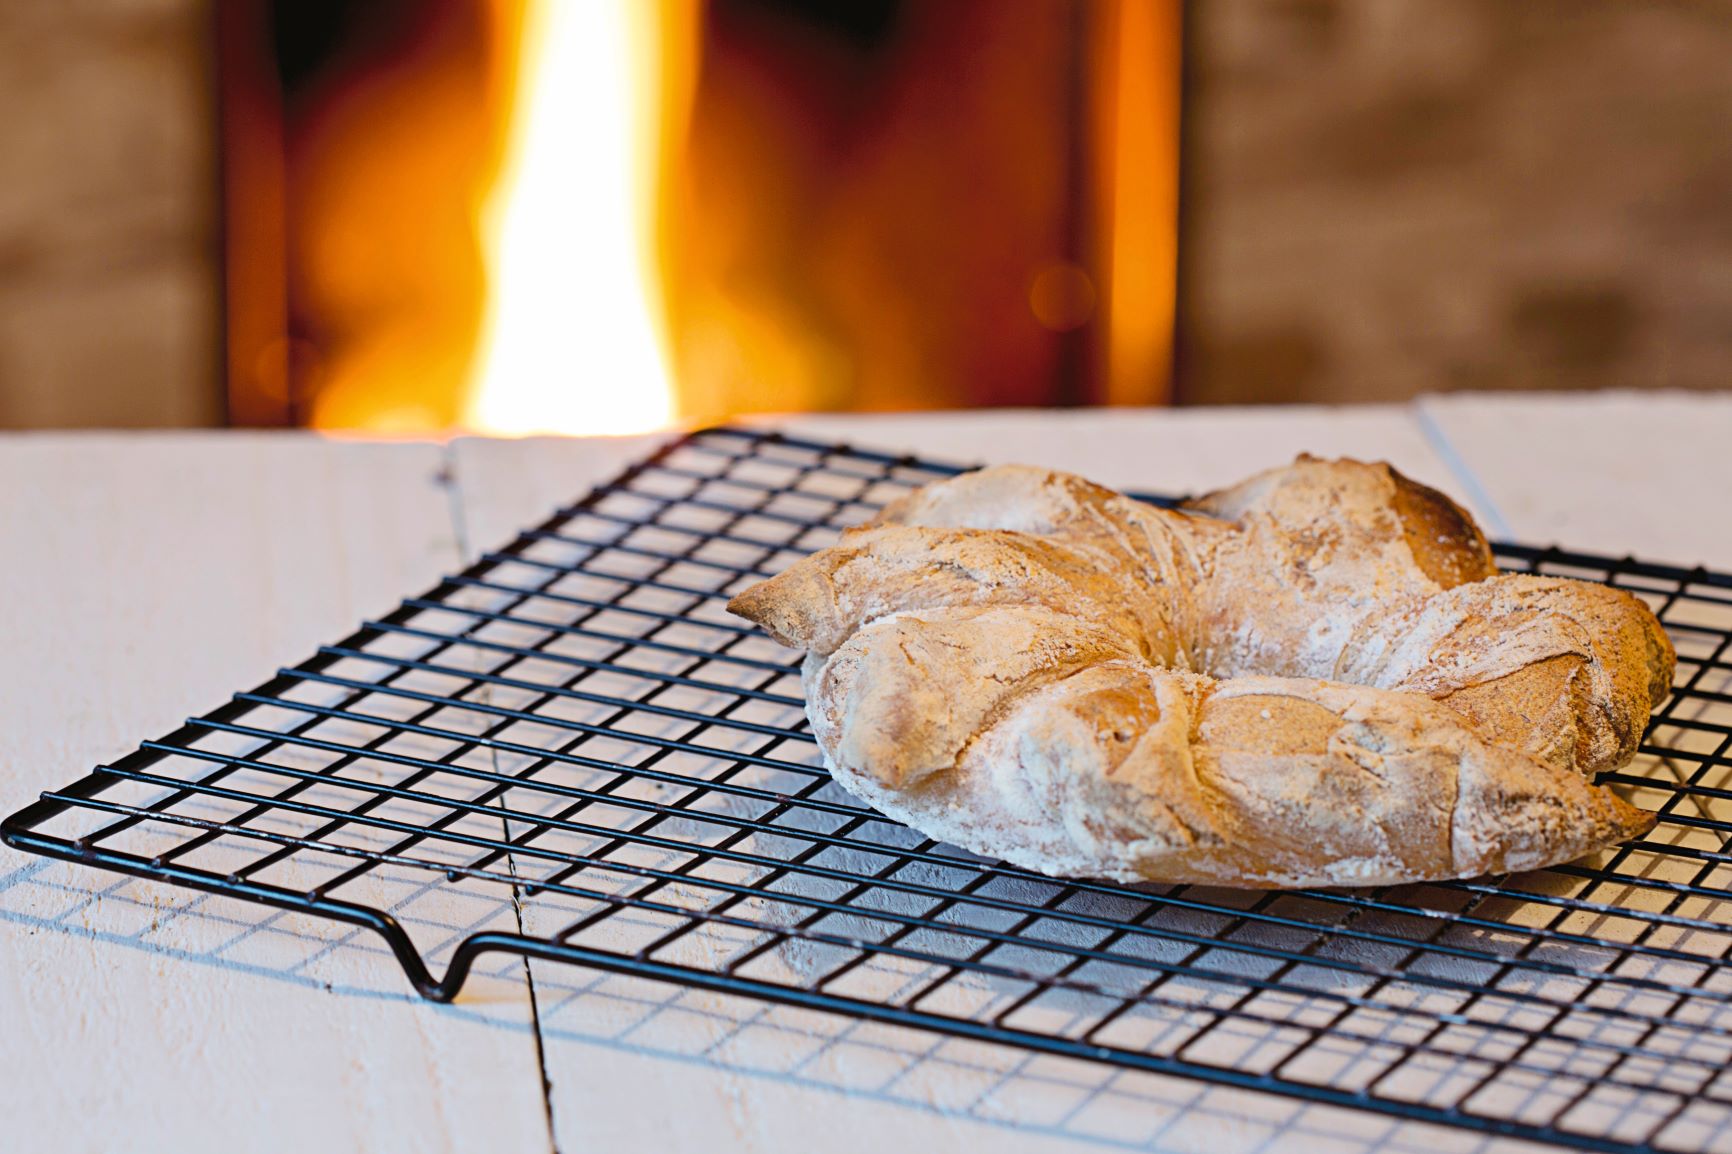
Bake: sun bread for Yule

Iona Bower December 21, 2021

Make bread rings that look like the sun to summon it back (and to dip into your soup, too)

The Pagan celebration of Yule (Winter Solstice) begins on 21st December and we still incorporate many of Yule’s traditions today, such as bringing in a Yule log and hanging mistletoe. This simple sun bread is an easy make and a simple way to cheer and warm the darkest day of the year. Make one for your supper to dip into soup and one for a friend or neighbour to spread the sharing message of Yule.

You will need

400g strong plain white flour

115g plain white flour

300ml slightly warm water

1 tsp salt

1 sachet (7g) easy-blend

dried yeast

How to make

1 Sift flours and salt into a large bowl, mix in the yeast and add the water. Mix to form a soft dough. Turn onto a floured surface and knead for 10 mins.

2 Oil a bowl and put the dough into it, covering the top with cling film. Leave in a warm place until doubled in size.

3 Flour three baking trays. Tip the dough out onto a lightly floured

surface and split into three portions.

4 Take one portion and roll it out into a long, thin length and join the ends

to form a circle. Place the circle onto a baking sheet and stretch it a little

more, then take a handful of flour and sprinkle and rub it all over the circle.

5 Take a pair of scissors and snip diagonally into the ring, then pull out

the point of the snip to form the first of the bread sun’s rays. Repeat all the

way around, pulling out the points as you go, and taking care not to disturb

the flour coating: it is the difference between the flour-coated parts and

the uncoated snipped parts that will help form the ray-like patterning.

6 Cover loosely with cling film or a clean tea towel and then repeat the

whole process with the other pieces of dough. Leave the covered rings to

prove until they’ve doubled in size.

7 Heat your oven to 200C/Fan 180/400F and bake for 35-40 mins,

until the tops are golden brown and the bases make a hollow sound when

tapped. Serve warm or cold.

This recipe was first featured in our December 2017 issue alongside other recipes to celebrate Yule, by Lia Leendertz. Photography by Kirstie Young.

Get hold of your copy of this month's The Simple Things - buy, download or subscribe


More celebrations for midwinter…

Featured
Stocksy Outing Fresh Air.jpg
Dec 14, 2024
Wellbeing | A Breath of Fresh Air
Dec 14, 2024
Dec 14, 2024
Skating Swans Alamy.jpg
Jan 8, 2022
How to | Ice Skate Without Embarrassment
Jan 8, 2022
Jan 8, 2022
Cobwebs Stocksy.jpeg
Jan 3, 2022
Science lesson | How frost is made
Jan 3, 2022
Jan 3, 2022

More from our December issue…

Featured
sun bread.jpg
Dec 21, 2021
Bake: sun bread for Yule
Dec 21, 2021
Dec 21, 2021
xmas cover.jpg
Dec 25, 2018
December: a final thought
Dec 25, 2018
Dec 25, 2018
donkey pic.jpg
Dec 15, 2018
Meet the donkeys of the New Forest
Dec 15, 2018
Dec 15, 2018
Sun bread pic.jpg
In Christmas Tags december, issue 78, winter, Winter holidays, yule, christmas baking, seed to stove
1 Comment
Recipe: Lia Leendertz, photography: Kirstie Young

Recipe: Lia Leendertz, photography: Kirstie Young

Recipe: Wild garlic bannocks with asparagus pesto

Lottie Storey May 2, 2021

Bannocks are a traditional May Day food, and Beltane cake may have been similar: a scone-like bread cooked on a griddle over the Beltane fire. Wild garlic is carpeting every woodland floor at the moment, and it makes a savoury and aromatic addition.

Wild garlic bannocks

Makes up to 20 bannocks
550g self-raising flour
1 tsp baking powder
1⁄2 tsp salt
1 tbsp caster sugar
50g butter
a good handful of wild garlic leaves, washed and dried
1 egg
150ml buttermilk (or full fat milk with 3 tbsp of yoghurt stirred in)

1 You can cook these over a griddle on a fire or hob, or in the oven. If cooking in the oven, preheat it to 230C/Fan 210C/450F.
2 In a large bowl, mix together the flour, baking powder, salt and sugar, then chop in the butter and rub it in with your fingers until it resembles fine breadcrumbs. Slice the wild garlic leaves and mix them in.
3 Beat the egg into the buttermilk (or milk and yoghurt) and then start mixing it into the dry mix to form a dough. Bring it together and knead it briefly on a floured surface, before rolling it out to about an inch in thickness (a little thinner if cooking on the griddle) and cut out rounds or squares from it.
4 Place on a baking sheet and bake for 8-10 mins, or place onto a hot griddle and cook for around 5 mins on each side. Test one to check that it is cooked through. Serve the bannocks hot, split and buttered.

This is a wonderful way of using up any asparagus ends and offcuts, as they are full of flavour but the processing removes any stringiness and toughness.

Asparagus pesto

450g asparagus spears or offcuts
50g hazelnuts
1 clove of garlic, crushed
60ml extra virgin olive oil (plus a little extra for finishing)
75g finely grated Parmesan cheese
juice of half a lemon
salt and pepper

1 Steam the asparagus over boiling water for 8-10 mins, until it can be easily pierced with a sharp knife. Remove from the heat and leave the asparagus to cool.
2 Dry fry the hazelnuts over a high heat for a few minutes until the skins start to come away and the nuts become slightly toasted. Remove from the heat and tip into a clean tea towel then rub off any loose skins.
3 When nuts and asparagus are cool, tip them into a food processor with the garlic, olive oil and Parmesan cheese. Pulse until everything is broken up and amalgamated but still has some texture. If the pesto is too thick, add a little more olive oil. Season with salt and pepper and
a squeeze of lemon juice, to taste.

This recipe was first publisjed in the May 2016 issue of The Simple Things. so we think it’s definitely time to give it another go.

From our May issue…

Featured
Almost Wild.jpg
May 22, 2021
How to | Go (Almost) Wild Camping
May 22, 2021
May 22, 2021
westcross_property_renovation1.jpg
May 18, 2021
Ways to spend time in a window seat
May 18, 2021
May 18, 2021
Rhubarb Mimosa.jpg
May 15, 2021
Tipple | Rhubarb Mimosas
May 15, 2021
May 15, 2021

More recipes for Spring days…

Featured
Radishes on Rye.jpg
May 11, 2024
Make | Pickled Radish on Rye
May 11, 2024
May 11, 2024
FTS Ham.jpg
May 7, 2024
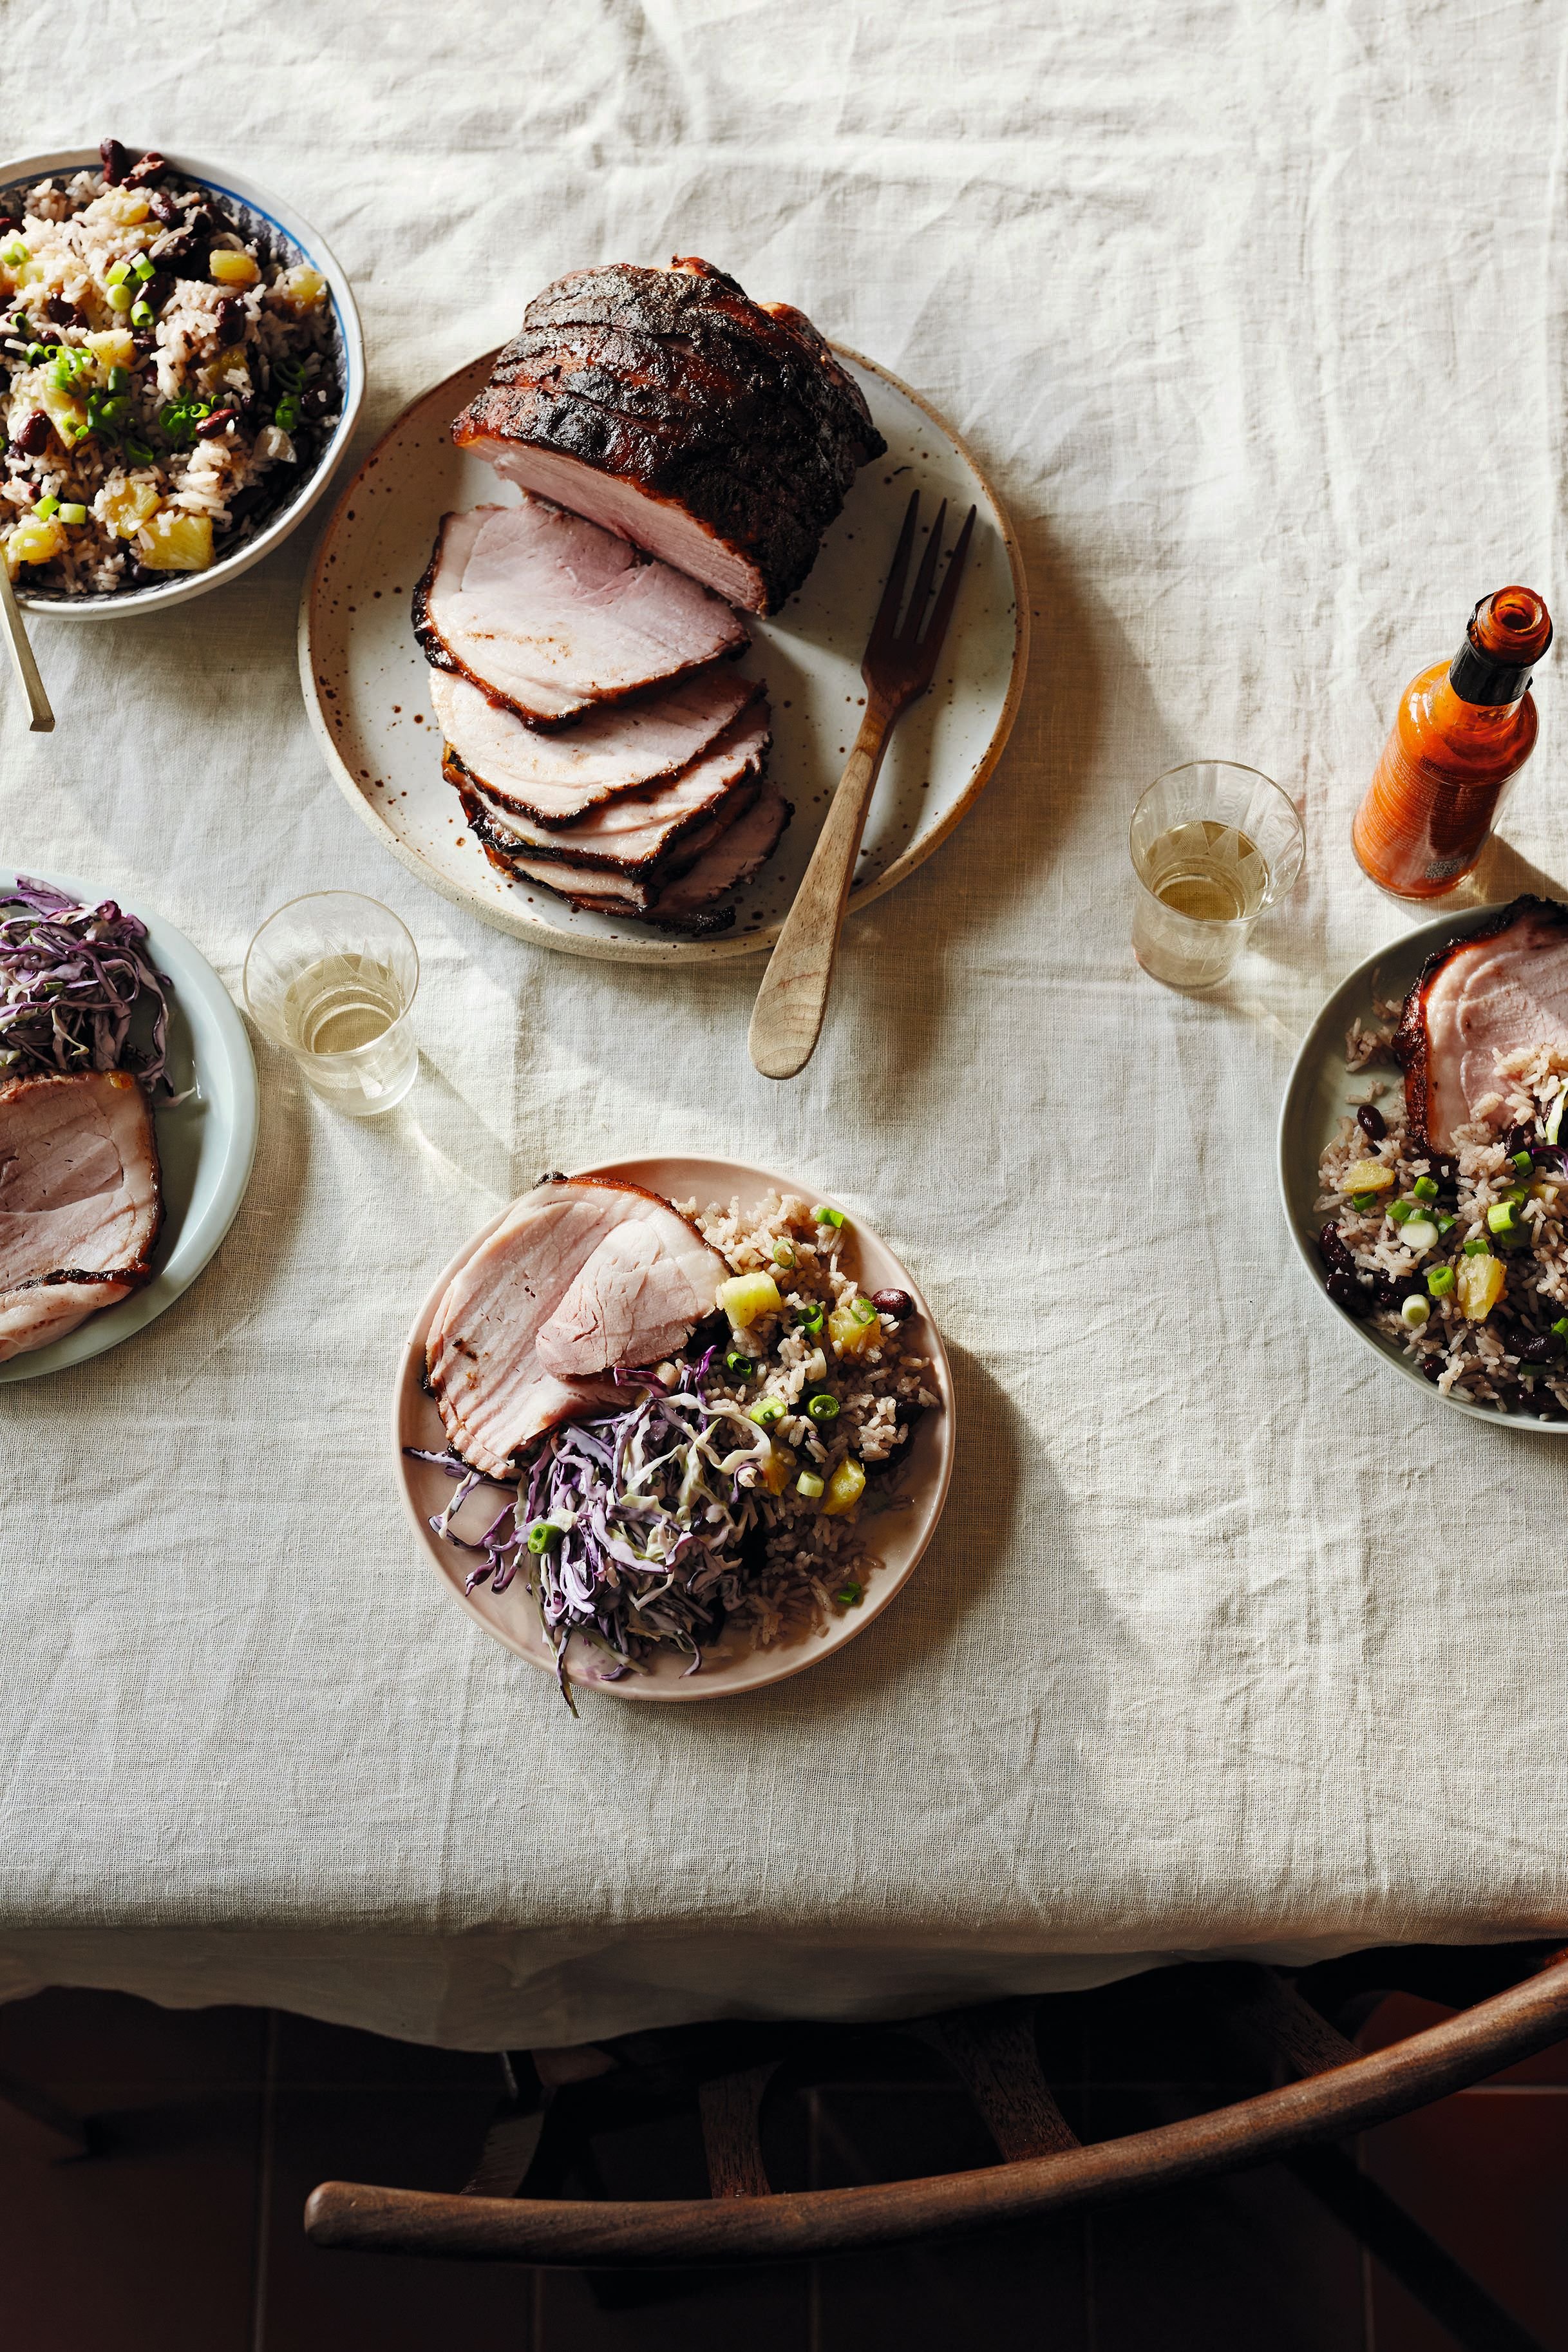
Recipe | Spiced Honey Scotch Bonnet Ham with Pineapple Rice
May 7, 2024
May 7, 2024
Maypole Cake crop.jpg
May 4, 2024
Recipe | Maypole Cake
May 4, 2024
May 4, 2024


In Eating Tags issue 47, may, wild garlic, seed to stove, asparagus
1 Comment
Photograph: Kirstie Young

Photograph: Kirstie Young

Recipe: Deep-fried courgette flowers with broad bean, pea and mint puree and basil pesto

Lottie Storey July 25, 2020

Deep-fried courgette flowers with broad bean, pea and mint puree and basil pesto

As ‘by-products’ go, courgette flowers must be one of our favourites and this is the time of year to enjoy them. This recipe by Lia Leendertz makes a delicious summery weekend lunch or substantial starter. We’ll be planting even more courgettes next year so we can enjoy even more of these crispy, delicate flowers.

Make the purée and the pesto ahead, and fry the courgette flowers at the last minute for a gorgeous plate full of high- summer flavours. Freshly made basil pesto is just right for a touch of something piquant and herbal among the gentler flavours. The smooth veggie purée is easy to whizz up and complements the crunchy deep-fried parcel with its delicate morsel of courgette flowers within.

Serves 4
For the purée
250g broad beans, double podded* (about 1kg unpodded weight)
250g peas, podded (frozen peas thawed in a little lukewarm water will also do fine)
250g ricotta cheese
handful of mint leaves, finely chopped
squeeze of lemon juice
salt and pepper
For the basil pesto
50g toasted pine nuts
1 clove of garlic, crushed
1 large bunch of basil (for leaves) extra virgin olive oil
50g finely grated parmesan
For the deep-fried courgette flowers
8 courgette flowers
sunflower or vegetable oil
125g plain flour
1⁄2 tsp salt
175ml ice cold water

1 Put all the ingredients for the purée, except the lemon juice, in a bowl and whiz to a smoothish texture with a hand blender. Add the lemon juice, season with salt and pepper to taste. Serve immediately or cover and refrigerate for up to a day.

2 For the basil pesto, use a pestle and mortar to crush the pine nuts and garlic together. Season to taste, add the basil leaves and grind to a paste before slowly adding olive oil until you have the consistency you want. Stir in the parmesan and set aside.

3 Prepare the courgette flowers by teasing them open and pulling out the yellow stamens or style. Aim to create a completely empty space within the petals. It doesn’t matter if the flower rips a little in the process.

4 Heat the oil in a high-sided saucepan. It should fill no more than a third of the pan to allow for bubbling up. Sieve the flour and salt into a bowl and whisk in the water.

5 When the oil is ready (a cube of bread will fizz and go brown), dip the flowers into the batter and lower into the oil. Fry up to three at a time for 1–2 minutes, until golden brown on one side, then flip over and brown the other side. Drain on kitchen paper and serve immediately. 

This recipe was originally published in our Journey issue (no. 37) in July 2015. You can buy the issue in our online shop here.

Buy this month's The Simple Things - buy, download or subscribe

From our July 2020 issue…

Featured
Water Boatman.jpg
May 24, 2025
Nature | Pond-Dipping for Grown-ups
May 24, 2025
May 24, 2025
RS2832_iStock-1278591330.jpg
May 23, 2025
Sponsored Post | Get your family active with Youth Sport Trust
May 23, 2025
May 23, 2025
Screenshot 2025-05-21 at 08.52.06.png
May 21, 2025
Playlist | Great Heights
May 21, 2025
May 21, 2025

More recipes for summer…

Featured
Corn on the cob.JPG
Aug 31, 2024
Recipes | Get a Cob On
Aug 31, 2024
Aug 31, 2024
SunflowerTarteTatin_159.jpg
Aug 3, 2024
Recipe | Sunflower Heart Tarte Tatin
Aug 3, 2024
Aug 3, 2024
Crostini Rebecca Lewis Poshyarns.jpg
Jul 27, 2024
Recipe | Summer Crostini
Jul 27, 2024
Jul 27, 2024


In Living Tags seed to stove, courgettes, recipe, issue 37, july
Comment
Recipes: Lia Leendertz Photography: Kirstie Young

Recipes: Lia Leendertz
Photography: Kirstie Young

Recipe: Wholemeal hot cross buns with whipped honey lemon butter

Lottie Storey April 10, 2020

The addition of wholemeal flour makes these Easter classics wholesome and nutty, while the lemony butter adds decadence to homely hot cross buns

Makes 12 buns
250g strong white flour
200g strong wholemeal flour
1 tsp salt
3 tsp mixed spice
1 tsp cinnamon
4 tsp easy bake yeast
50g golden caster sugar
110g currants
50g candied peel
50g butter, room temperature
150ml hand-hot milk
75ml hand-hot water
1 egg, beaten

for the crosses
75g plain flour
5 tbsp water
for the glaze
3 tbsp apricot jam

1 Sieve the flours, salt, mixed spice and cinnamon into a bowl and add the yeast, sugar, currants and peel.
2 Give it a quick stir, then make a well in the centre and drop in the butter, followed by the warmed milk and water, and the egg. Mix well with a wooden spoon and then go in with your hands and knead, adding a little more milk if the mix feels too dry.
3 Cover the bowl with cling film and leave in a warm place to rise for around two hours, or until it has doubled in size.
4 Turn it out onto a floured surface and knead it briefly again, then divide
it into 12 pieces. Roll each into a bun shape in your hands and place onto a baking tray lined with baking parchment, leaving space for each to rise. Cover with a tea towel and leave to rise for a further 45 mins or so, until doubled again.
5 Heat the oven to 220C/Fan 200/425F while you make the crosses. Mix the flour and the water to a thick paste, spoon into a piping bag and pipe on the crosses. Bake for around 15 mins.
6 Meanwhile, heat the apricot jam in a small pan and then sieve it to remove pieces of fruit. Remove the buns from the oven, place on a wire cooling rack, and paint immediately with the glaze. Allow to cool a little before eating, or cool completely and split and toast.


Whipped honey lemon butter

Smother your hot cross buns with this for a true taste of Ostara

110g butter
4 tbsp honey
zest of 1 lemon

1 Chop the butter into cubes and drop it into a bowl of lukewarm water, then leave it for at least five mins, until really soft. Drain off the water and tip the butter, honey and zest into a large bowl.
2 Use a wooden spoon to beat until all is combined and the butter is creamy. Use straight away or put into a ramekin and chill.

This recipe was first published in our March 2016 issue. Our new April issue is on sale now both in shops and via our website and has lots of ideas on how to do Easter weekend well.

Buy this month's The Simple Things - buy, download or subscribe


From April issue…

Featured
Picnic Pie Catherine Frawley.JPG
Apr 18, 2020
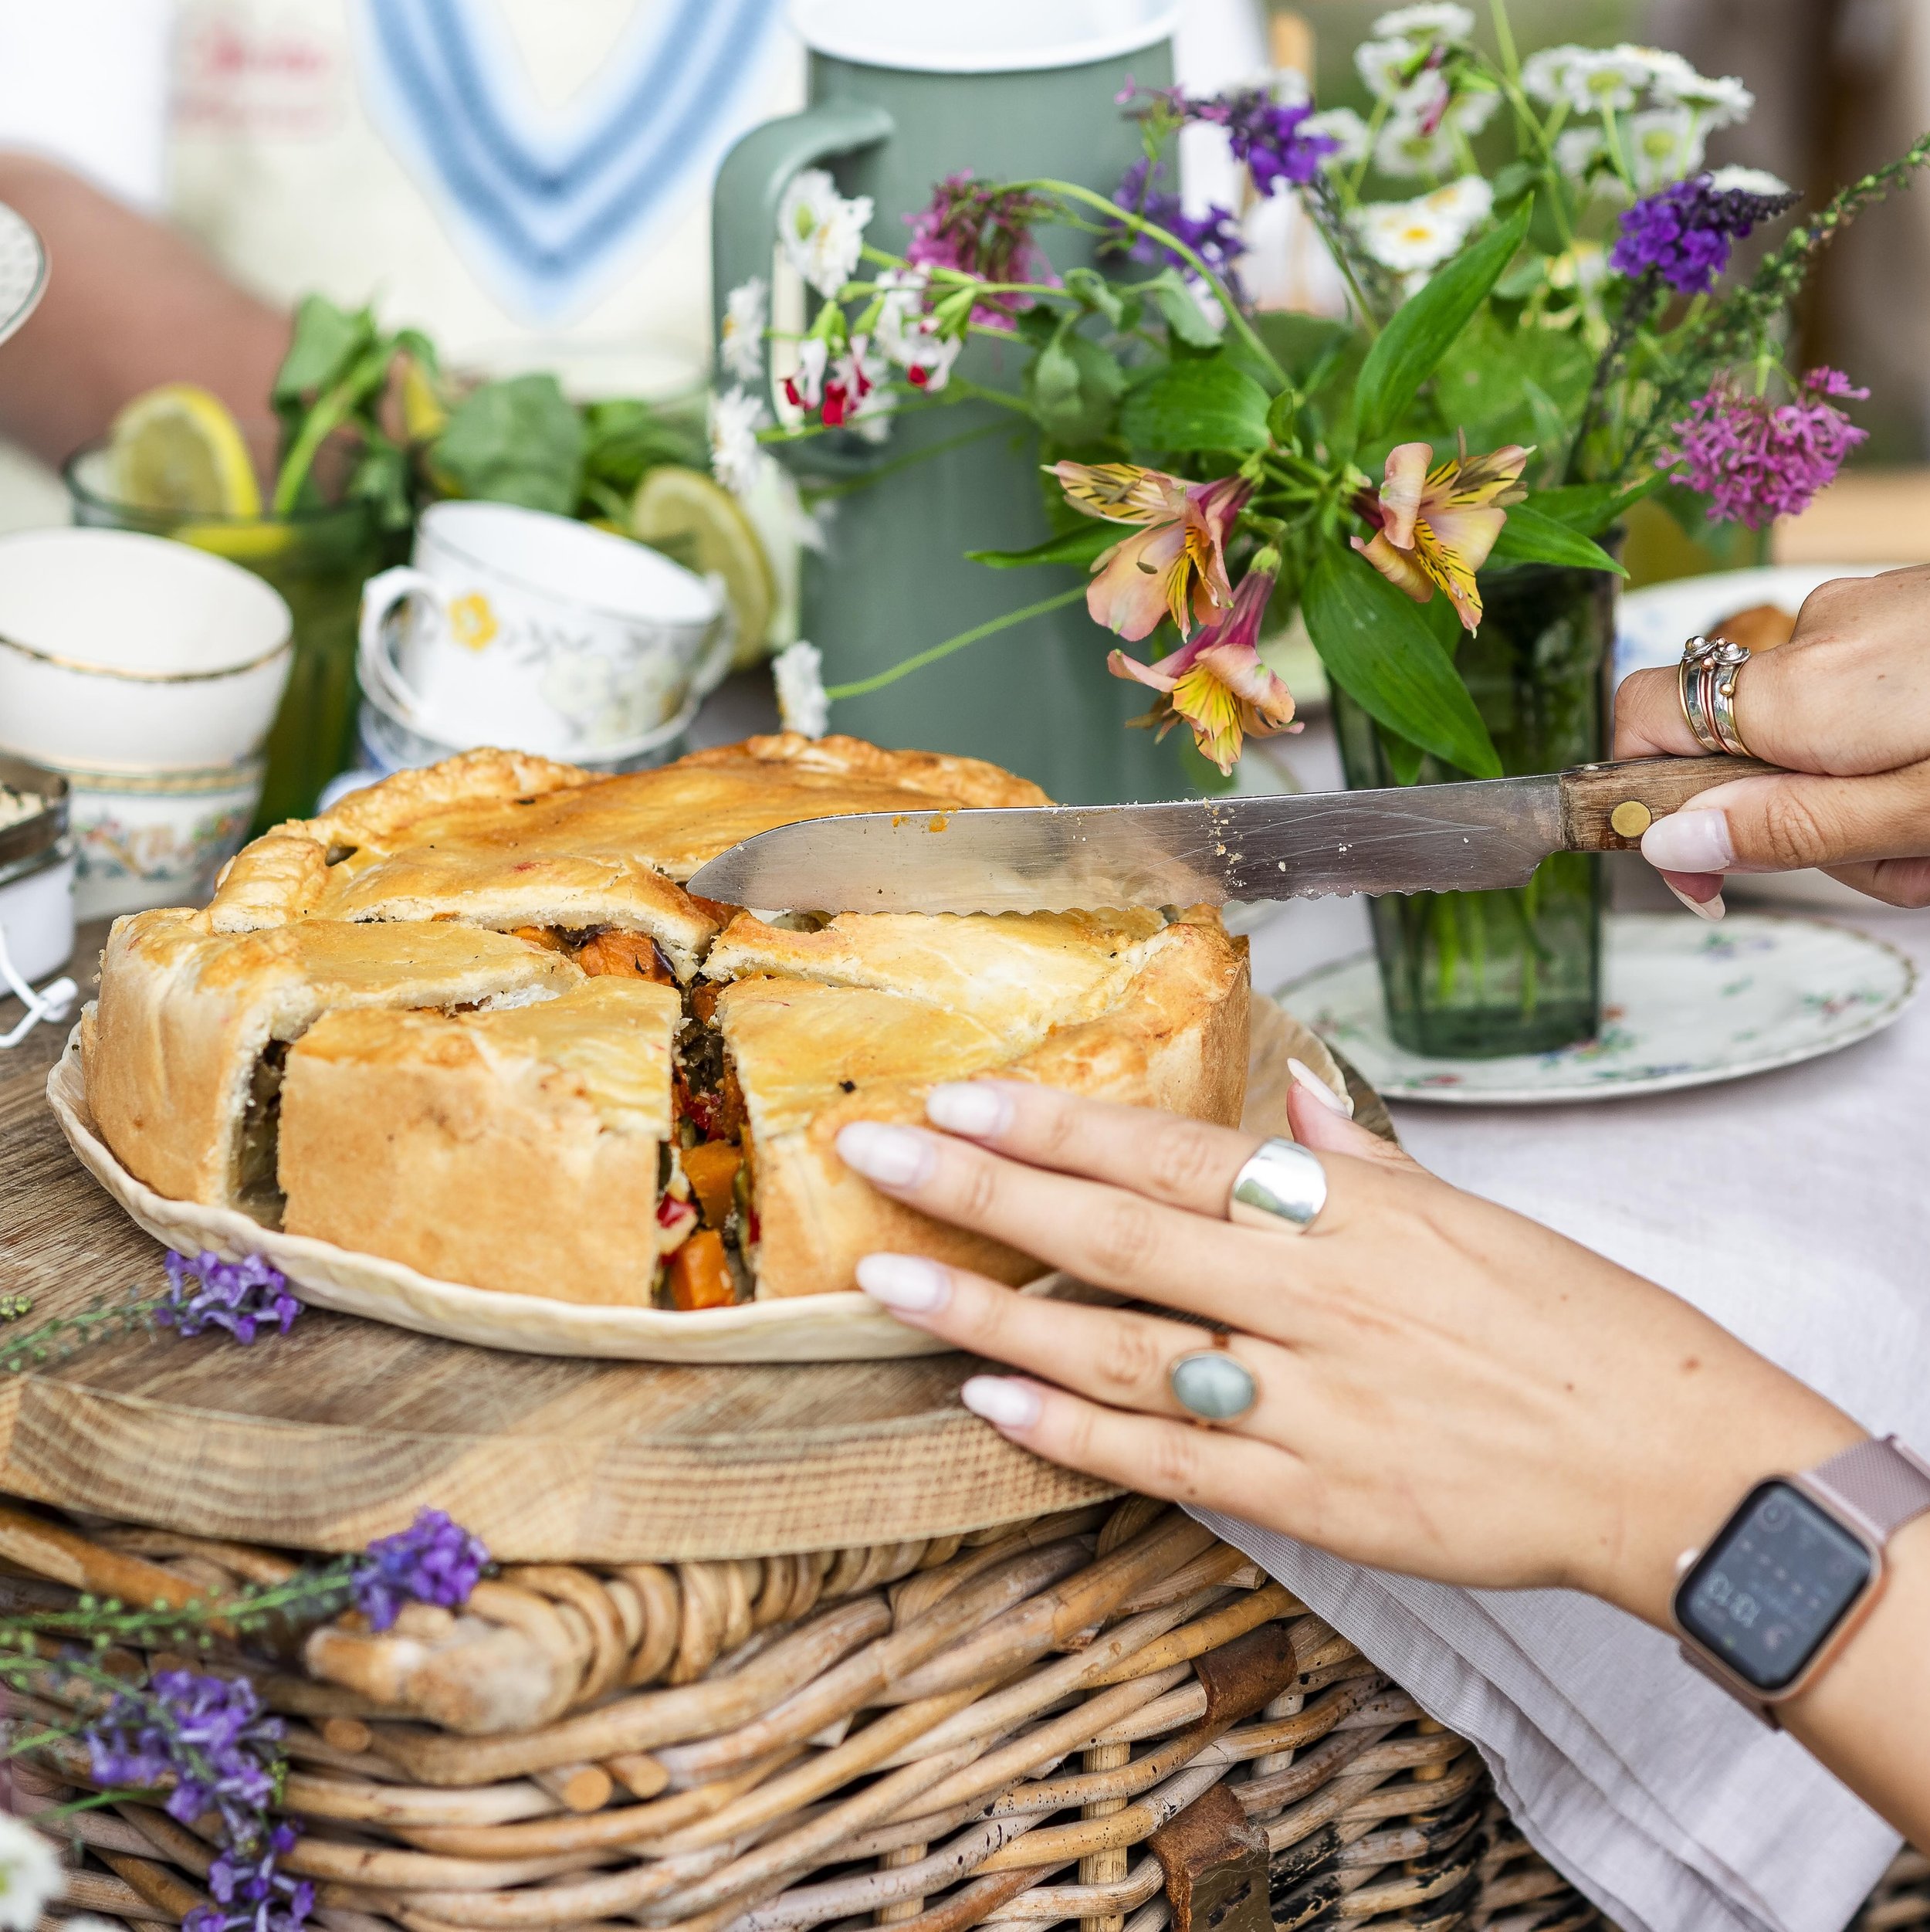
Recipe | a picnic pie for the garden
Apr 18, 2020
Apr 18, 2020
Ellen's cookbook Kirstie Young.jpg
Apr 15, 2020
Make | a hand-me-down recipe book
Apr 15, 2020
Apr 15, 2020
Newts Zuza Misko.JPG
Apr 7, 2020
Romantic introverts | the newt
Apr 7, 2020
Apr 7, 2020

More Easter recipes…

Featured
EGGShell-tealights-the-simple-things.png
Apr 10, 2023
Eggshell tea lights
Apr 10, 2023
Apr 10, 2023
Apr 17, 2022
Recipe: Chocolate truffles
Apr 17, 2022
Apr 17, 2022
Apr 2, 2021
Recipe: Hot Cross Bun Cakes
Apr 2, 2021
Apr 2, 2021


In Eating Tags issue 45, easter, march, seed to stove, hot cross buns, baking
Comment
Soul cakes recipe by Lia Leendertz Photography by Kirstie Young

Soul cakes recipe by Lia Leendertz
Photography by Kirstie Young

Recipe: Soul cakes

David Parker October 31, 2019

Soul cakes are an old English traditional cake, sometimes known simply as ‘souls’. The tradition of giving out soul cakes on All Hallows’ Eve dates back to the Middle Ages, when children went door-to-door saying prayers for the dead  On All Hallows’ Eve, All Saints’ Day and All Souls’ Day, children went ‘souling’, asking for soul cakes from house to house: quite possibly a precursor to trick or treating. This recipe is adapted from one on lavenderandlovage.com.

Soul cakes

Makes 12–15 cakes 

175g butter
175g caster sugar
3 egg yolks
450g plain flour
2 teaspoons mixed spice
100g currants
a little milk to mix 

1 Pre-heat the oven to 190C/Fan 170/375F. Cream the butter with the sugar until it’s light and fluffy and then beat in the egg yolks one at a time. 

2 In a separate bowl, sieve the flour and the spices together and add to the wet mixture along with the currants (reserving a small handful to decorate the tops later). 

3 Mix with a wooden spoon and then add some milk to pull everything together into a dough.

4 Roll out to a thickness of around 1cm and cut out rounds with a biscuit cutter. Use a straight-sided knife to make a slight cross indent in the top of each cake and then push in raisins along it. 

5 Place on a piece of baking parchment on a baking tray and bake for 10 to 15 mins on the fire or in the oven until golden. Allow to cool before eating. 

Get hold of your copy of this month's The Simple Things - buy, download or subscribe

More All Hallows Even celebrations…

Featured
Pumpkin Beer Keg Jonathan Cherry.jpg
Oct 31, 2023
Make | a pumpkin beer keg
Oct 31, 2023
Oct 31, 2023
Alamy_2CCAJN3Alamy horror.jpg
Oct 25, 2022
Fun | Gothic Book Title Generator
Oct 25, 2022
Oct 25, 2022
Pumpkin creme brulee.JPG
Oct 16, 2021
Recipe | Mini Pumpkin Creme Brulees
Oct 16, 2021
Oct 16, 2021

From our November issue…

Featured
bookshop.jpg
Jun 23, 2020
Four fictional bookshops
Jun 23, 2020
Jun 23, 2020
Inclusive Trade.JPG
May 11, 2020
Competition | Win £100 to shop ethically
May 11, 2020
May 11, 2020
October back cover.JPG
Nov 19, 2019
November | a final thought
Nov 19, 2019
Nov 19, 2019
Manuscriptmaps.com maps.jpg
Nov 16, 2019
Fascinating things | paper towns
Nov 16, 2019
Nov 16, 2019
Ancient Grain Hamper.jpg
Nov 13, 2019
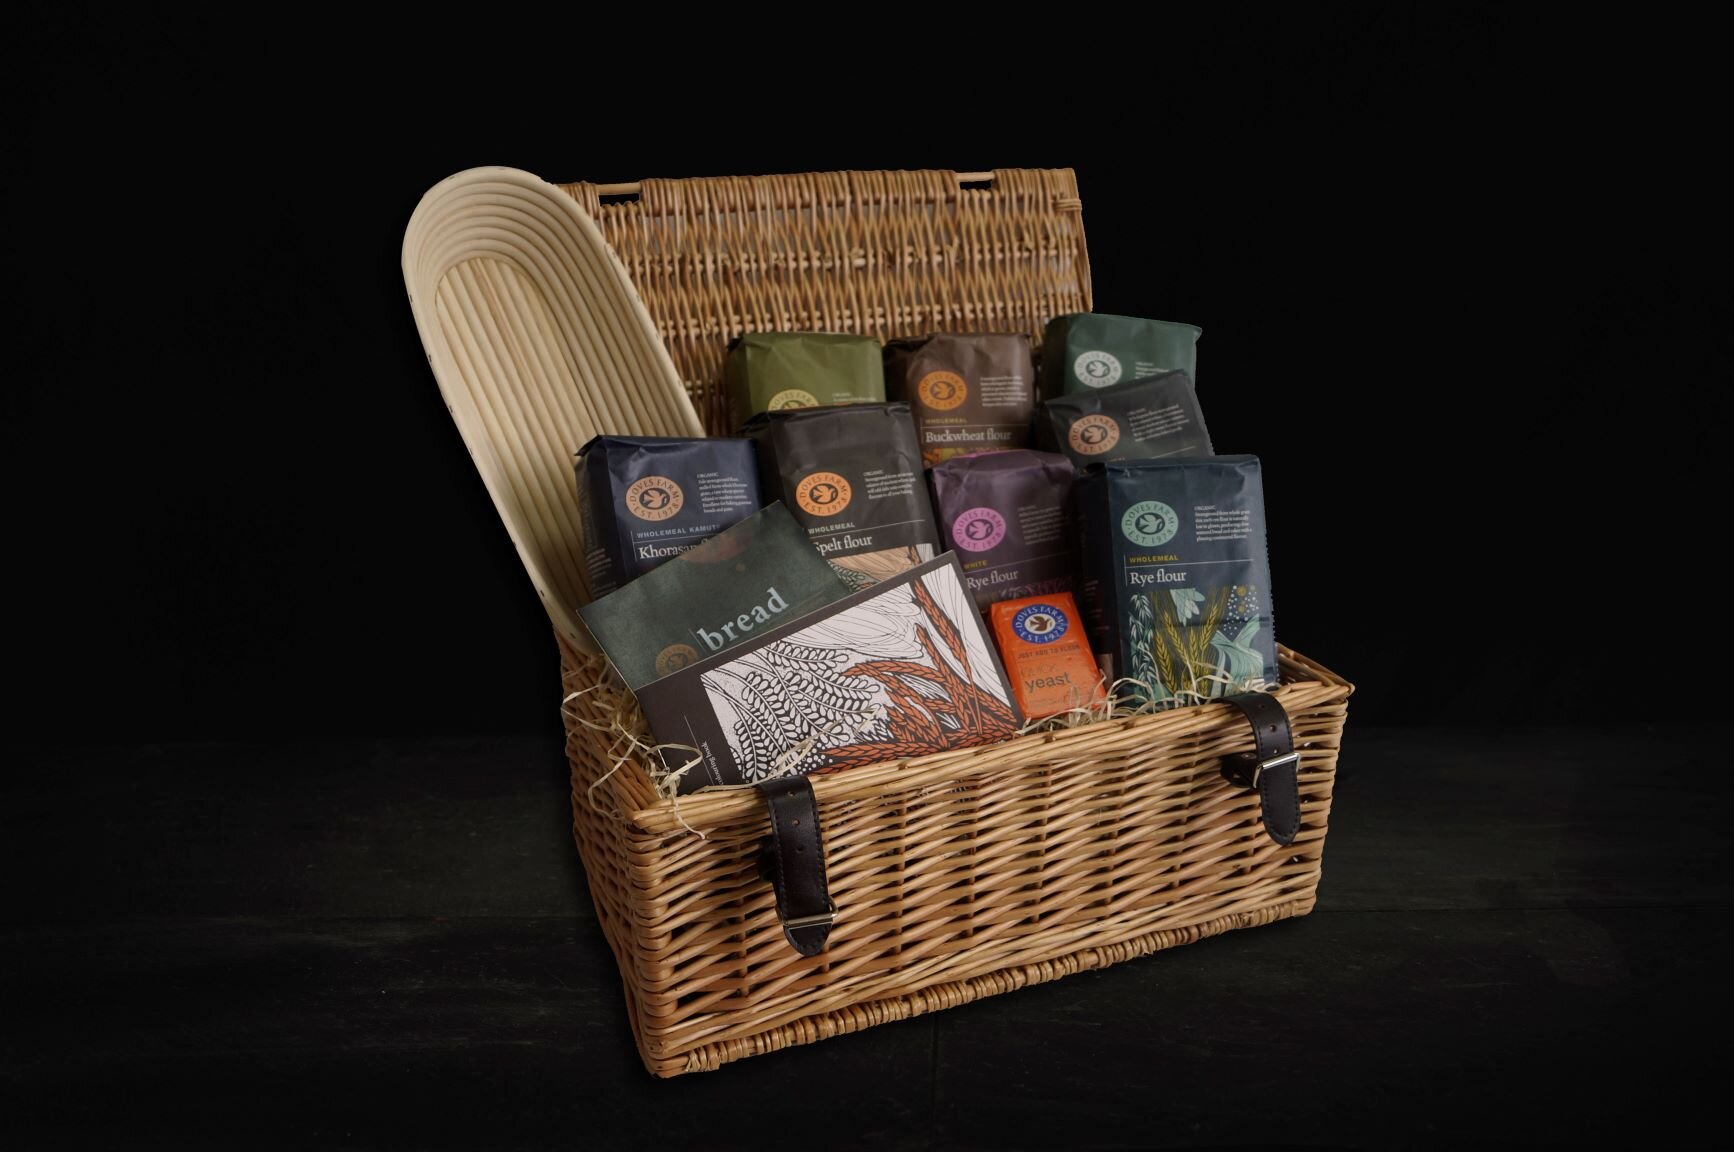
Competition | Win a baking hamper from Doves Farm
Nov 13, 2019
Nov 13, 2019
zero waste store.jpg
Nov 13, 2019
How to do: zero waste shops
Nov 13, 2019
Nov 13, 2019
Quadrille_Great Spotted Woodpecker.jpg
Oct 30, 2019
A tale of two woodpeckers
Oct 30, 2019
Oct 30, 2019
Playlist.JPG
Oct 17, 2019
Playlist | Cosy
Oct 17, 2019
Oct 17, 2019
Murder Mystery story.JPG
Oct 17, 2019
Murder mystery story | The ending
Oct 17, 2019
Oct 17, 2019


In Eating Tags issue 40, october, seed to stove, recipe, cake recipe, halloween
14 Comments
Recipe: Lia Leendertz, photography: Kirstie Young

Recipe: Lia Leendertz, photography: Kirstie Young

Recipe: Walnut and damson cheese sausage rolls

Lottie Storey August 22, 2016

September's The Simple Things includes three recipes by Lia Leendertz in celebration of the ancient agricultural festival of Mabon.

Says Lia, 'I love a sausage roll, particularly to pack up and take on a picnic, and these contain all the nutty fruitiness of the season. Damson cheese is a sort of thick, sliceable jam, which I often make from my damson glut to eat with cheese and crackers, but it’s lovely here. If you can’t get hold of it, just use plum jam instead'.

Want to make Damson cheese? Scroll down for a recipe. 

Walnut and damson cheese sausage rolls

Makes 6 large or 18 small

50g walnuts, plus a few extra
400g free-range sausage meat or 6 pork sausages
a few sage leaves, chopped
250g pack puff pastry
100g damson cheese
1 egg, lightly beaten

1 Preheat the oven to 180C/Fan 160C/350F. Tip the walnuts onto a baking tray and bake for 7-10 minutes, until slightly toasted. Set aside to cool, then chop roughly.

2 In a bowl, combine the sausage meat (if using sausages, squeeze them out of their skins), chopped toasted walnuts and sage. If using sausage meat, season with salt and freshly ground black pepper (sausages are already well seasoned). Use your hands to mix everything together thoroughly.

3 Lay out your rectangle of pastry and slice it into three across the shorter length to give three long strips. Cut the damson cheese into batons and lay it in a line down the middle of each strip. Divide the sausage mixture and arrange it evenly along the three lengths. Carefully roll the mixture up, brushing one edge with beaten egg to stick the edges of the pastry together. Turn the roll over so that the seam is on the bottom, then cut it into however many lengths you want. Place on a baking tray lined with baking paper.

4 Brush the tops of the sausage rolls with beaten egg, then chop a few extra walnuts and sprinkle them over the top. Finish with flakes of sea salt. Bake in the preheated oven for at least 25 minutes. I often leave mine for longer, as I love the pastry really crisp and well done. Remove from the oven when yours are as you want them and leave to cool a little before eating (they’re delicious still slightly warm). 


Damson cheese

Recipe by Hugh Fearnley-Whittingstall for the Guardian (visit the original page for more damson recipes).

This traditional fruit "cheese" is a very thick, sliceable preserve that is immensely good served with actual cheese. It keeps for ages. Makes 850-900g.

2kg damsons
Around 750g granulated sugar

1. Put the damsons in a large preserving pan, add a couple of tablespoons of water and bring slowly to a simmer, stirring as the fruit begins to release its juices. Leave to simmer until completely soft. Tip the contents of the pan into a sieve and rub it through to remove the stones and skin, leaving you with a smooth damson purée.

2. Measure the purée by volume. For every 500ml, add 350g sugar, and combine in a large, heavy-based pan. Bring to a simmer over a low heat, stirring to dissolve the sugar, then cook gently, stirring regularly so it doesn't catch, until reduced to a thick purée. It's ready when you drag the spoon across the bottom of the pan and the base stays clearly visible for a second or two. This can take up to an hour of gentle, popping simmering and stirring.

3. Pour the "cheese" into very lightly oiled shallow plastic containers and leave to cool and set. It will keep almost indefinitely in the fridge. Serve in slices with bread and cheese, or, if you fancy, cut into cubes, dust lightly with granulated sugar and serve as a petit four.


More from the September issue:

Featured
Apr 18, 2017
Think: Discover your dosha
Apr 18, 2017
Apr 18, 2017
Sep 18, 2016
Enjoy the little things, one day you'll remember they were the big things
Sep 18, 2016
Sep 18, 2016
Sep 17, 2016
Nest: The poetry of paint names
Sep 17, 2016
Sep 17, 2016

More Seed to Stove recipes:

Featured
sun bread.jpg
Dec 21, 2021
Bake: sun bread for Yule
Dec 21, 2021
Dec 21, 2021
May 2, 2021
Recipe: Wild garlic bannocks with asparagus pesto
May 2, 2021
May 2, 2021
Jul 25, 2020
Recipe: Deep-fried courgette flowers with broad bean, pea and mint puree and basil pesto
Jul 25, 2020
Jul 25, 2020
  Buy ,  download  or  subscribe   See the sample of our latest issue  here   Buy a copy of our latest anthology:  A Year of Celebrations   Buy a copy of  Flourish 2 , our wellbeing bookazine  Listen to  our podcast  - Small Ways to Live Well

Get hold of your copy of this month's The Simple Things - buy, download or subscribe

View the sampler here

In Eating, Living Tags seed to stove, issue 51, september, allotment, pork
Comment
Photograph: Kirstie Young

Photograph: Kirstie Young

Recipe: Toasted basil and blackberry brioche with summer berries

Lottie Storey August 2, 2016

Try this berry harvest bake from Lia Leendertz

'A berry- and herb-studded brioche is a great way to celebrate this moment of wheat and berries, but to say making brioche is a bit of a faff would be quite the understatement. It’s a fun project but this dessert will work beautifully with thick, toasted slices of a good-quality bought brioche loaf if you don’t have the time to make your own. The brioche recipe is based on a recipe from River Cottage Baking, with a few additions of my own. Ideally, start making this the day before you need it, as the dough benefits from spending a night in the fridge.'

Makes 2 small loaves, serves 4-6

For the basil and blackberry brioche

400g strong white bread flour
5g powdered dried yeast
10g salt
90ml warm milk
2 tbsp caster sugar
100g butter, softened
4 eggs, beaten
a handful of blackberries per loaf
basil leaves

To glaze
1 egg
2 tbsp milk

For the fruits
210g blueberries
170g blackberries
4 figs, quartered
a few sprigs of thyme

1 For the brioche, put all of the ingredients except the basil, the berries and the glaze ingredients into a large bowl and bring it all together into a dough. Knead for ten minutes (or put the dough into the bowl of your food processor and use the dough hook on it for ten minutes). Place it in a bowl, cover, and chill overnight. The next morning, remove it from the fridge and shape it into your loaves – I put mine into a round cake tin or small loaf tins – then leave them somewhere warm to prove. This could take several hours as the dough will be starting from cold.

2 Preheat the oven to 200C/Fan 180/400F. Once the loaves have doubled in size, decorate them by pushing the blackberries into the surface and laying the basil leaves across it, then beat the egg and the milk together and paint it across the surface. Bake for 10 minutes, then lower the oven setting to 180C/Fan 160/350F and bake for a further 30 minutes or until golden brown. Cool on a wire rack.

3 Place the fruits and thyme into a saucepan and simmer gently until the berries have burst, the juice is released and the figs are turned the colour of the blackberries. Slice the brioche and toast a piece per person. Serve each person a small bowlful and a piece of toasted brioche to scoop up the warm, herby fruit and to dip into the juices. 


Lia Leendertz is a freelance gardening writer and the author of several books, including My Tiny Veg Plot and My Cool Allotment. Her first cookery book, Petal, Leaf, Seed: Cooking with the Garden’s Treasures is out now.  

Read more from the August issue:

Featured
Aug 27, 2016
Wellbeing: How to embrace idleness
Aug 27, 2016
Aug 27, 2016
Aug 18, 2016
Recipe: Raspberry, apricot and orange ice lollies
Aug 18, 2016
Aug 18, 2016
Aug 16, 2016
Competition: Win one of three natural skincare hampers from MOA worth £110
Aug 16, 2016
Aug 16, 2016


More Seed to Stove recipes:

Featured
sun bread.jpg
Dec 21, 2021
Bake: sun bread for Yule
Dec 21, 2021
Dec 21, 2021
May 2, 2021
Recipe: Wild garlic bannocks with asparagus pesto
May 2, 2021
May 2, 2021
Jul 25, 2020
Recipe: Deep-fried courgette flowers with broad bean, pea and mint puree and basil pesto
Jul 25, 2020
Jul 25, 2020
  Buy ,  download  or  subscribe   See the sample of our latest issue  here   Buy a copy of our latest anthology:  A Year of Celebrations   Buy a copy of  Flourish 2 , our wellbeing bookazine  Listen to  our podcast  - Small Ways to Live Well

Get hold of your copy of this month's The Simple Things - buy, download or subscribe

View the sampler here

In Eating Tags issue 50, august, seed to stove, blackberry, brioche, baking
1 Comment
Recipe: Lia Leendertz, photography: Kirstie Young

Recipe: Lia Leendertz, photography: Kirstie Young

Recipe: Lavender lemonade

Lottie Storey June 13, 2016

A refreshing, sweetly herbal fizzy drink for the moment the lavender is at its most fragrant, just as the flowers are starting to open. Add a shot of gin for an adult version.

Makes 6 glasses

500ml water
200g caster sugar
10 lavender flower heads, plus more for decoration
12 lemons
fizzy water

1 Place the water, sugar and lavender flowers into a saucepan and heat gently until the sugar dissolves. Simmer very gently for ten minutes, before removing from the heat and leaving to cool completely. Transfer to a jug or jar, lavender flowers and all, and chill.

2 When you are ready to serve, squeeze the lemons into a jug, tip in the lavender syrup and top up with fizzy water, aiming for about a third of each ingredient. Serve over ice with a lavender stalk and a piece of lemon. 

For more of Lia Leendertz's Seed to Stove midsummer menu, including Gravadlax with dill yoghurt and crispbreads, Latvian midsummer cheese, and Strawberry, apricot and cherry shortcake, turn to page 24 of June's The Simple Things.


More from the June issue:

Featured
Jun 19, 2016
Don't mind that roses have thorns, be glad that thorns have roses
Jun 19, 2016
Jun 19, 2016
Jun 13, 2016
Recipe: Lavender lemonade
Jun 13, 2016
Jun 13, 2016
Jun 8, 2016
Gardening: Make your own organic fertiliser
Jun 8, 2016
Jun 8, 2016


Read more Seed to Stove recipes:

Featured
sun bread.jpg
Dec 21, 2021
Bake: sun bread for Yule
Dec 21, 2021
Dec 21, 2021
May 2, 2021
Recipe: Wild garlic bannocks with asparagus pesto
May 2, 2021
May 2, 2021
Jul 25, 2020
Recipe: Deep-fried courgette flowers with broad bean, pea and mint puree and basil pesto
Jul 25, 2020
Jul 25, 2020
  Buy ,  download  or  subscribe   See the sample of our latest issue  here   Buy a copy of our latest anthology:  A Year of Celebrations   Buy a copy of  Flourish 2 , our wellbeing bookazine  Listen to  our podcast  - Small Ways to Live Well

Get hold of your copy of this month's The Simple Things - buy, download or subscribe

View the sampler here

In Eating, Growing Tags seed to stove, issue 48, june, lemonade, drink, recipe, lavender
Comment
Photography: Kirstie Young

Photography: Kirstie Young

Recipe: Eggs en cocotte with sorrel

Lottie Storey February 24, 2016

Eggs are a symbol of new life and, eaten with handfuls of bright green sorrel, bring a little colour and sustenance to early spring days

Sharp and lemony sorrel is plentiful now, and it is wonderful in egg dishes. Try it in Lia Leendertz's Eggs en cocotte recipe.

Serves 2
butter, for greasing
75g crème fraîche
4 sorrel leaves, washed and finely sliced across
2 large eggs
salt and pepper

1 Preheat the oven to 180C/Fan 160/350F.
2 Lightly butter four ramekins, then put a spoonful of crème fraîche in the bottom of each, with a pinch of salt and pepper and the sorrel, making a ‘nest’ to hold the egg.
3 Crack an egg into each ramekin, then place another spoonful of crème fraîche in, and add another sprinkling of salt and pepper.
4 Place the ramekins into a deep baking dish and pour in enough boiling water to come about half way up their sides. Bake for about 15 mins. 
5 Serve with toasted soldiers for dipping.


Read more:

From the March issue

Seed to Stove recipes

More egg posts


Plenty more delicious recipes in the March issue of The Simple Things, out now - buy, download or subscribe

In Eating Tags eggs, egg, recipe, seed to stove, issue 45, march
1 Comment
Smoked toffee apple bourbon recipe: Lia LeendertzPhotography: Kirstie Young

Smoked toffee apple bourbon recipe: Lia Leendertz
Photography: Kirstie Young

Recipe: Smoked toffee apple bourbon

Lottie Storey October 5, 2015

What’s the only thing better than a sticky toffee apple? This tipsy toffee apple brew, especially when sipped beside the fire

There are a few stages to this, but once made the syrups will last a few weeks in the fridge, so there’s no need to rush through it. The first step is to make a simple syrup, which you will then use to make a caramelised simple syrup that will give the bourbon a beautiful toffee taste.
 

Simple syrup

‘Cups’ are used here not in any exact way, but merely to show that we want the volume of sugar and water to be the same, and so you may as well pour each into the same cup to measure out.

2 cups water
2 cups granulated sugar

1 Heat water and sugar gently in a saucepan until the sugar has dissolved, then bring to the boil and simmer until the liquid turns clear.

2 When completely cool, pour into a jar and store in the fridge.
 

Caramelised simple syrup

This caramelised syrup recipe is adapted from Homemade Liqueurs and Infused Spirits by Andrew Schloss (Storey Publishing).

1 cup granulated sugar
2 cups simple syrup

1 Heat the sugar in a small saucepan on a medium-high heat until it starts to turn brown at the edges. Stir with a wooden spoon. The sugar will turn lumpy. Keep on stirring for a few mins until it turns deep orange and completely liquid.

2 Stand back and carefully pour in the simple syrup. The mixture will bubble furiously and the sugar will turn solid. Keep heating and stirring and the lump of caramelised sugar will slowly dissolve into the syrup.

3 When cool, pour through a strainer into a jar and store in the fridge. Eat the pieces of caramel left behind in the strainer.
 

Bourbon

This infused bourbon combines the tastes and scents of the moment. Caramelised simple syrup is combined with grated apple and the whole given a note of smokiness with the addition of a teaspoon or so of Lapsang Souchong tea.

3 apples
360ml caramelised simple syrup
480ml bourbon
2 cinnamon sticks
2 tsp lapsang souchong

1 Grate the apples into a large, sterilised, sealable jar and pour in the syrup.

2 Muddle together and then add all the other ingredients and mix well. Leave to infuse for five days.

3 After five days, strain through a muslin into another sterilised, sealable jar. Leave to drip through the muslin for a few hours rather than squeezing it, for a clearer result.

4 You can drink immediately, or seal and store somewhere cool and dark for up to a year. 


Read more:

From the October issue

Seed to Stove recipes

Warming drinks


October's The Simple Things is on sale - buy, download or subscribe now.

In Living, Eating Tags seed to stove, autumn, samhain, issue 40, october, alcohol, bourbon, mulled, bonfire night, wassail
Comment
Photography: Kirstie Young

Photography: Kirstie Young

Recipe: Smoked garlic and tomato relish

Lottie Storey September 18, 2015

This relish will use up your tomato glut and, possibly, tempt you to buy some cheese and biscuits to go with it.

Says Lia Leendertz, ‘I made this relish with some smoked garlic I picked up at my local greengrocer which gave a gentle smoky taste, but it works well with ordinary garlic, too.’

Makes 4 jars
1 onion
6 smoked garlic cloves, sliced oil for frying
1 green chilli, seeds removed, finely chopped
800g chopped tomatoes, seeds removed
200ml red wine vinegar
200g sugar
50g capers, rinsed

1 In a large pan, heat a little oil and gently fry the onions until they start to soften. Add the garlic and chilli and slowly soften these too.
2 When the onion is turning translucent add the tomatoes, stir and cook gently for a few minutes. Then pour in the vinegar and the sugar.
3 On a low heat, stir to dissolve the sugar, then bring to a simmer. Simmer and stir for about 40 to 50 minutes, or until the mixture turns jammy. It is ready when you can draw a brief line across the bottom with a wooden spoon.
4 Allow to cool slightly, then stir in the capers and add plenty of salt and pepper, to taste. Pour into warmed jars and seal. 

Sterilising for preserves
If you don’t sterilise your jars before you seal your preserves then they will quickly go off. I tend to go a bit belt and braces and use both sterilising tablets and a warm oven. This usually involves dissolving sterilising tablets in warm water and then bathing the jars in the water for around ten minutes, but check instructions on your particular product. I then rinse them off (you don’t have to, but they can leave a slight taste) and put them in a low oven for about half an hour. This has the added benefit that the jars come out completely dry and warm, so you can pour warm preserve into them and get a better seal. Seal while still warm, label when cold.


September's The Simple Things is on sale - buy, download or subscribe now.


Read more

From the September issue

Seed to Stove recipes

Tomato recipes

In Living, Eating Tags issue 39, september, seed to stove, recipe, tomatoes
1 Comment
Photography by Kirstie Young

Photography by Kirstie Young

Recipe: Gooseberry and honey cake

Lottie Storey June 9, 2015

Lia Leendertz loves a summery cake dotted with whatever fruit is in season at the allotment. This one is fragrant with gooseberries, honey, lemon and elderflower, and is the ultimate cake for afternoon tea on the lawn. Because of the fresh fruit content this is not a cake that ages well: you’ll need to finish it off within a few days. Tricky...

Gooseberry and honey cake

100g gooseberries, washed, topped and tailed
225g butter
225g ground almonds
2tsp baking powder
4tbsp honey
3 eggs
2 tbsp elderflower cordial
zest of one lemon

Equipment:
20cm cake tin

1 Heat the oven to 170C/Fan 150/325F.
2 Line the base and sides of the tin with baking parchment.
3 Firstly, the butter needs to be very soft (see below for a short cut – there isn’t always time to get it out of the fridge in advance).
4 Put all the ingredients bar the gooseberries into a large bowl and mix together, ideally with an electric whisk or in a food processor, until the mixture is fluffy and light.
5 Add the gooseberries and fold in by hand until they are well distributed.
6 Smooth the mixture into the tin and bake on a middle-to-low shelf for about an hour, until a skewer pushed into the centre of the cake comes out clean.
7 Leave to rest in the tin for 10 mins before placing onto a rack to cool.
8 Serve with a dollop of crème fraîche, if you like, and a pot of EarlGrey. 

LIA'S TIP TO SOFTEN BUTTER
My kitchen is naturally cool and my butter never really gets soft enough for easy creaming. But I have a trick. I fill a bowl with lukewarm water
– just slightly warmer than hand temperature, but no more or it will melt – then cut the butter into chunks and drop it in. I leave it to
sit for about five minutes, then drain off the water and tip the butter into my mixing bowl, as soft as can be. 

This recipe is featured in June's The Simple Things. You can buy print editions from our online store, download it from Apple Newsstand or subscribe.


Want more cake recipes? Type cake into the search box and we defy you not to drool...

In Living Tags seed to stove, issue 36, june, cake, recipe, gooseberry
5 Comments
Photograph: Kirstie Young

Photograph: Kirstie Young

Recipe: Rhubarb and ginger pavlova

David Parker March 13, 2015

Delicately spiced pink rhubarb, lashings of cream and a crisp brown sugar meringue makes for pav perfection. Just the ticket for lunch this weekend.

Rhubarb and ginger pavlova

If you have fussy children to please, you could swap the ginger for white sugar, but this version works beautifully.
The addition of vinegar (a Nigella tip) helps to make the middle beautifully soft and chewy. All but the whipped cream for the topping can be made ahead of time and the whole assembled just before eating. Note that the two main components require plenty of oven time at different temperatures, so plan ahead.

Serves 8
FOR THE MERINGUE
6 egg whites
300g soft brown sugar 
1 tsp red wine vinegar 
50g crystallised ginger, sliced thinly
FOR THE TOPPING
3 sticks rhubarb
3 tbsp honey
Zest and juice of one orange 
1 vanilla pod, split
3 Chinese star anise
1 vanilla pod
500ml double cream, to serve


TO MAKE THE MERINGUE
1. Preheat the oven to 180C/Fan160C/350F. Cover a baking sheet with parchment paper; set aside.
2. In a perfectly clean bowl, whisk the egg whites until they form peaks, then slowly whisk in the sugar a tbsp at a time. It will turn sepia-coloured and shiny. Sprinkle in the vinegar and the crystallised ginger, then carefully fold in until combined.
3. Spoon and smooth the mixture into a circle approximately 23cm across on the lined baking sheet. Place in the oven and reduce the heat to 150C/Fan130/300F. Bake for 1 hour 15 minutes, or until it is dry and crisp on the outside. Turn off the oven, open the door slightly, and leave to cool completely.
FOR THE RHUBARB TOPPING
4. Preheat the oven to 180C/ Fan160/350F. Slice the rhubarb into 2-inch pieces and place in a deep- sided baking dish. Pour over the honey and orange juice. Scrape
the beans out of the vanilla pod into the juices, then add the pod along with the Chinese star anise.
5. Bake for around 30 minutes, until the rhubarb is tender but still holding its shape. Remove from the oven and leave to cool.
6. Whip the cream and spread it generously over the cooled meringue base. Spoon the rhubarb carefully onto the top, dribbling over some of the juices, and serve immediately.


For the rest of Lia Leendertz's rhubarb feature - including recipes for Tempura mackerel with rhubarb relish, and Dusky pink lady cocktails - turn to page 36 of the March issue of The Simple Things. Not got your March issue? Buy now,  subscribe or look inside

In Eating, Living, Growing Tags recipe, rhubarb, mother's day, issue 33, seed to stove, march
Comment
Image: Kirstie Young

Image: Kirstie Young

Recipe: Green juice PLUS plan your smoothie garden crops for summer

David Parker January 10, 2015

Use some of your winter leaves to make a nutrient-filled green juice. Make up your own mixtures always using some sweet, green apple to counter nutritious but bitter winter lettuce or kale.

Green juice

For 1 large glass you will need:

6 carrots
2 green apples
Handful of kale
1/2 lemon
Small knob of ginger

Put all of your ingredients through a juicer, sandwiching the kale between the two apples to help it along. Pour into a glass and drink straight away. 

For more of Lia Leendertz's winter leaves recipes, turn to page 40 of January's The Simple Things - buy, download or subscribe today.

Fancy growing your own smoothie garden? 

Plant pots with a range of fruits and leaves to start yourself on a homegrown smoothie adventure - our guide will show you how.

In Living Tags seed to stove, Lia Leendertz, kirstie young, juice, winter leaves, smoothie
Comment
e5a37f0c8e3acc8aa5cfd9fb24482ec8.jpg

Recipe: Garibaldi biscuits

lsykes October 23, 2014

Lia Leendertz, our regular Seed to Stove columnist, remembers forgotten foods in the November issue of The Simple Things. Here, she shares her delight in the Garibaldi biscuit, plus a tried and tested recipe. “The garibaldi is one of the oldest biscuits on the block, and is mentioned in Mrs Beeton’s original ‘Book of Household Management’ in 1861. It has stood the test of time, and I thought it might make a lovely fruity addition to the savoury biscuits on my cheese board. I was right.”

Garibaldi biscuits

110g self-raising flour Pinch of salt 25g spreadable butter 25g golden caster sugar 2 tablespoons milk 50g currants A little egg white, lightly beaten A little granulated sugar

A large baking sheet, with a non-stick liner

1. Put the flour, salt and butter into a mixing bowl and rub to the fine crumb stage. 2. Then add the sugar and after that enough milk to mix to a firm dough that will leave the bowl clean. 3. After that transfer it to a lightly floured surface and roll it out to a rectangle 20cm by 30cm. 4. Now sprinkle the currants over half the surface and then fold the other half on top and roll everything again so you end up with a rectangle 20cm by 30cm. 5. Then trim it neatly using a sharp long-bladed knife, so you end up with a shape about 18cm by 28cm. 6. Cut this into 24 fingers approximately 3cm by 7cm. 7. Now place the biscuits on the baking sheet, brush with a little egg white and sprinkle with granulated sugar. 8. Bake near the centre of the oven for 12–15 minutes, then cool on a wire tray and store in an airtight tin.

Recipe from Delia's Cakes by Delia Smith.

Image: Pinterest

In Eating Tags biscuits, issue 29, Lia Leendertz, november issue, recipe, seed to stove
Comment
Featured
  Buy ,  download  or  subscribe   See the sample of our latest issue  here   Buy a copy of our latest anthology:  A Year of Celebrations   Buy a copy of  Flourish 2 , our wellbeing bookazine  Listen to  our podcast  - Small Ways to Live Well
Feb 27, 2025
Feb 27, 2025

Buy, download or subscribe

See the sample of our latest issue here

Buy a copy of our latest anthology: A Year of Celebrations

Buy a copy of Flourish 2, our wellbeing bookazine

Listen to our podcast - Small Ways to Live Well

Feb 27, 2025
Join our Newsletter
Name
Email *

We respect your privacy and won't share your data.

email marketing by activecampaign
facebook-unauth twitter pinterest spotify instagram
  • Subscriber Login
  • Stockists
  • Advertise
  • Contact

The Simple Things is published by Iceberg Press

The Simple Things

Taking time to live well

We celebrate slowing down, enjoying what you have, making the most of where you live, enjoying the company of of friends and family, and feeding them well. We like to grow some of our own vegetables, visit local markets, rummage for vintage finds, and decorate our home with the plunder. We love being outdoors and enjoy the satisfaction that comes with a job well done.

facebook-unauth twitter pinterest spotify instagram