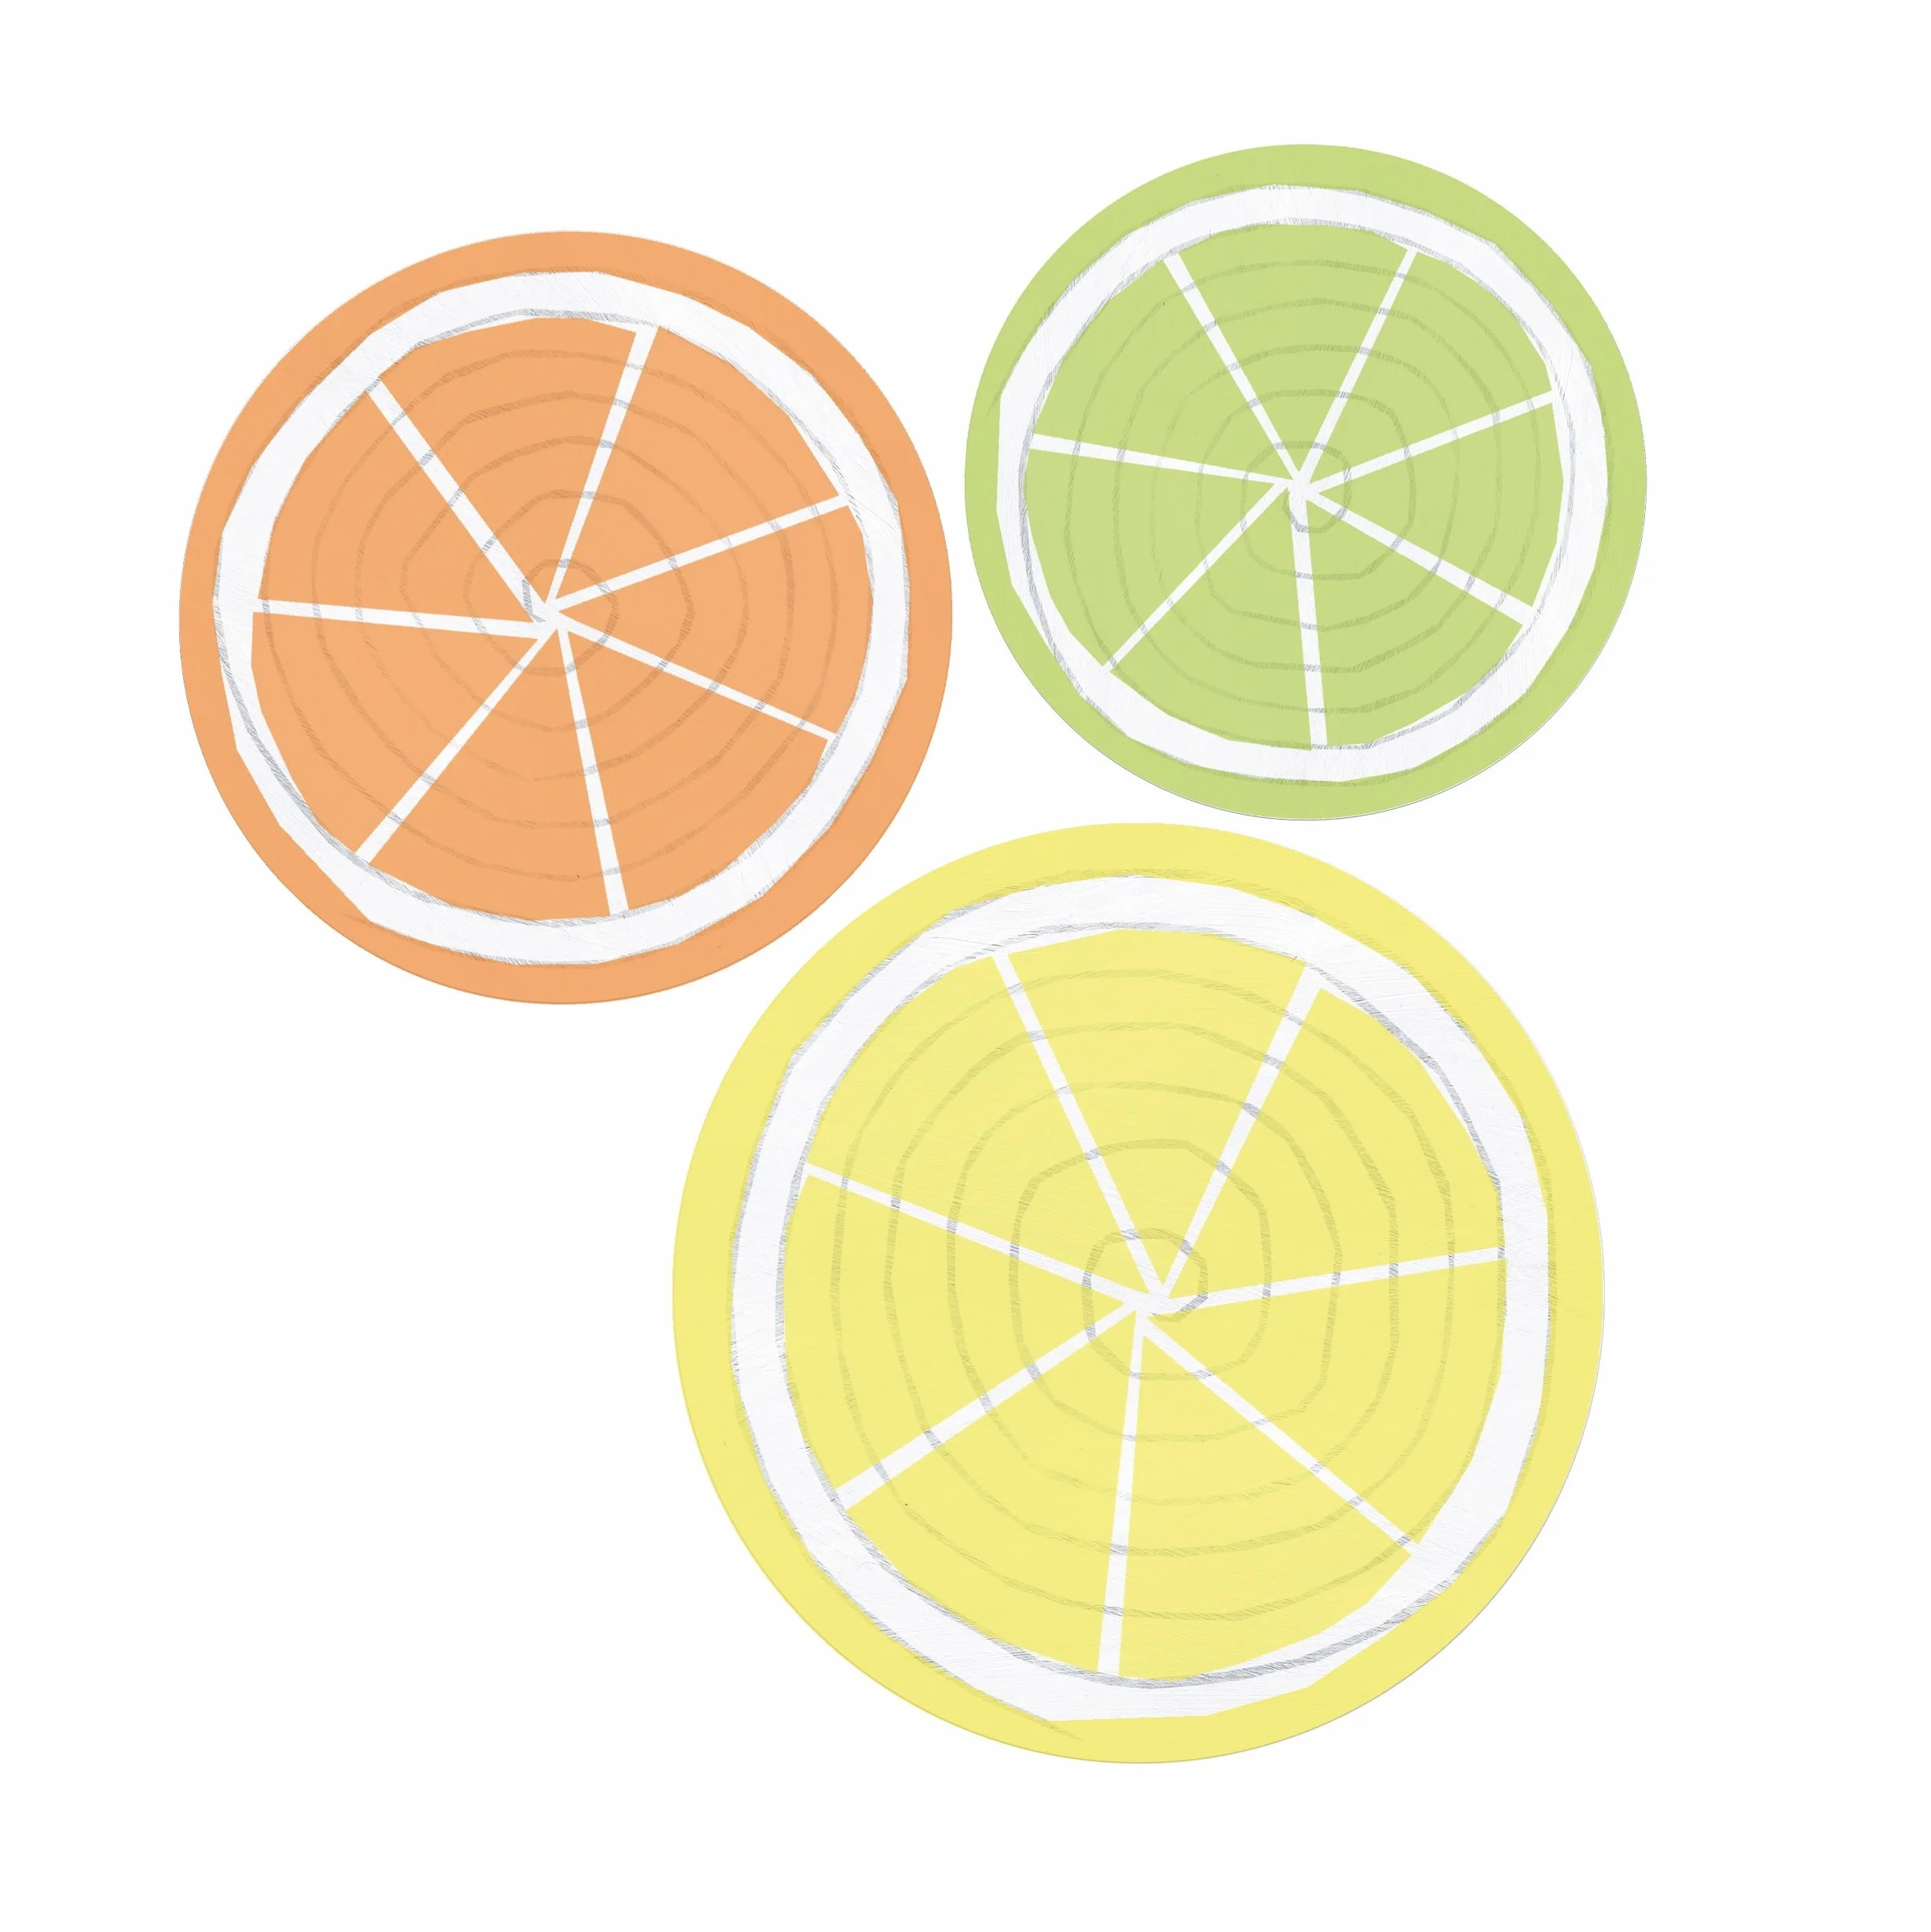
These bright and zesty coasters will brighten your summer garden table and can be made in a couple of hours
You’ll need: Cotton cord of 5 or 6mm thick (you can use cotton washing line or macramé cord). You’ll want about a metre for each coaster; hot glue gun, scissors; sticky-backed cork (from craft shops); fabric paint in yellow, orange and green.
To make:
1 Cut about a metre of your cord, cutting both ends on an angle so they sit neatly.
2 Apply hot glue to the cord and begin coiling it, adding more glue and sticking as you go. Keep going until you have a coil the size you want – about 10–15cm diameter.
3 Once dry, paint the outer coil or two in yellow for your lemon slice. Paint six triangles with spaces between each forming a circle (like pizza slices). Repeat with the green and orange for the orange and lime coasters.
4 When dry, remove the backing from your cork pieces and stick to the underside of each coaster then trim the cork edges.
5 Take your coasters into the garden with a jug of lemonade and invite friends over to admire the fruits of your labour.
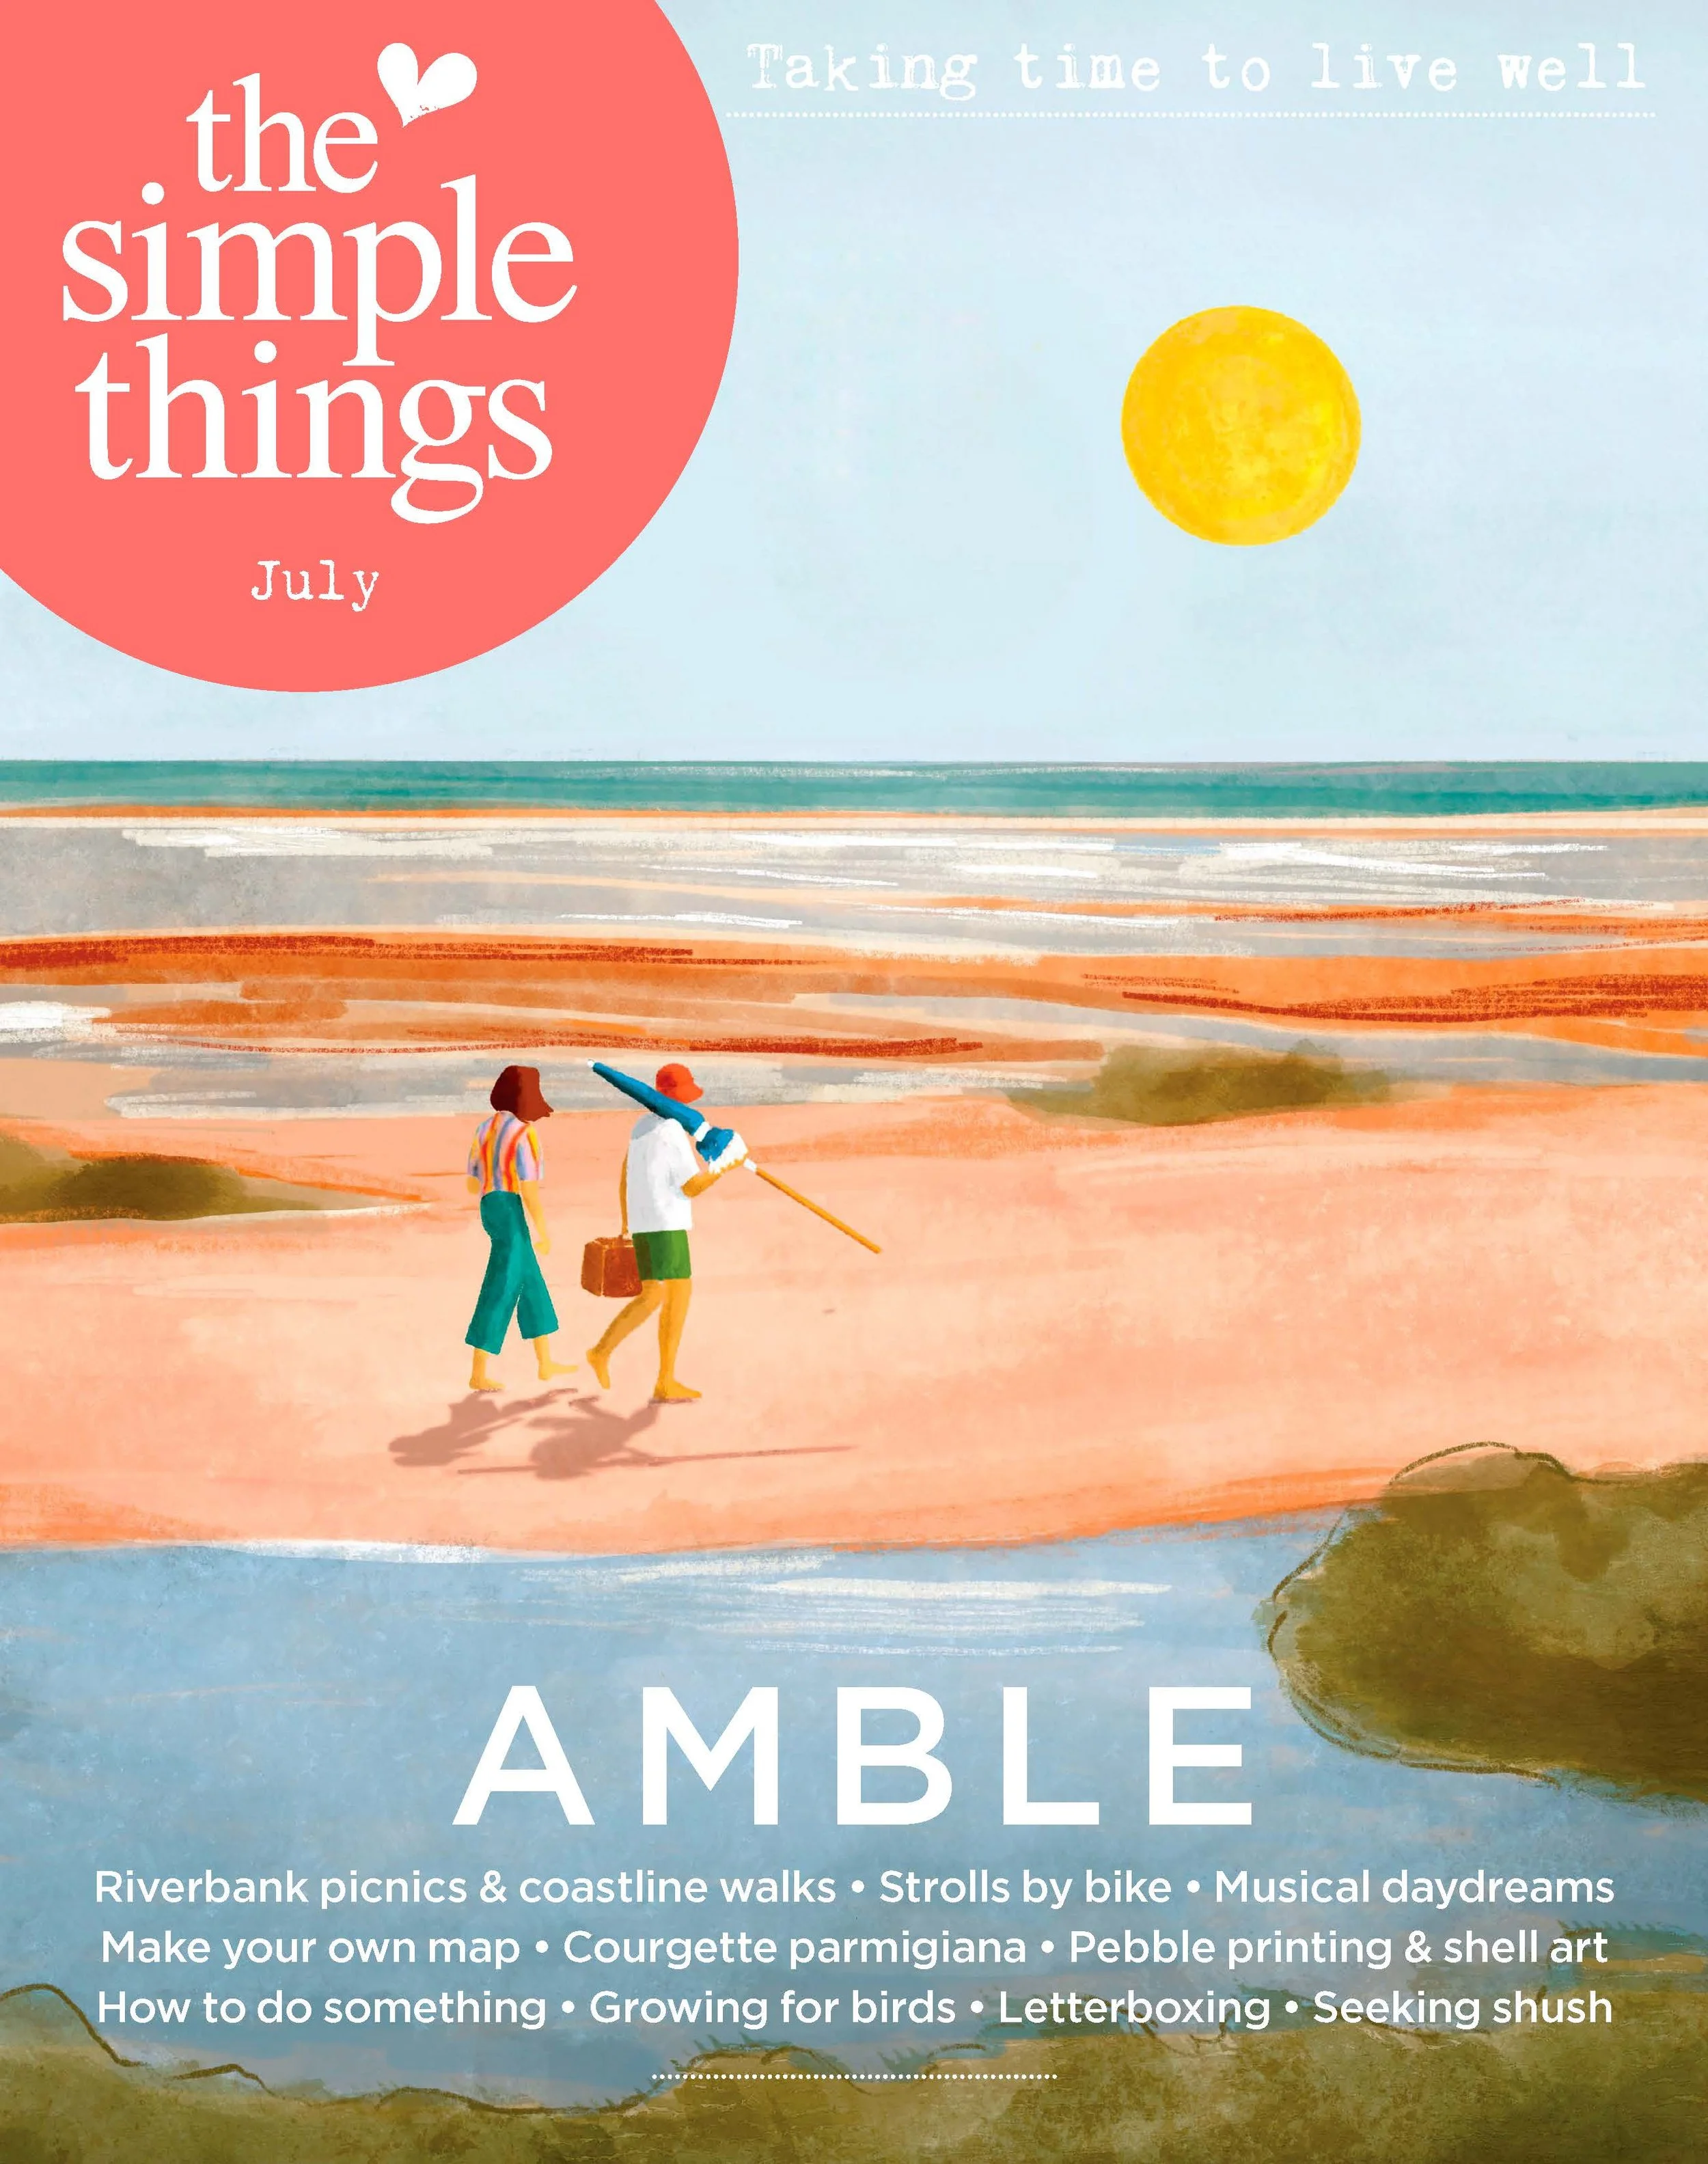
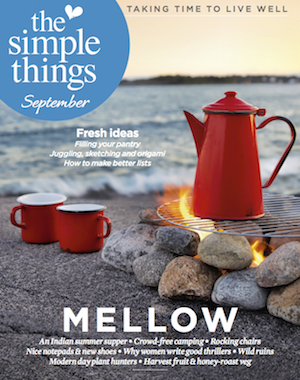
This mini project is from our July ‘almanac’ pages which feature seasonal things to note and notice, plan and do each month.